Avoid disappointment and get the couple poses photos your couple will want and what they are hoping to see in your couple photography photographs.
In the world of couples photography, business is booming. From the Target-themed engagement photoshoot that went viral this summer to the growing popularity of hiring honeymoon photographers, the last year has been full of headlines about fun new trends taking over the industry.
For couples young and old, photoshoots offer the chance to express their individuality and share their stories with the people they love. According to a 2017 survey conducted by The Knot, 38% of couples share photos of their engagement within minutes or hours of popping the question.
At a time where most of our photos end up lost in the cloud or on our phones, a professional photoshoot serves as a timeless, enduring reminder of cherished memories. It’s hardly any wonder that the couples photography genre is thriving. To get the most out of your next photoshoot, the 500px team has put together this guide full of cute couple poses for you to use for your couples or wedding photography. There’s something in here for everyone—from the classic to the cutting-edge.
Preparing for your couples photoshoot poses
One of the key things to do to prepare when doing couples photography, is to create a gallery of photos to serve as a moodboard and to track inspirations and references. This is a helpful tool to communicate the look and style you’re going for with your clients and crew, like hair and makeup artists.
Before the shoot, go over locations and wardrobe with the couple. Have a conversation without your camera first, and show them examples of photos you love, and ask for their feedback. Let their personalities dictate which poses you choose. If they have their own ideas, add them to your shot list.
Get to know your couple and their dynamic before your shoot. Listen for details about how they communicate with each other and what they’re passionate about.
Poses and Inspiration for Couples Photography
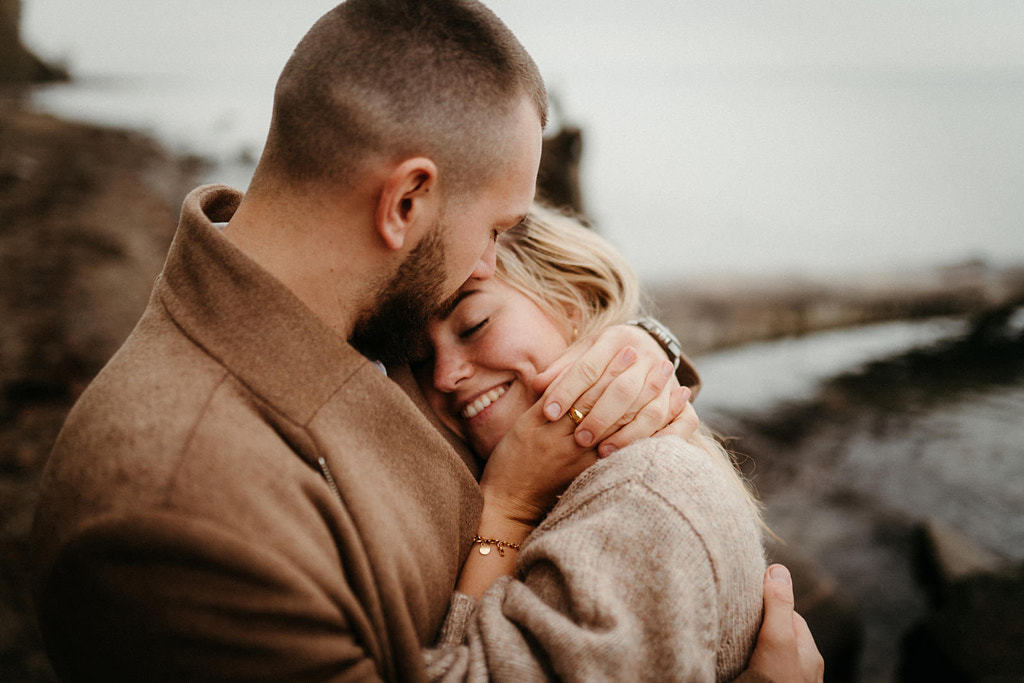
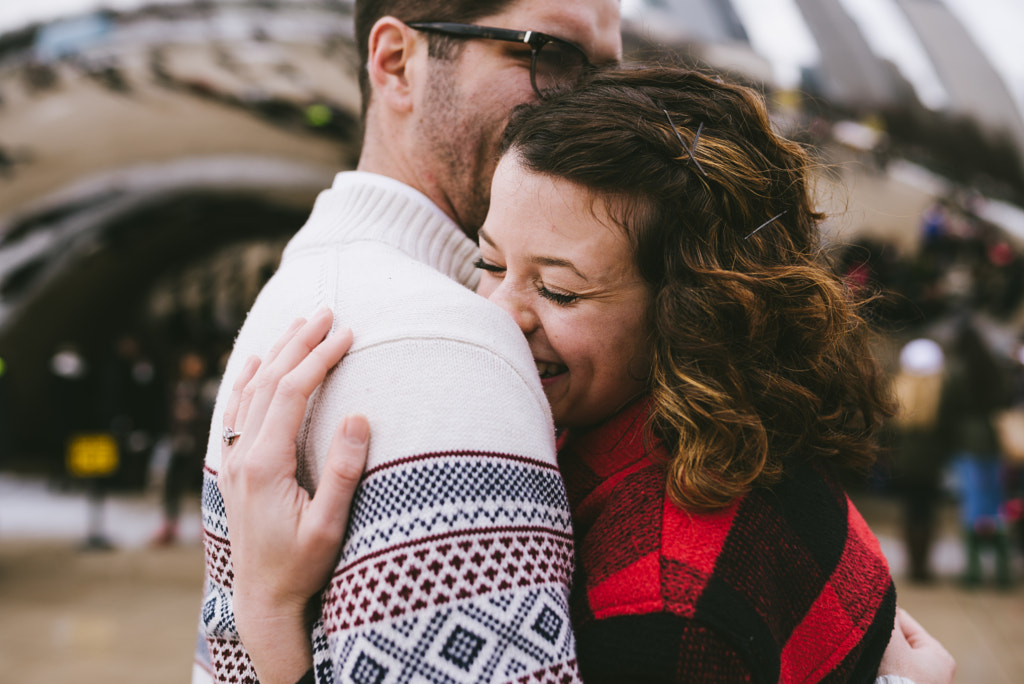
Hugging and looking at the camera
This pose is a perfect starting point for any couple’s shoot because it’s both intimate and comfortable. Just ask your models to hug as they normally would, with their faces close together.
Hugging and looking at each other
For this shot, have the couple hug and make eye contact with one another.
Wide-angle
If you’re working with a couple for the first time, it can help to start from a distance before gradually moving closer. Wide-angle shots tap into the “tiny person, big landscape” trend, showcasing both the beauty of the location and the relationship between partners.
Hug close-up
Hugging is a versatile pose, so zoom in to capture all those little details. You don’t even have to include the faces—the embrace alone will help tell the story.
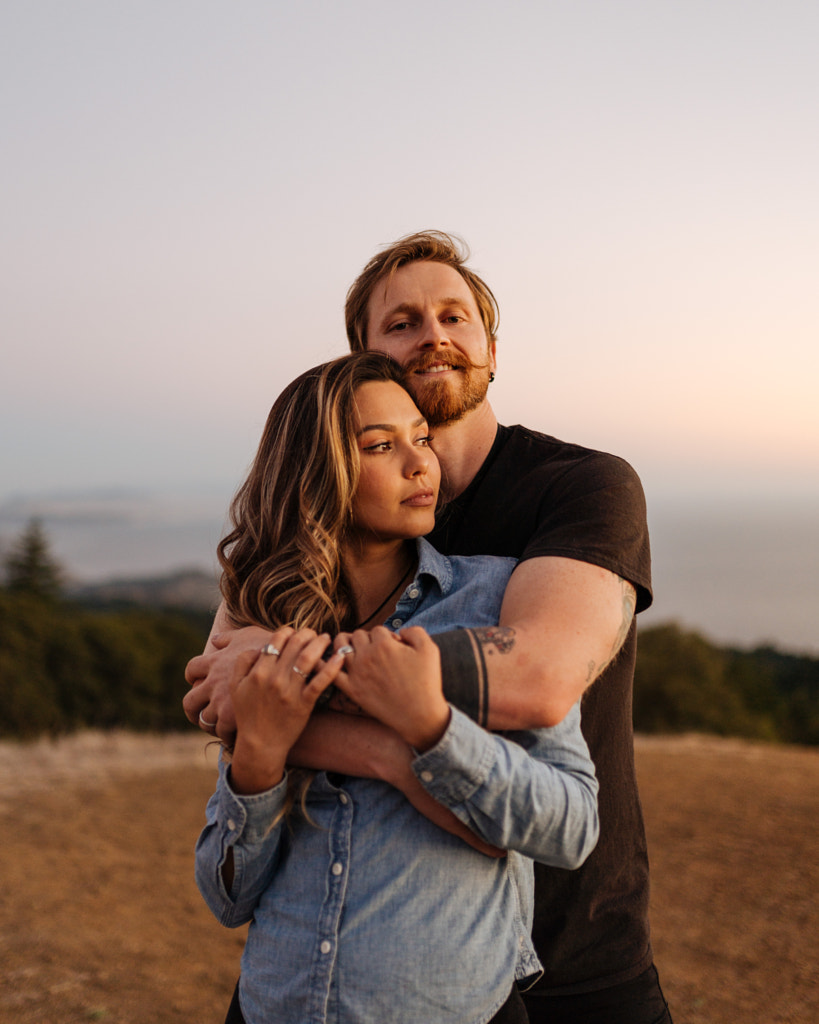
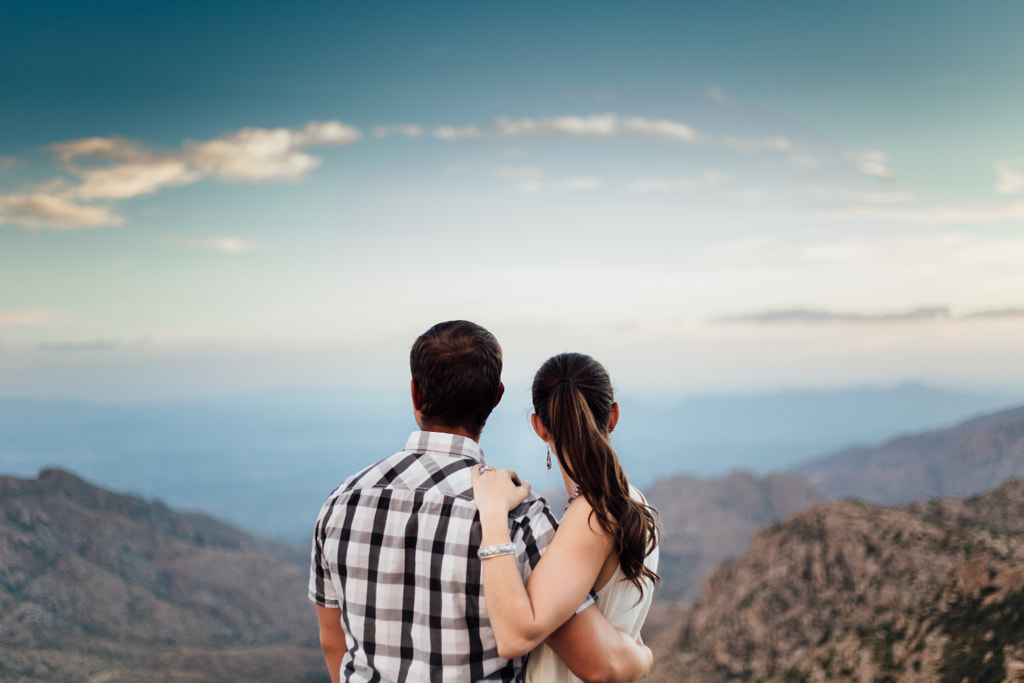
Hug from behind
This classic pose brings the couple closer together, while also providing an opportunity for romance and introspection. It can help to direct the couple a bit here—; maybe they’re looking in the same direction at a beautiful landscape, or one of them is turning back for a kiss.
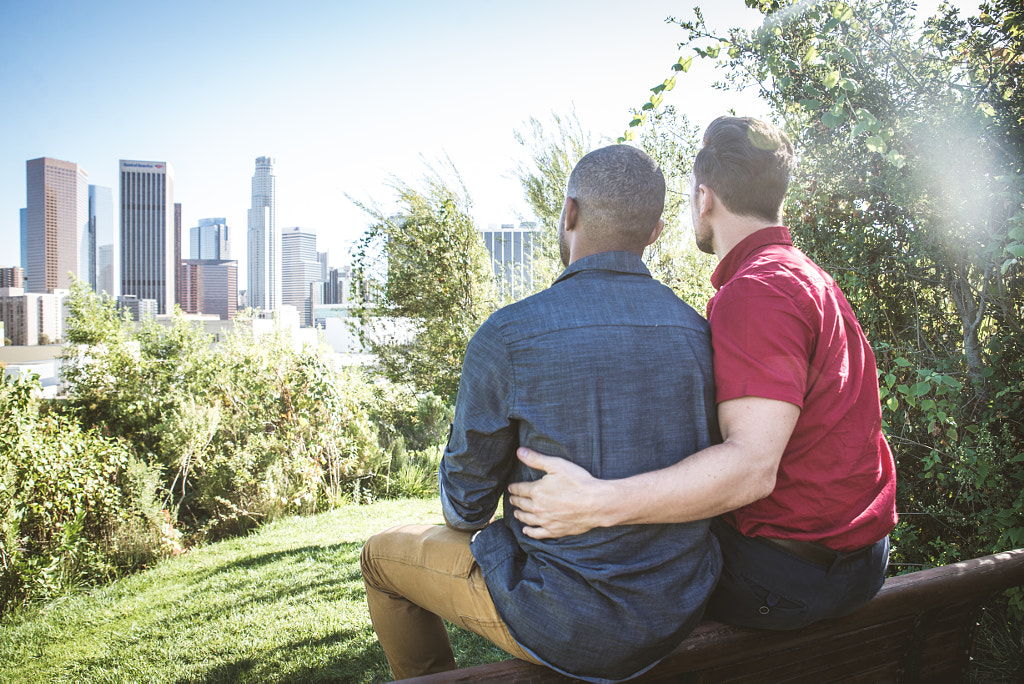
Looking into the distance
This pose can serve as a powerful metaphor for the couple’s dreams and future together.
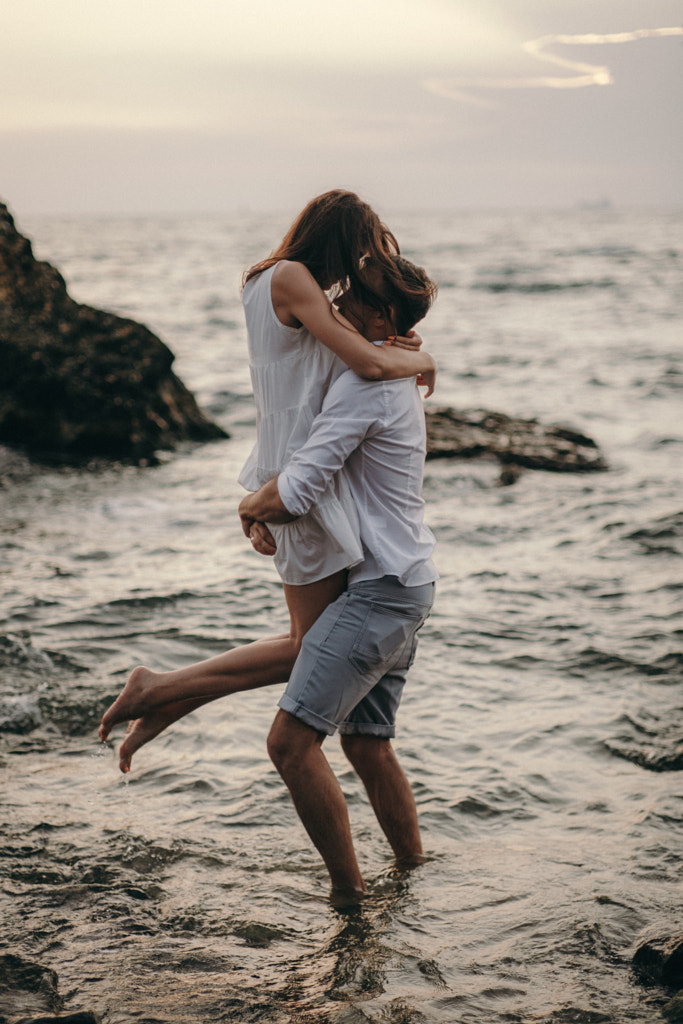
Lift-off
Lifts are one of the more versatile couple poses, so let your models have fun with it. Maybe they prefer a Dirty Dancing-style lift, or they go for an ‘over-the-threshold’ moment following a wedding.
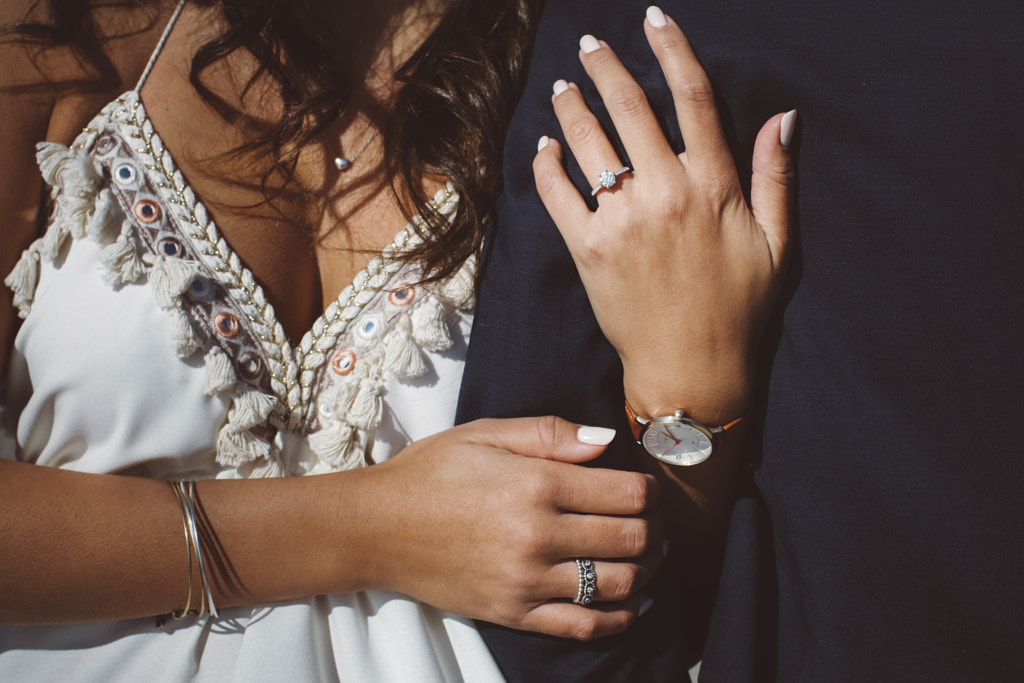
Ring shot
If your couple is married or engaged, use their hands and jewelry to share their journey.
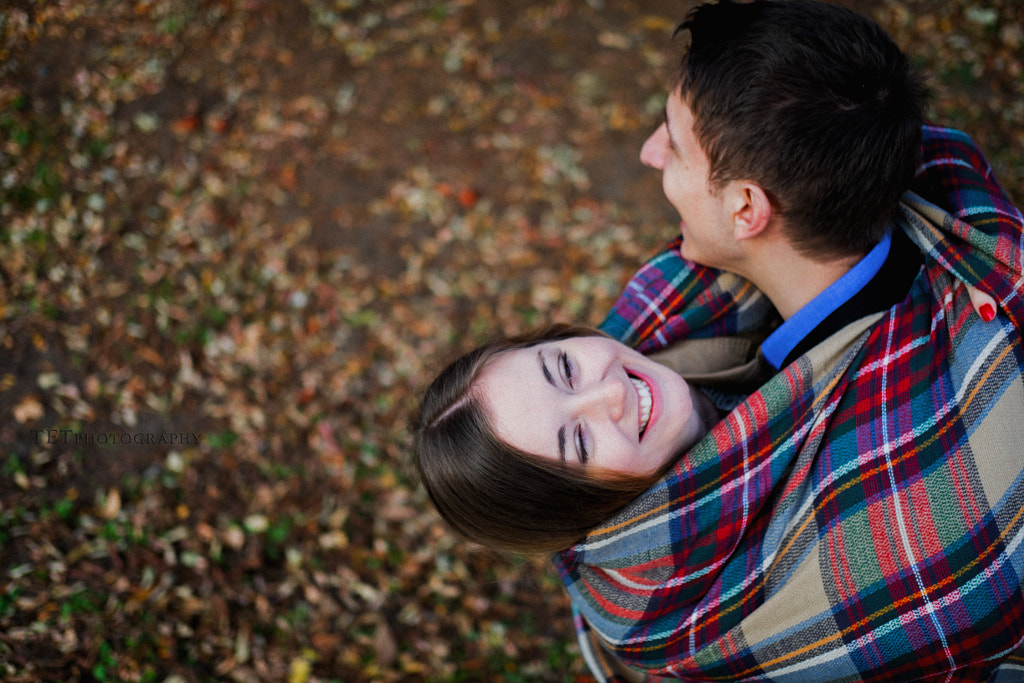
From above
Grab a stool or a ladder to photograph an embrace from an unexpected vantage point.
Lying down and facing the camera
You can do this pose at home or in the great outdoors, as long as the couple is comfortable.
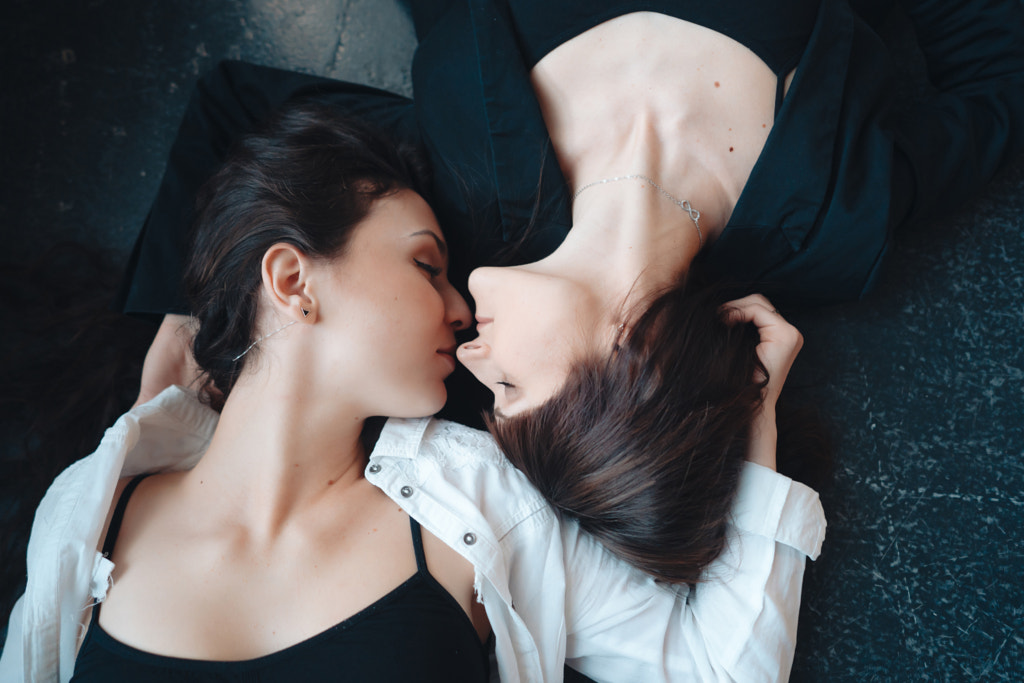
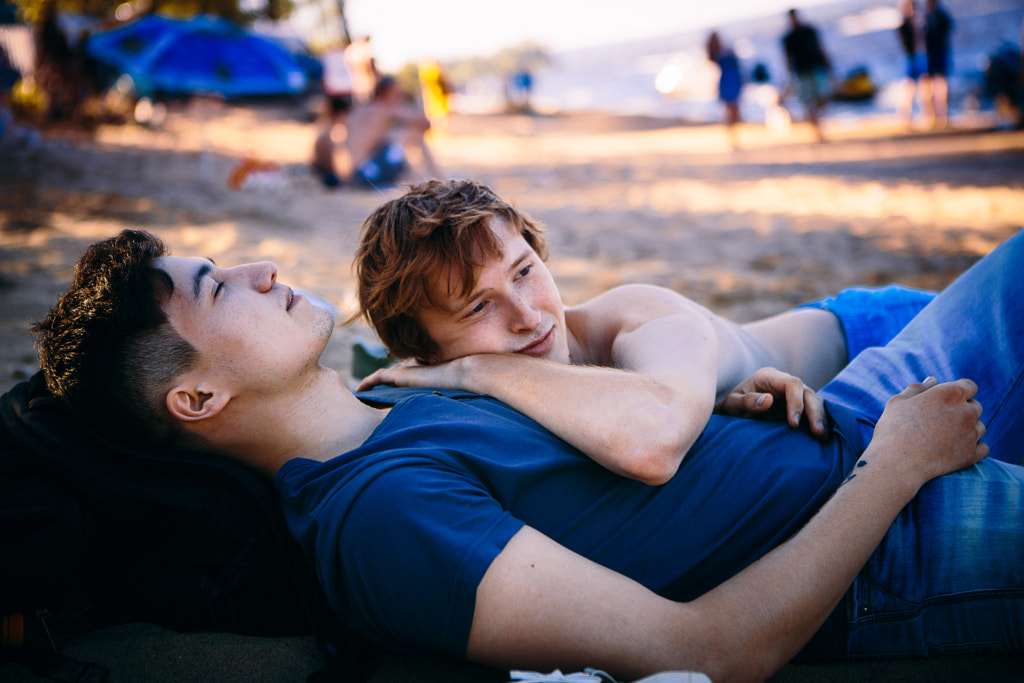
Lying down and facing each other
For this pose, your models can lie flat on the floor with their heads turned, or they can prop themselves on their elbows to look into each other’s eyes.
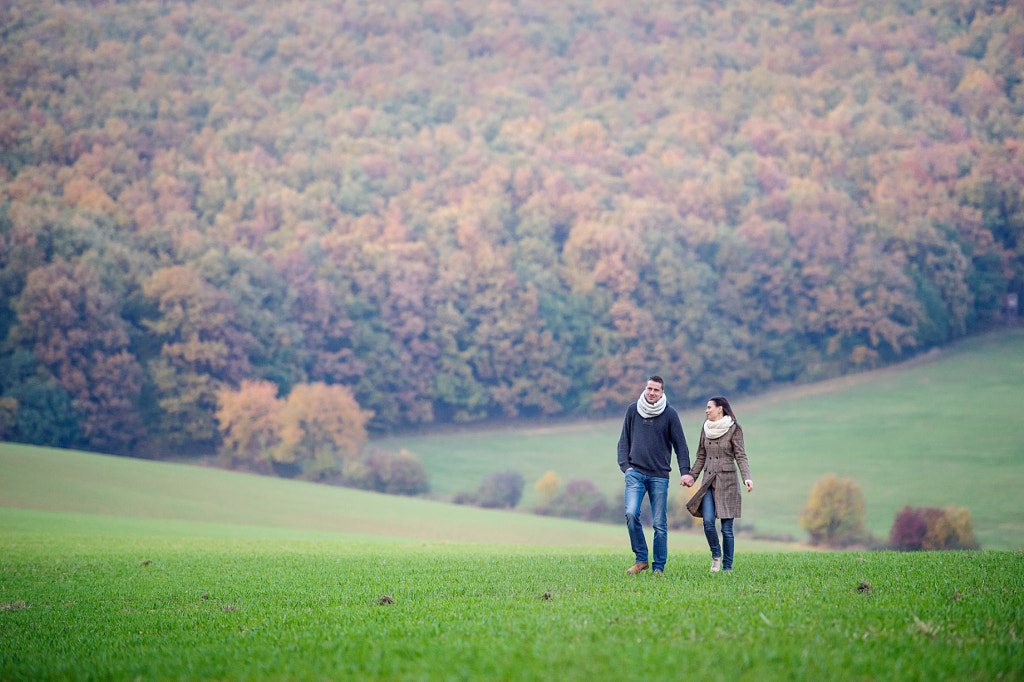
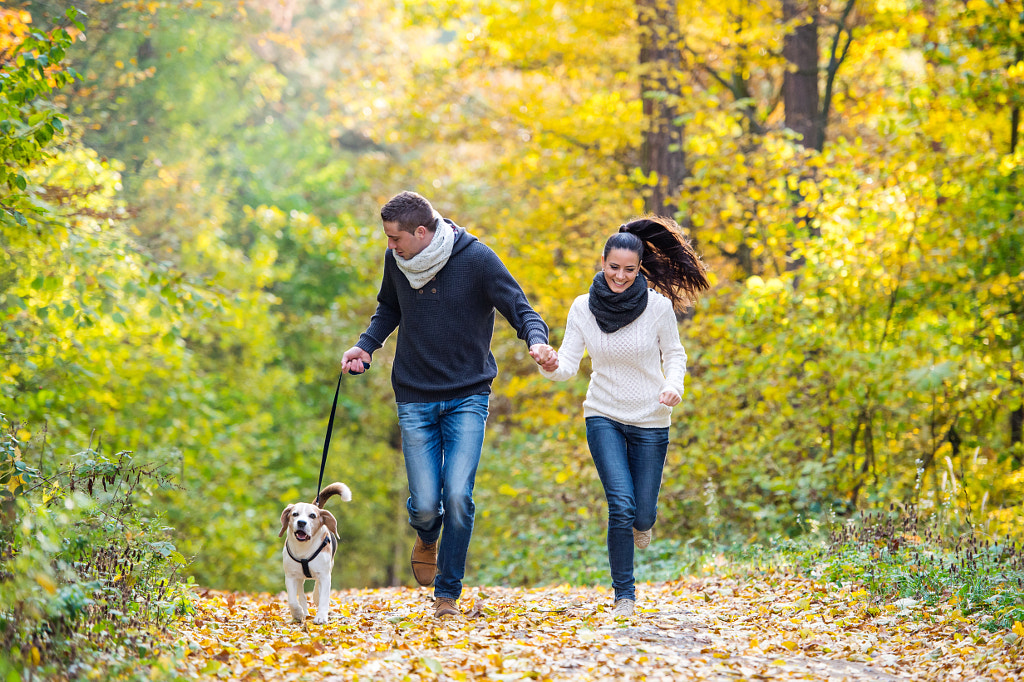
A romantic walk
The changing seasons pose unique opportunities for couples photoshoots, from falling autumn leaves to soft winter snow.
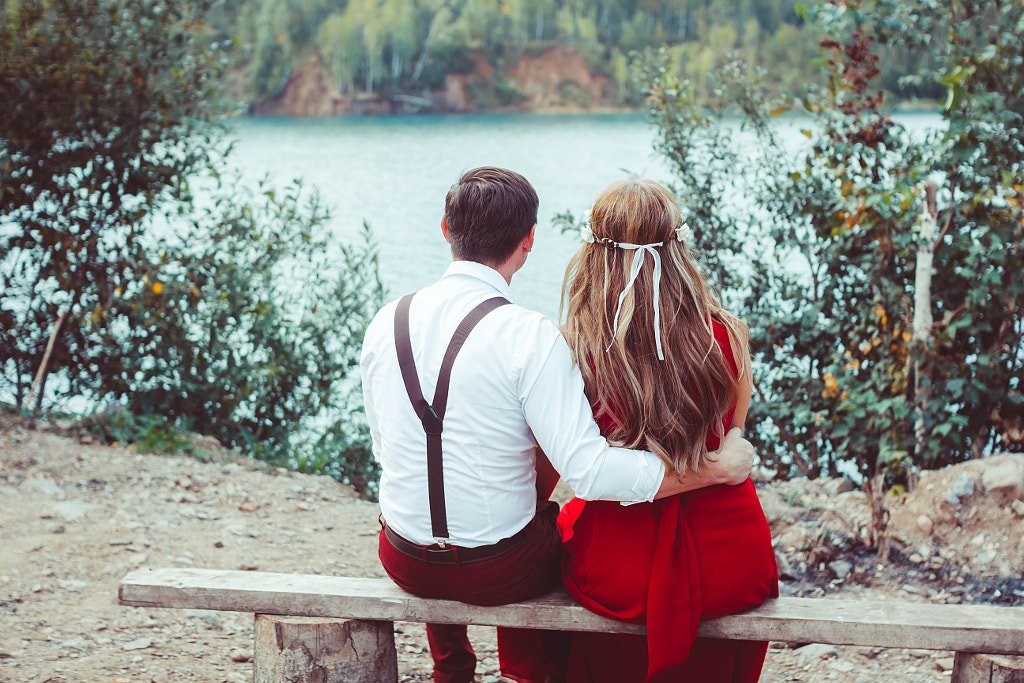
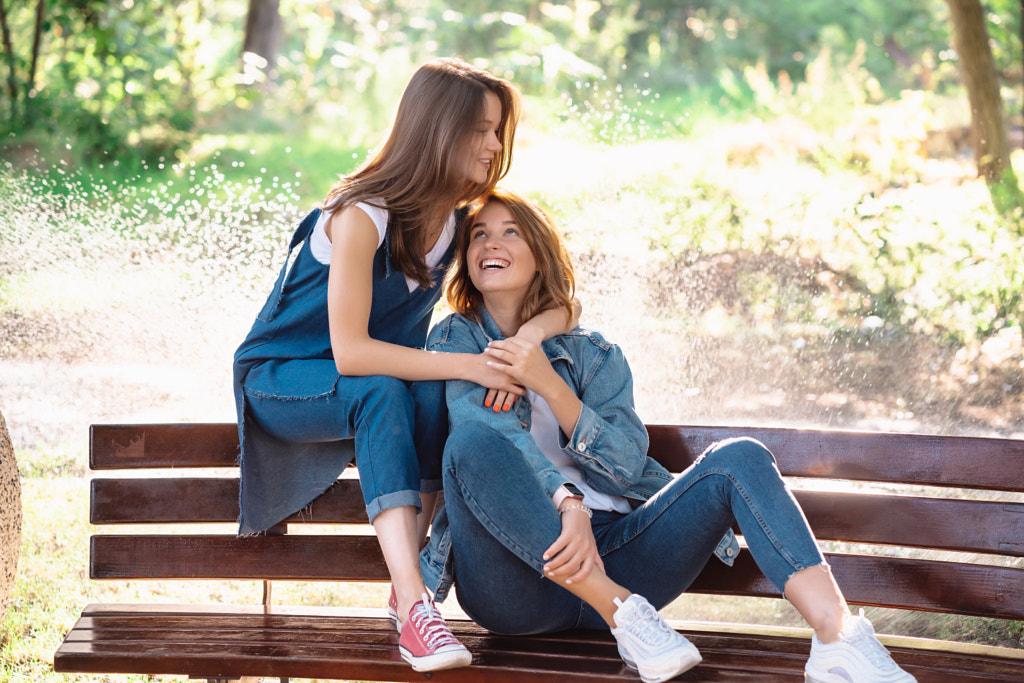
Park bench
While you’re on a romantic walk, give the couple time to rest and relax. They’ll appreciate the break, and you’ll get a chance to capture more candid, spontaneous interactions.
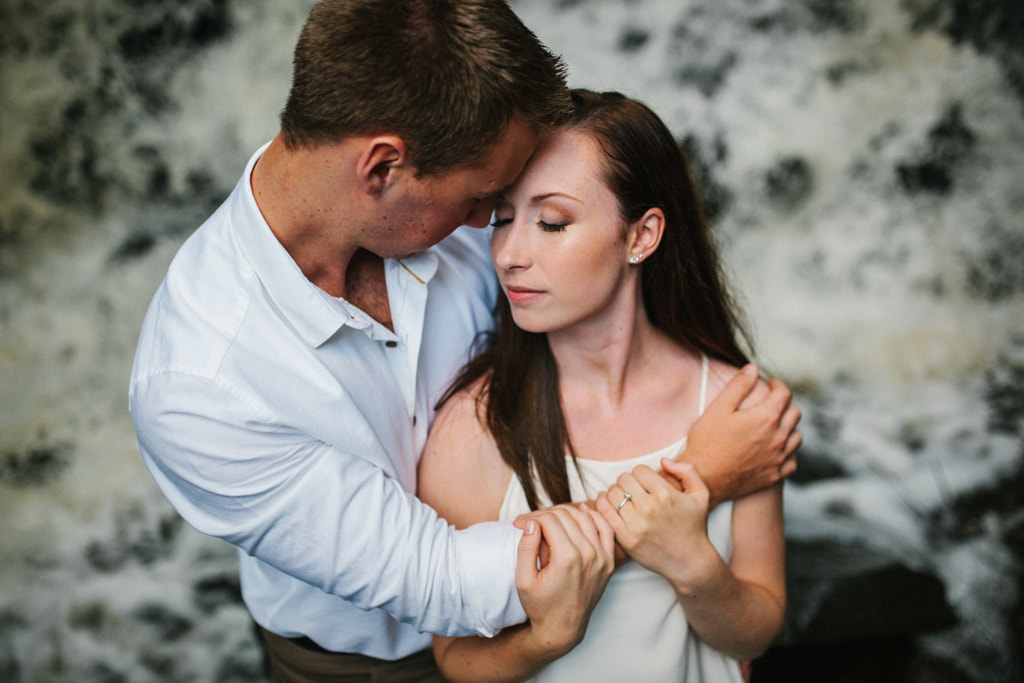
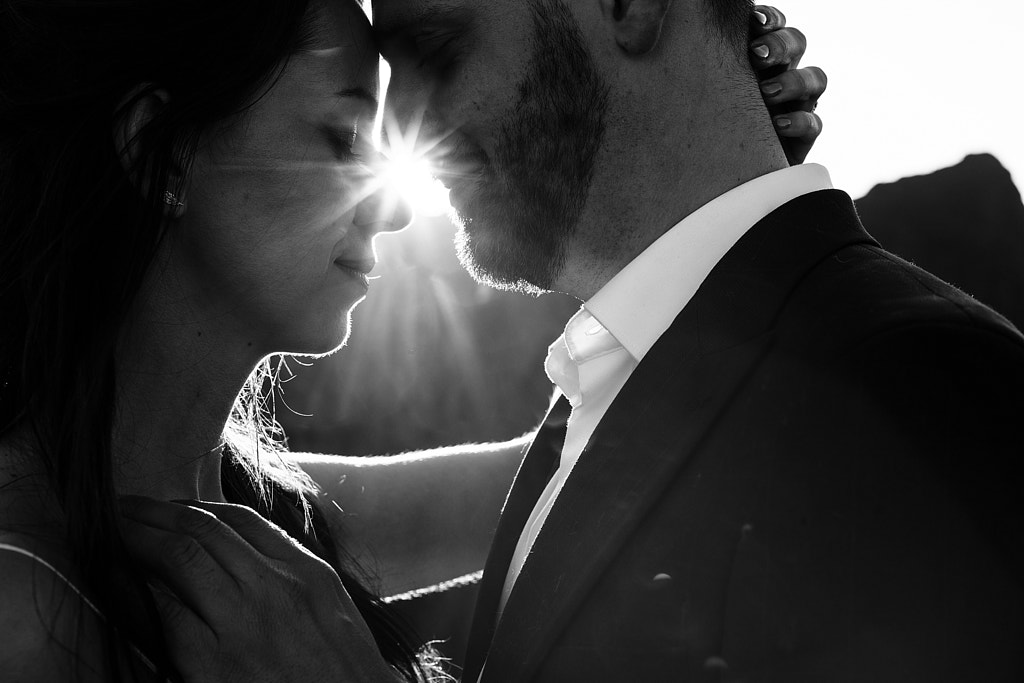
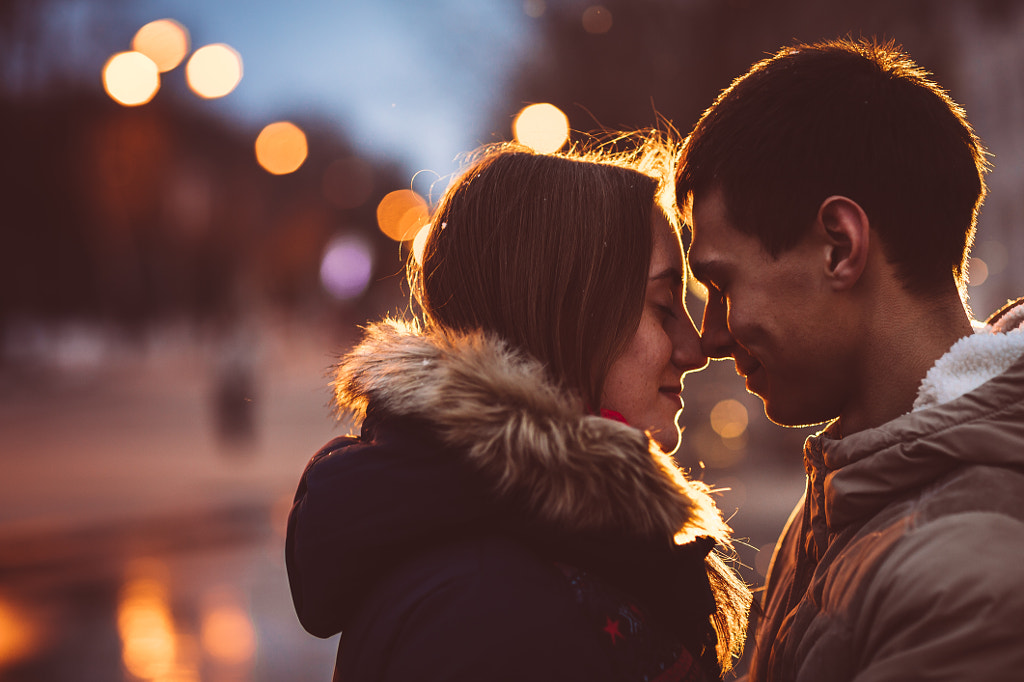
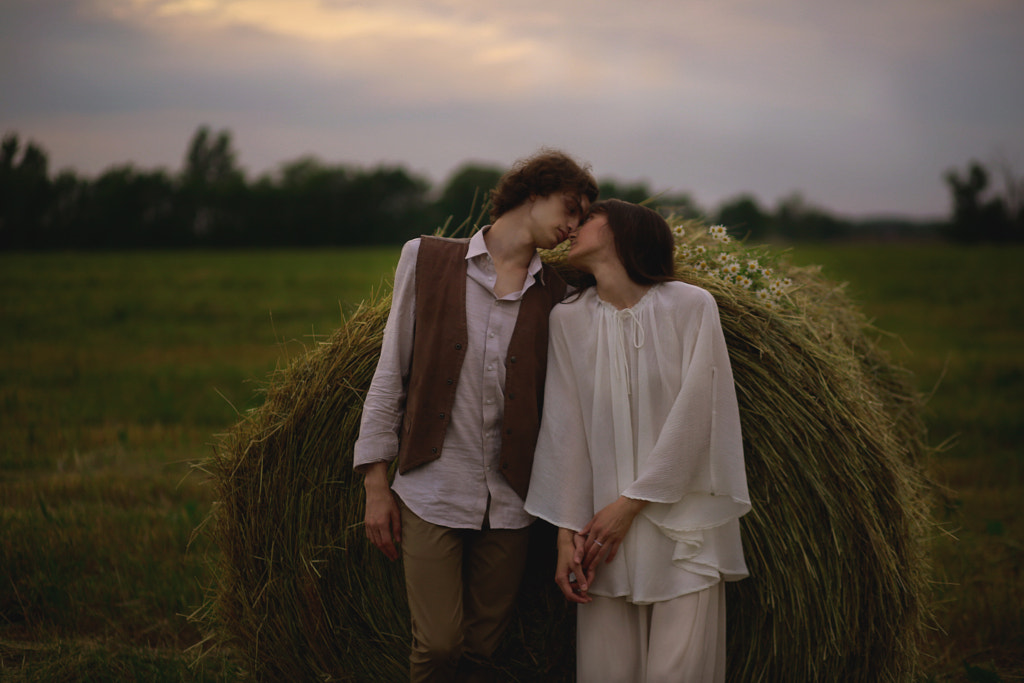
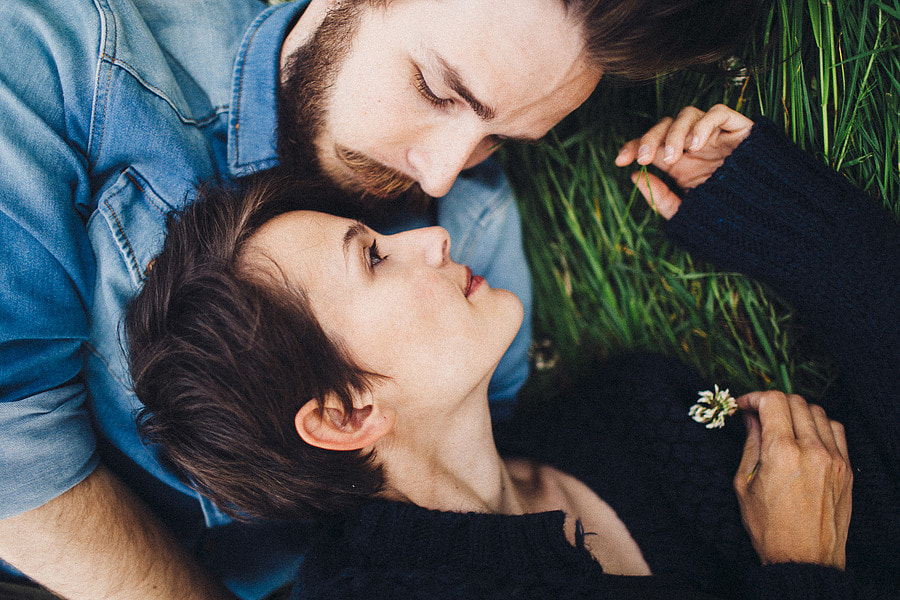
Foreheads together
To underscore that sense of intimacy and trust, have the couple press their foreheads together.
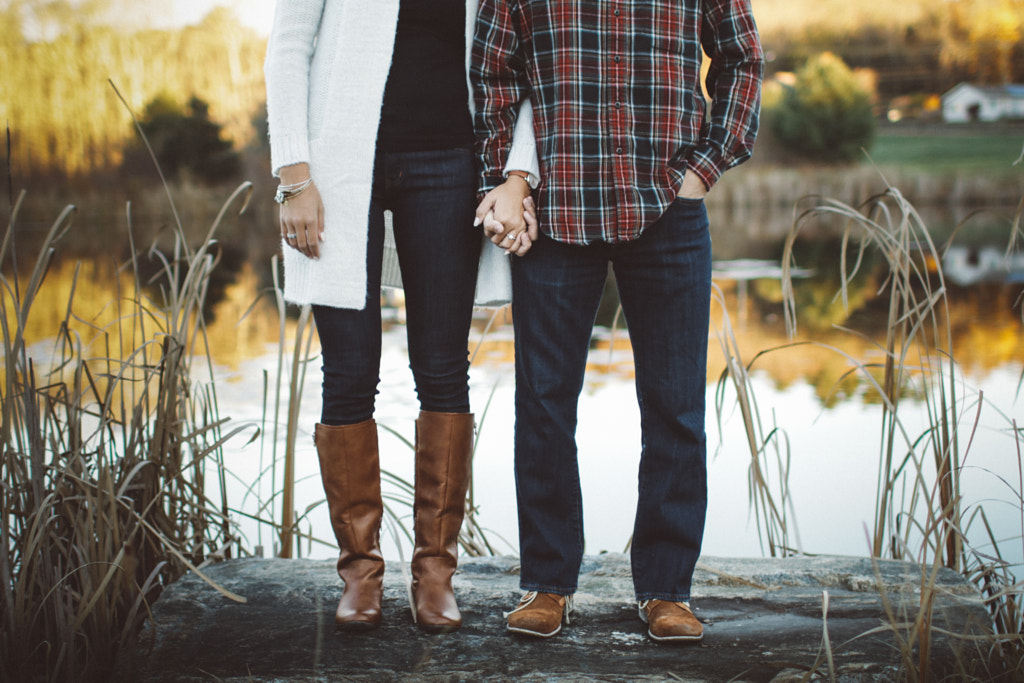
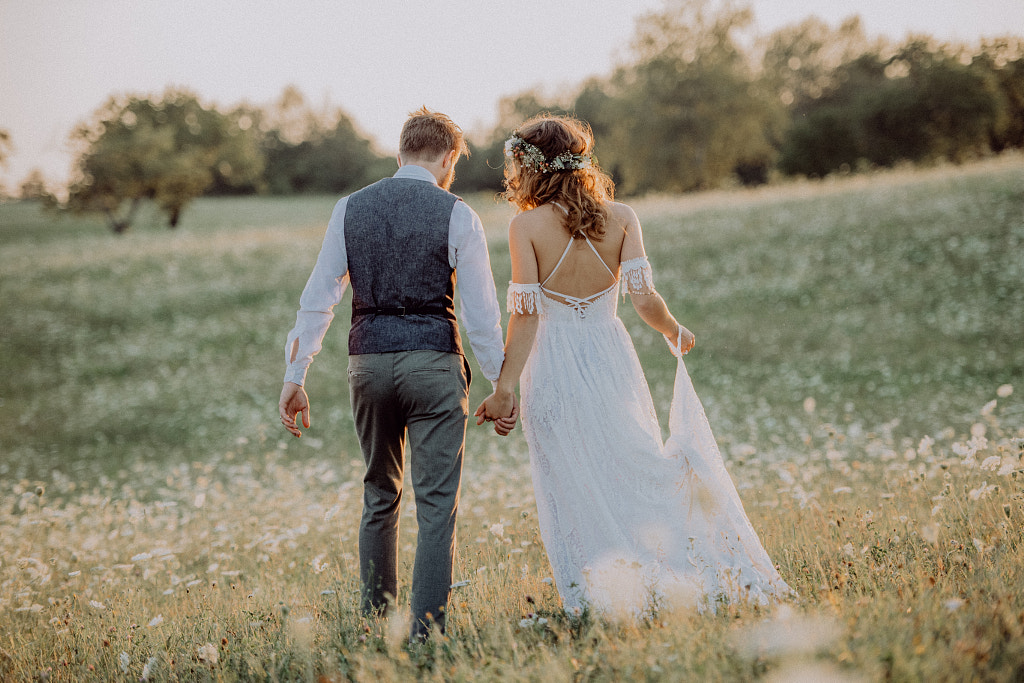
Holding hands
Take wide shots of the couple interacting with the landscape, hand-in-hand, or zoom in on the hands themselves for an intimate yet universal image.
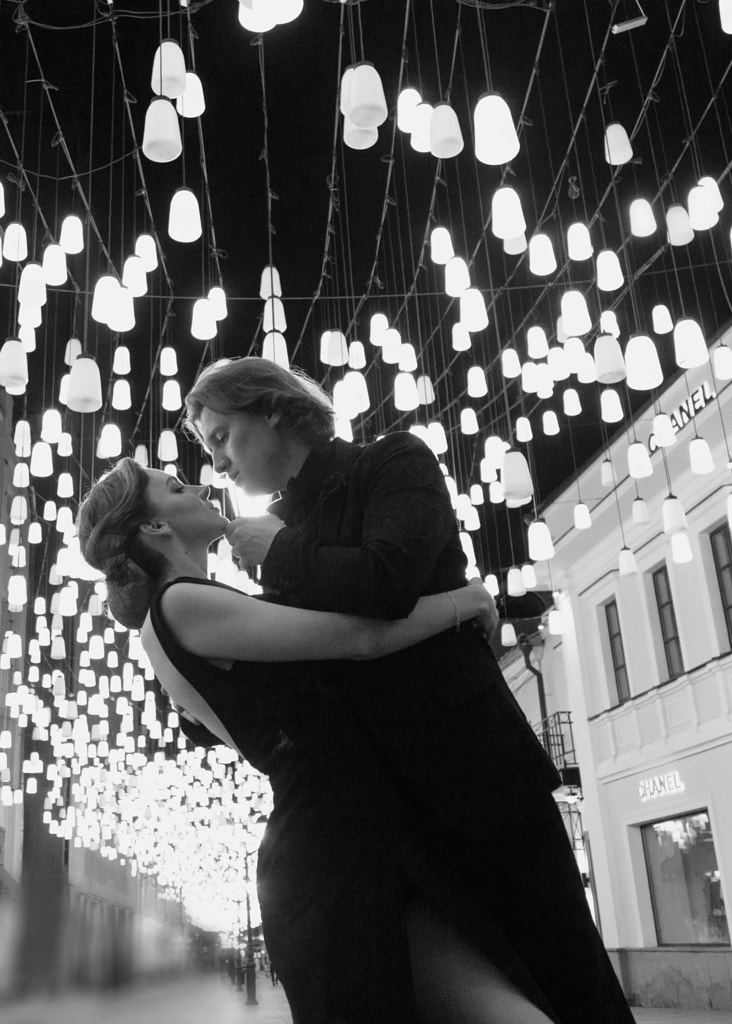
A night on the town
Prior to the shoot, get to know whether they want to do a photoshoot during the day or if they are interested in night photography. If they opt for a night shoot, consider making a “date” of it. Organize an activity the couple enjoys, and capitalize on some of those beautiful artificial lights you’ll have at your disposal.
Stylish details
Your models will have put a lot of thought into what they wear, and hopefully, you will have discussed clothing in advance of the shoot. Take advantage of pretty details like jewelry, hairstyle, shoes, and outfits by honing in on these elements —you’ll capture the couple’s personal aesthetic and vibe.
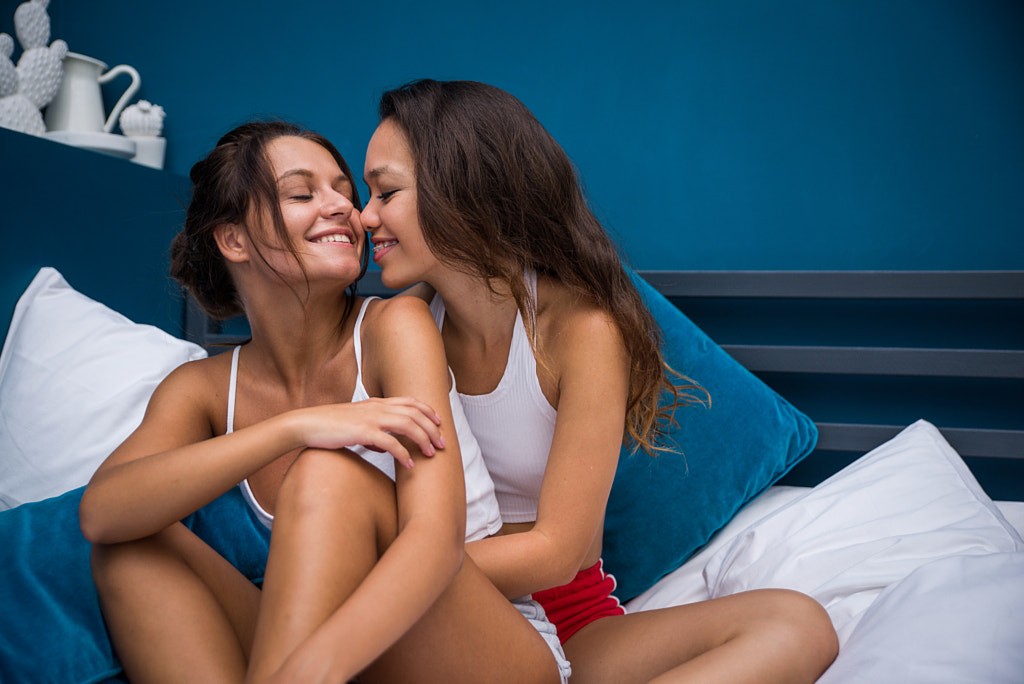
Whispering
Asking a couple to whisper things in each other’s ears is a great way to break the ice. Depending on their personalities, they can say anything they’d like, from the romantic to the humorous.
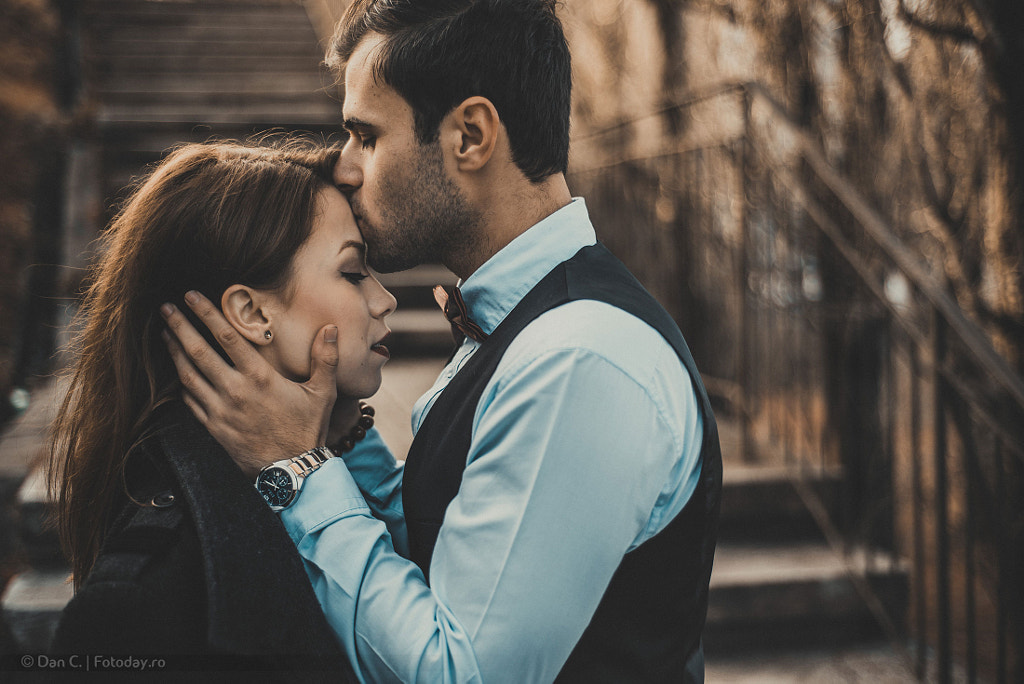
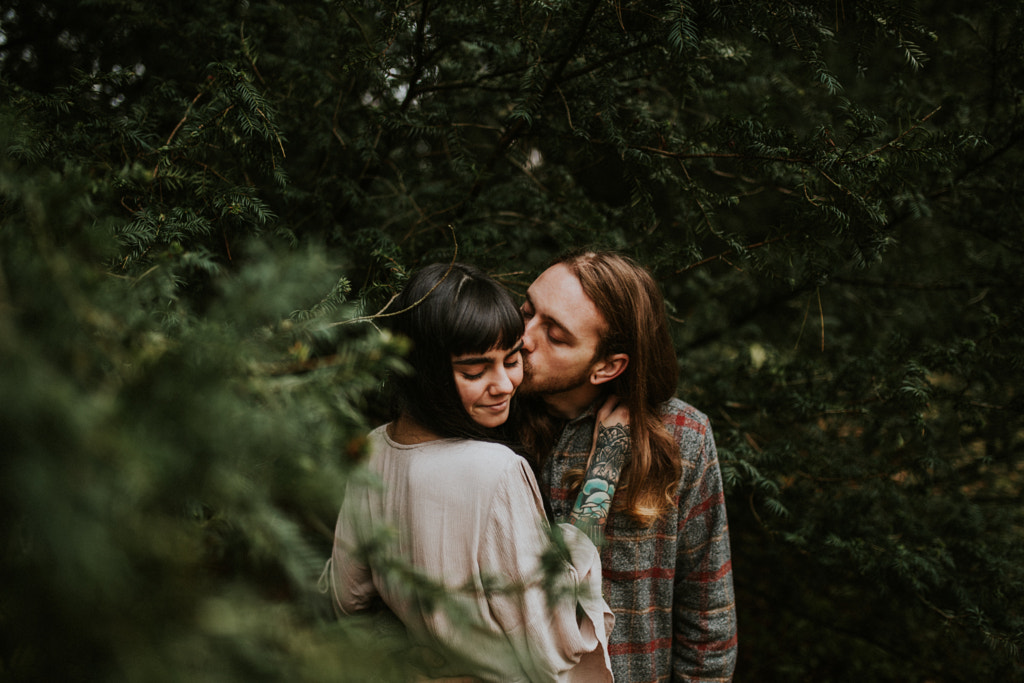
A forehead kiss
This sweet kiss helps set a more serious, romantic mood and works well in the middle of a shoot when you’re all comfortable with each other.
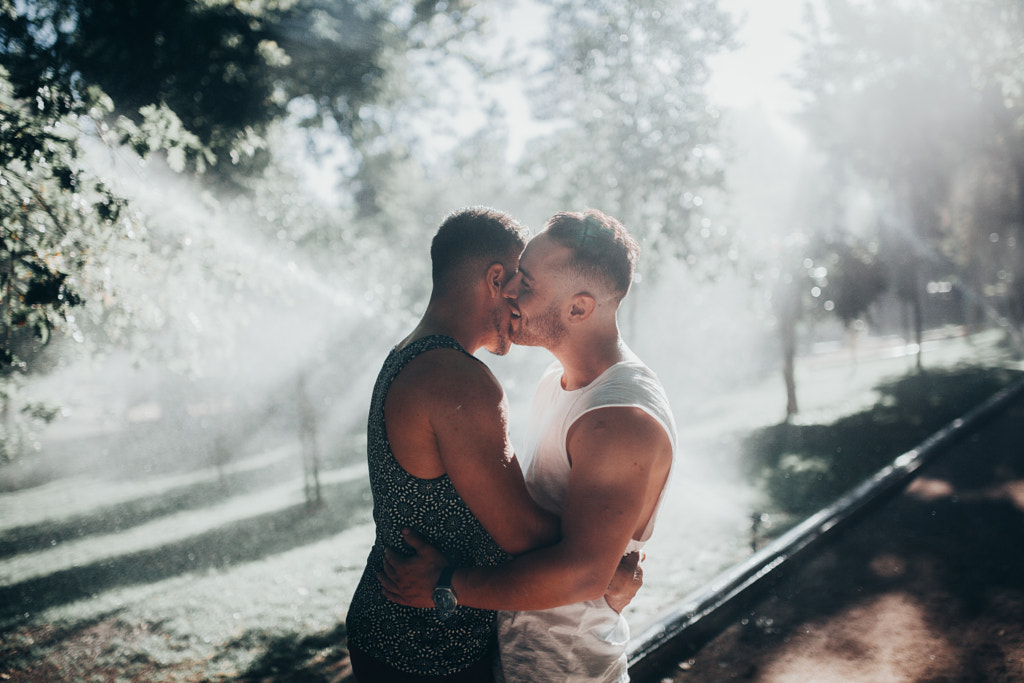
A kiss
Kissing is personal and intimate, so whenever possible, let the couple know in advance that you want to include some in your shoot. Don’t fret if the first few kisses are awkward; give your models time to get comfortable in front of the camera, and remember to provide a casual, encouraging environment.
An almost-kiss
Often, the moment just before a kiss makes for an even better photo op than the kiss itself. You can even ask the couple to pause for a second and look at each other before (or after) each kiss.
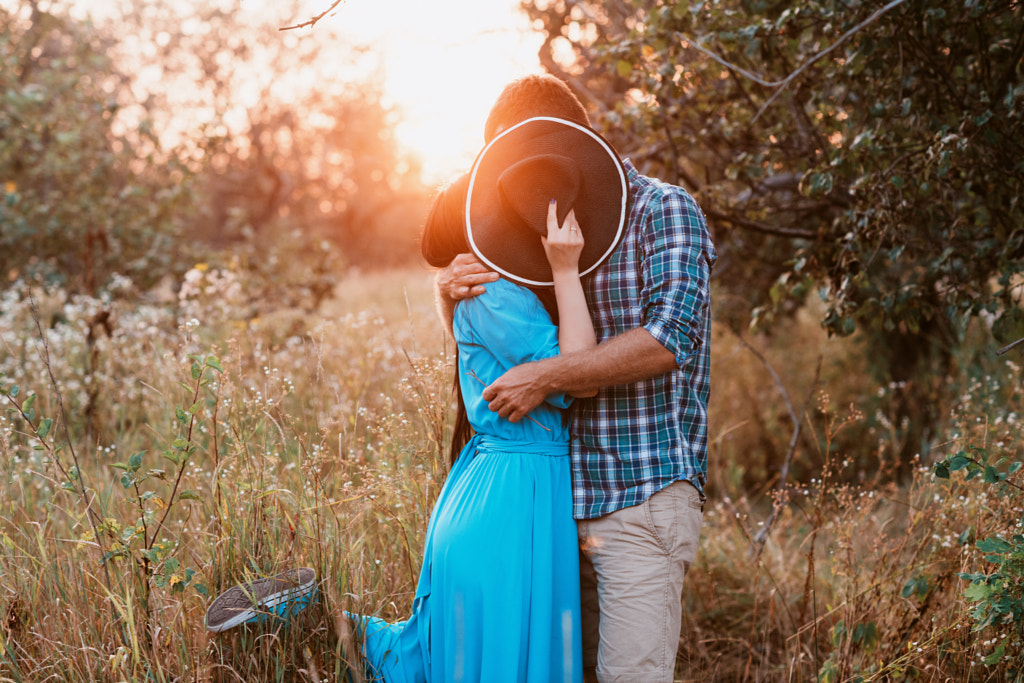
A ‘secret’ kiss
You don’t have to see the kiss for it to be effective. Use a cute prop like a hat or balloon to hide the couple’s faces while they enjoy a kiss in private.
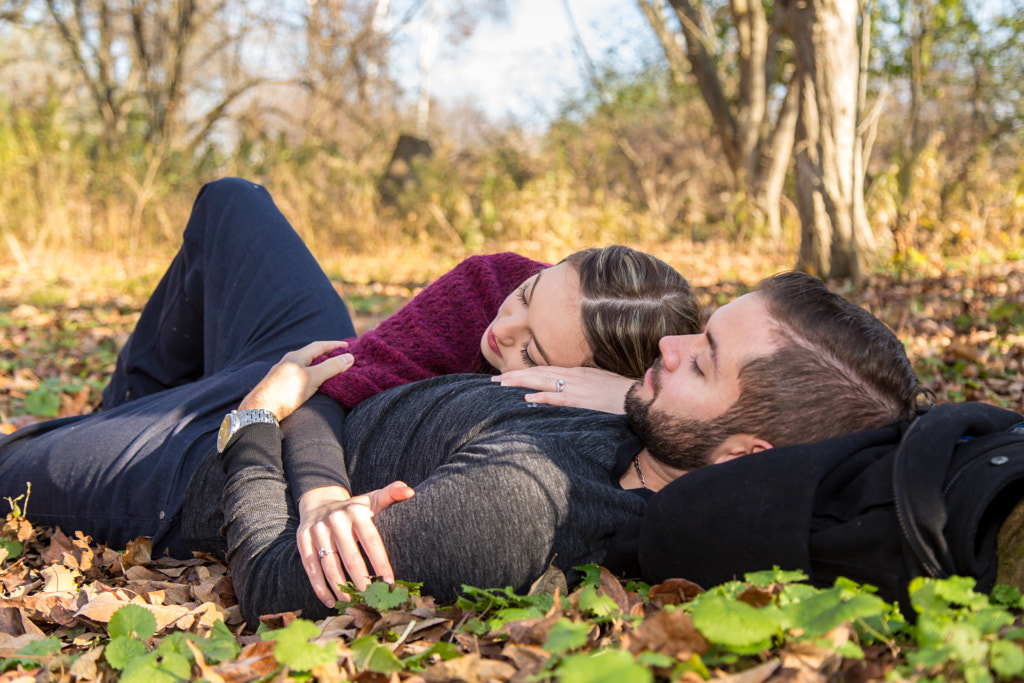
Cuddling
While moving from one pose to the next, the couple might naturally fall into poses of their own. Take advantage of these organic moments. During breaks in the photoshoot, look out for instances when they’re resting or bonding without worrying about the camera.
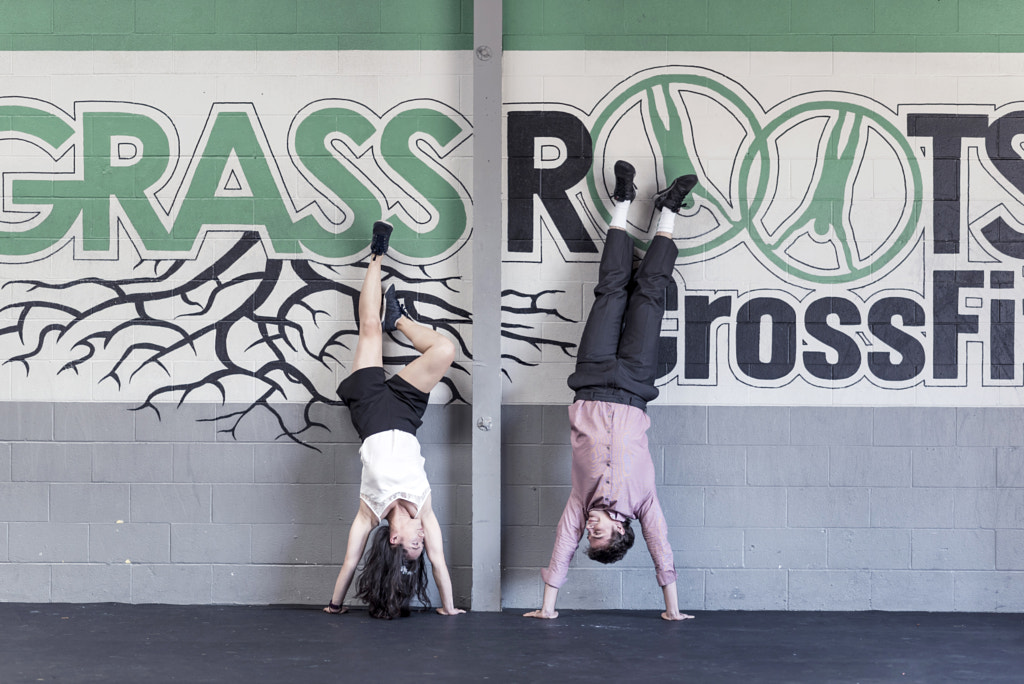
Goofing around
Couple photography poses don’t have to be serious to be romantic. Give your models the freedom to move around, make funny faces, and express their playful side on set.
Shallow depth of field
Focus all your attention on the couple by blurring and abstracting the background using a wider aperture.
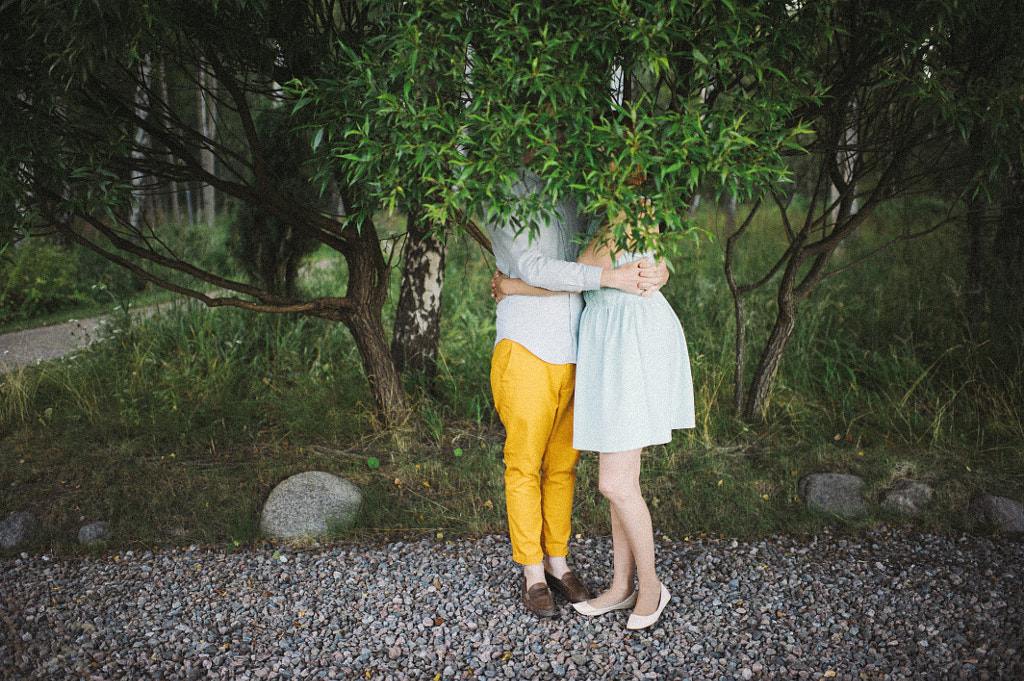
Framed
Add depth to your images by including details in the foreground. A tree branch, flower blossoms, or architectural detail can serve as a “frame” around your couple, highlighting their connection while also creating visual interest.
Candid moments at home
Beyond a formal portrait session, consider setting up a lifestyle shoot where you can document the couple during their ordinary, everyday routine. For these photos, it’s important to fade into the background and allow the couple to fall into their normal rhythms and patterns, whether they’re joking around or making coffee together.
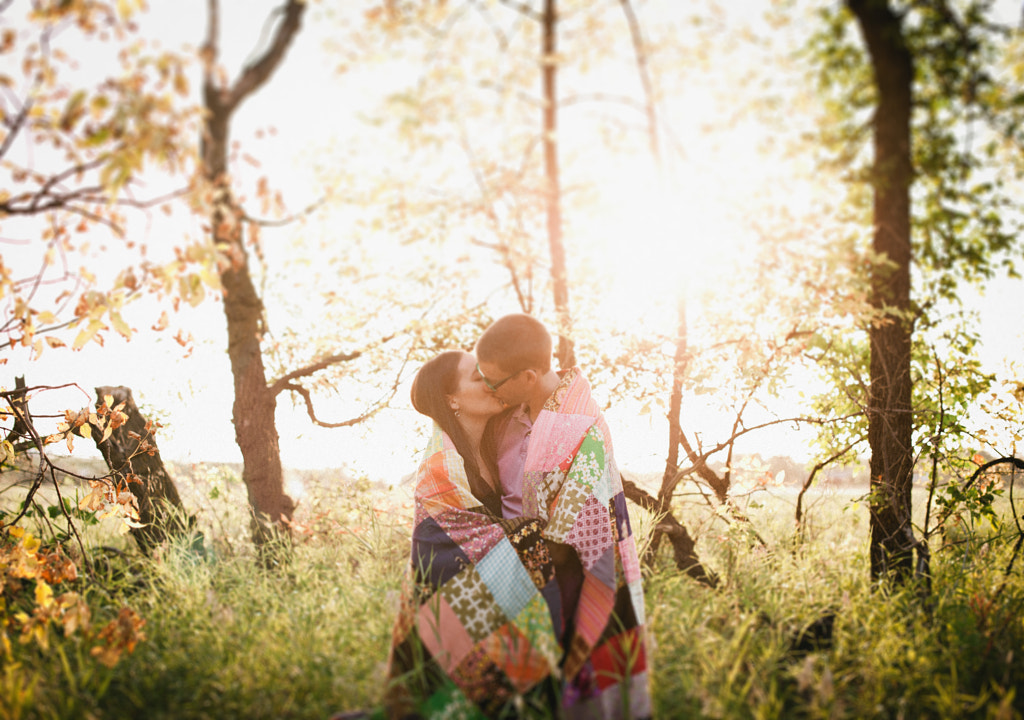
Blankets
A blanket is a simple but timeless prop, perfect for cozy couple poses in autumn and winter. Because they’re so adaptable and practical, blankets can also help you generate more pose ideas throughout the shoot, whether the couple is snuggled up by the fire or enjoying a picnic outdoors.
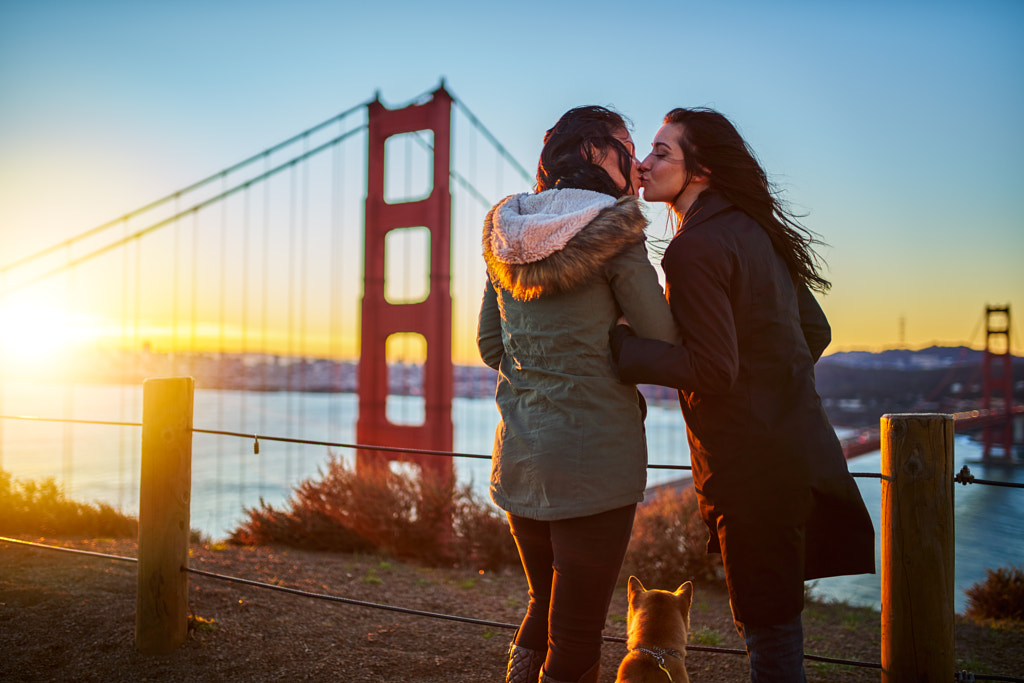
A gorgeous view
If you’re shooting at a location that’s meaningful and important to the couple—or if you’ve traveled a long way to find a stunning vista—remember to highlight it in some of your shots.
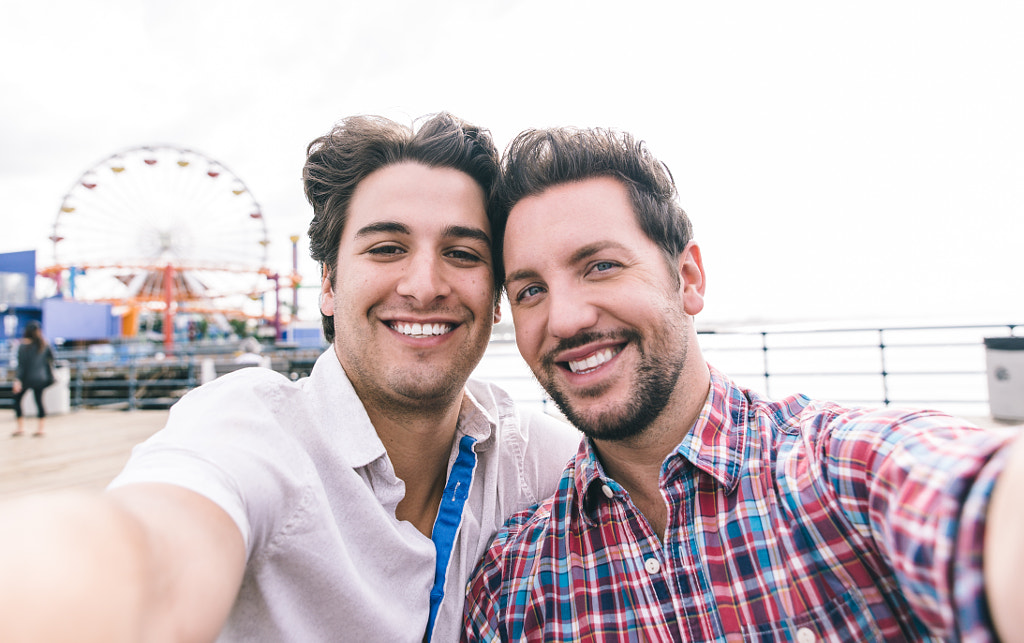
The ‘selfie’
This isn’t an actual self-portrait since you’ll be taking the photo, but by setting up a fake “selfie,” you’ll give the couple a chance to express themselves and have fun with the process.
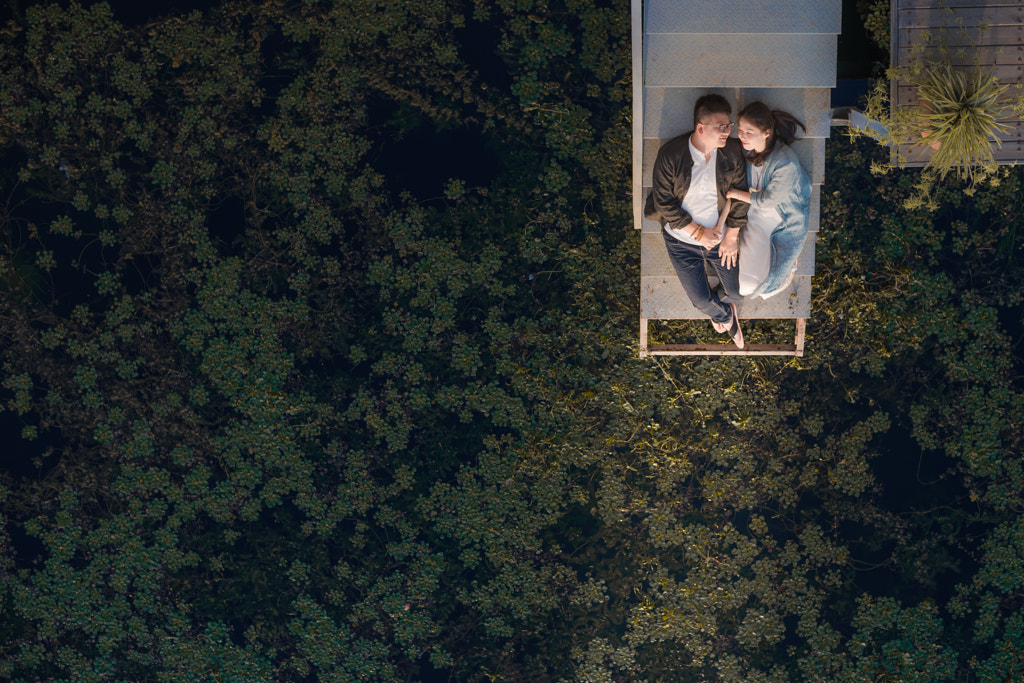
Aerial shots
According to a survey from The Knot, 10% of couples married in 2017 opted to have drone photos taken at their weddings, so consider going the extra mile and capturing your traditional poses from an aerial perspective.
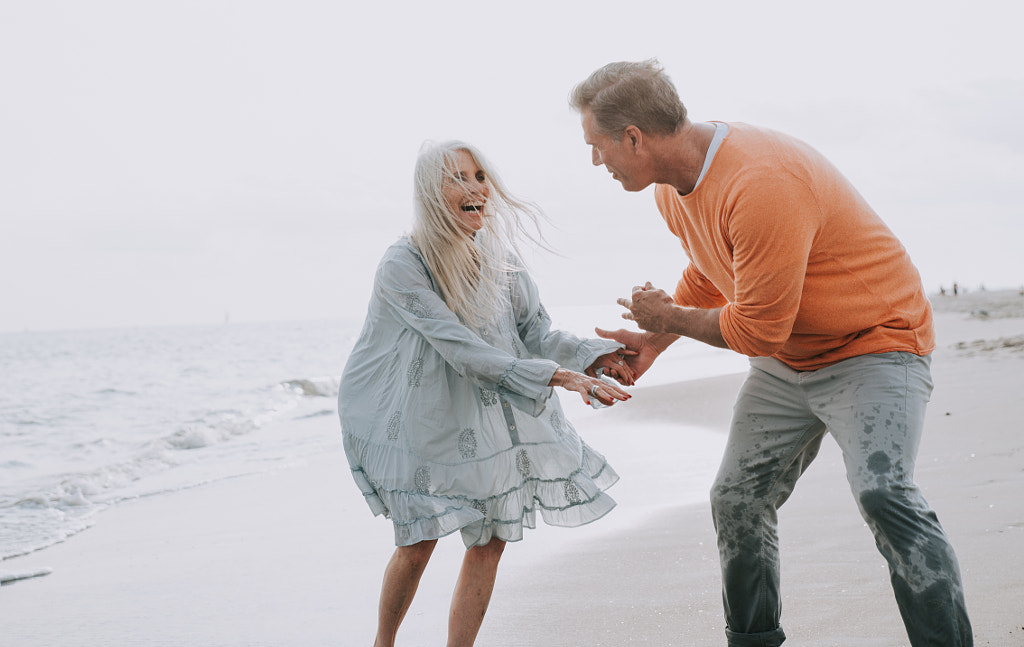
Laughing
The best kind of laughter is organic, so keep an eye out for it in between other poses. Sometimes, after kissing, a couple will naturally start cracking up, giving you the perfect chance to seize the moment.
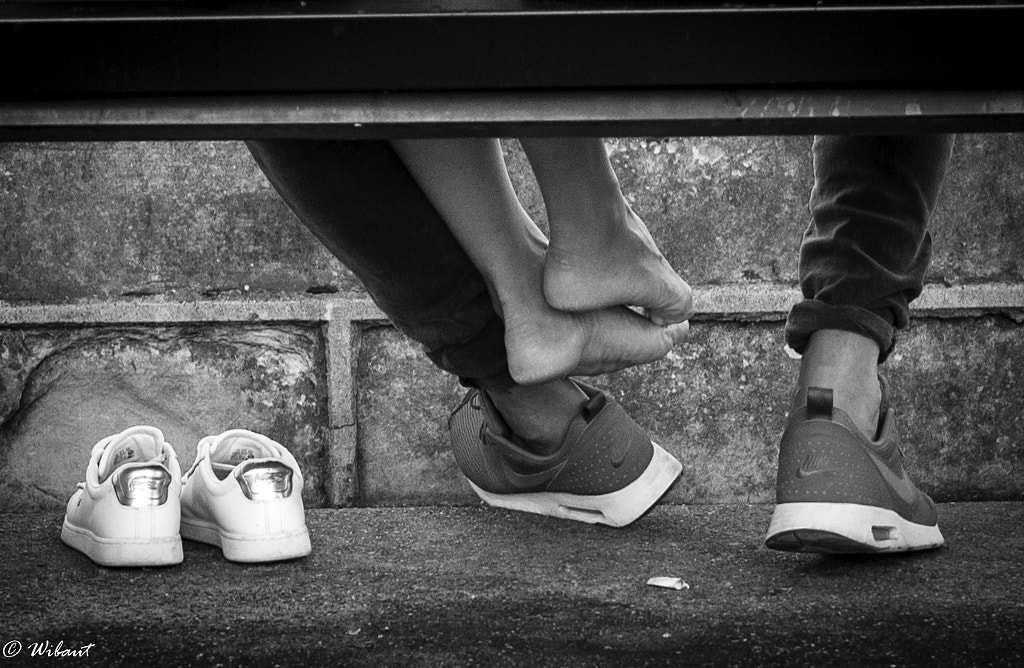
Look down
A soldier’s goodbye, with Bobby the cat, captured by Sam Hood the 1940s, is known as one of the most romantic photos in history—and it doesn’t even show the couple’s faces. By turning your attention to the feet, you can capture gestures and details that you might otherwise miss.
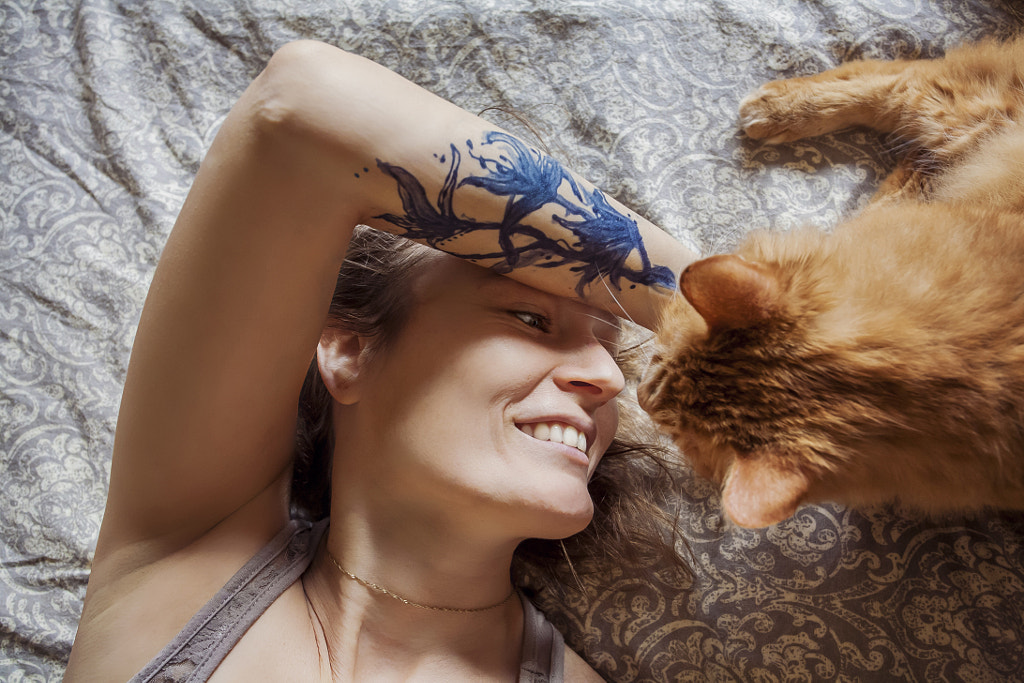
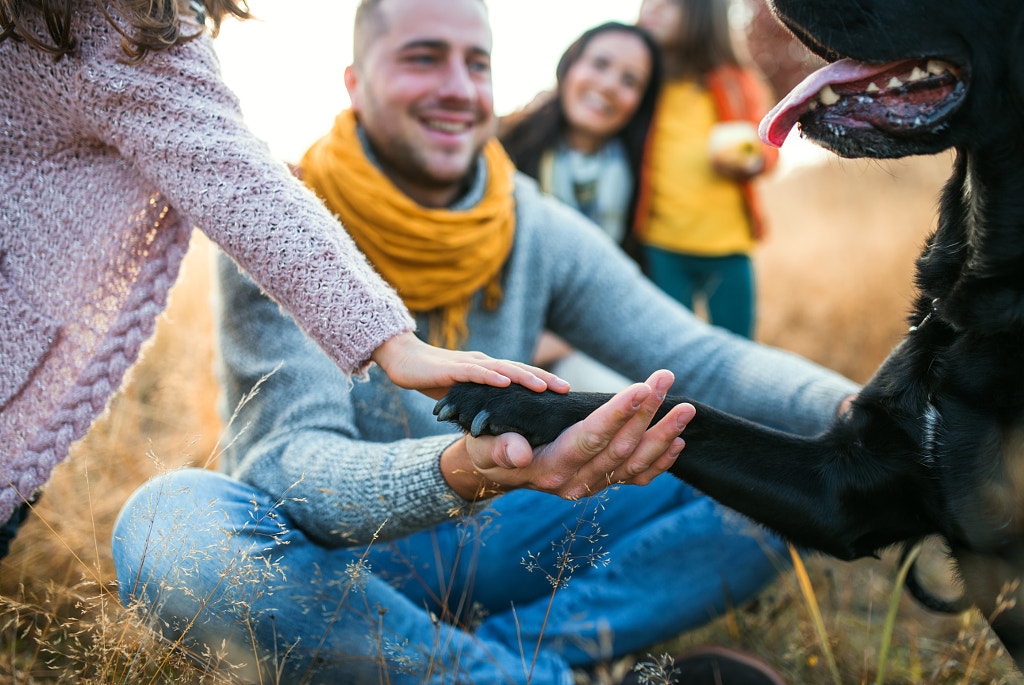
With the family
In between formal couple portraits, invite the rest of the family to join—kids and pets included. They’ll appreciate having these photos with loved ones for years to come.
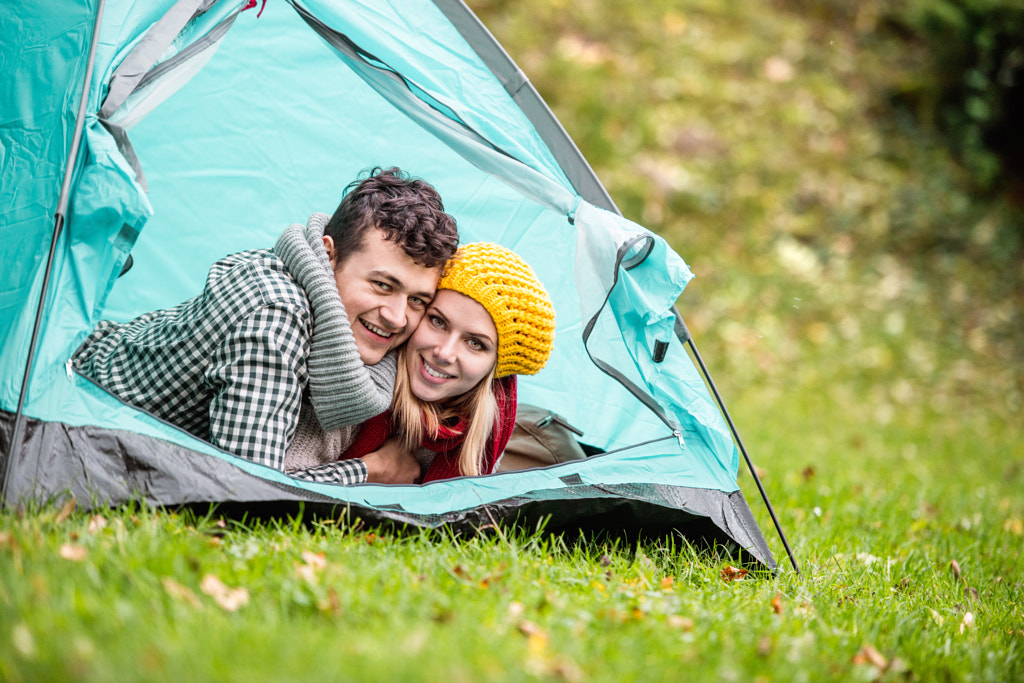
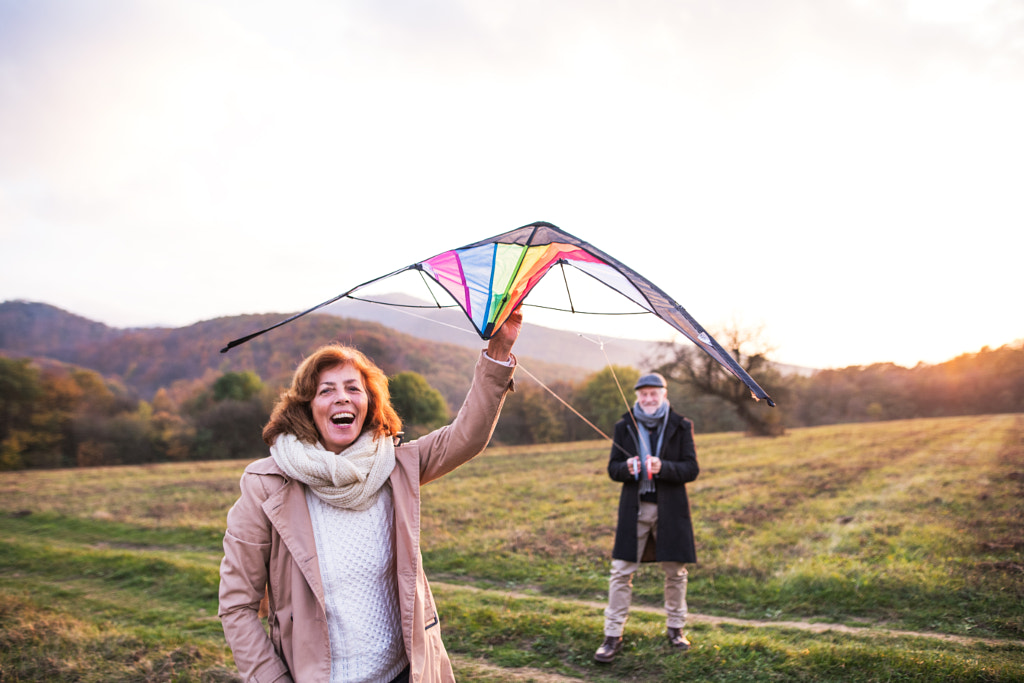
Something in common
This is where a pre-shoot interview with the couple comes in handy. In addition to relying on the tried-and-true poses and settings you’ve used for other couples, photograph the couple in their element. Focus on interests they have in common. If they’re the outdoorsy type, head to a hiking trail. If they like cooking, organize a food-themed shoot.
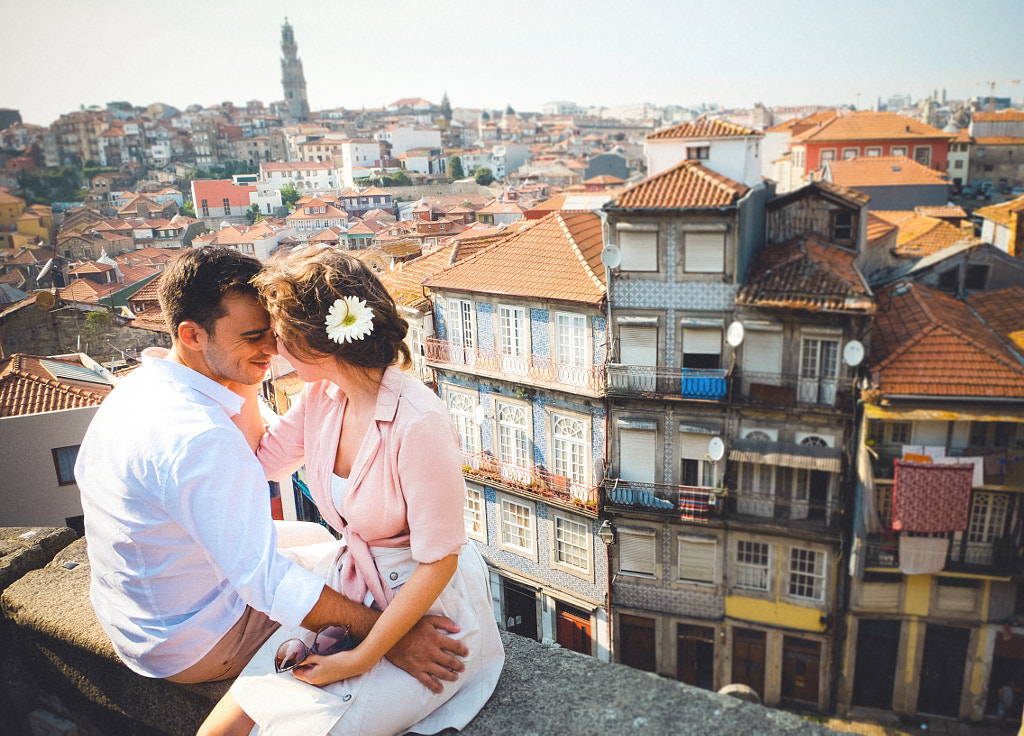
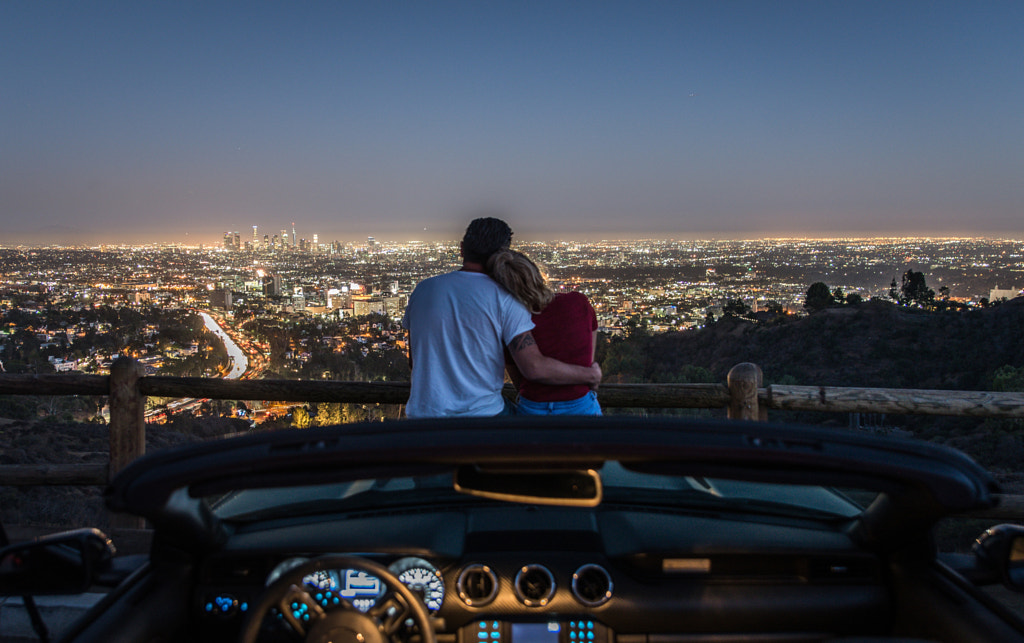
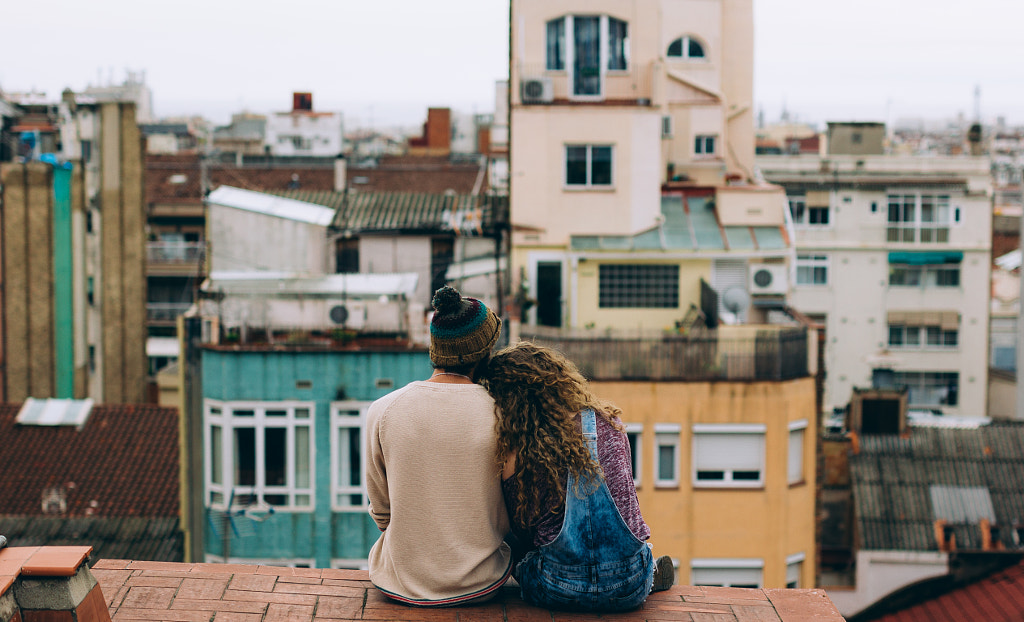
Cityscapes
If you’re based in a city, find a hill or rooftop for the couple to explore. Schedule your shoot for the golden hour or blue hour, and photograph them taking in the sights.
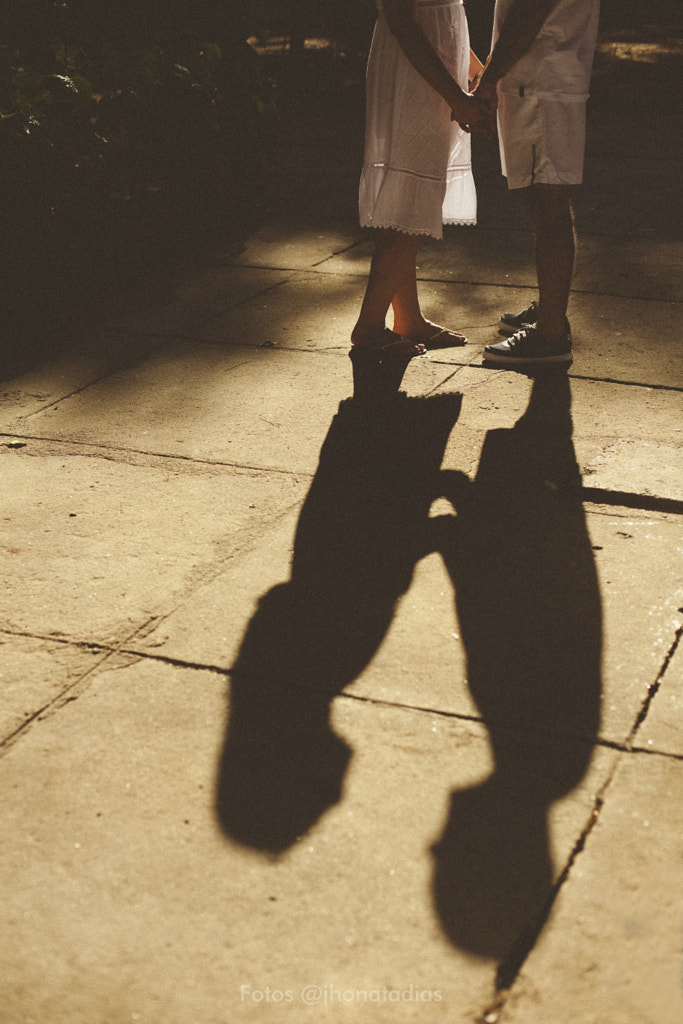
Shadows
For a more anonymous (but relatable) photo, turn your attention away from the couple and onto their shadows. When working with shadows, remember to exaggerate and accentuate gestures and poses. During the golden hour, people will cast particularly long, beautiful shadows, so it’s worth taking that into account when planning your shoot.
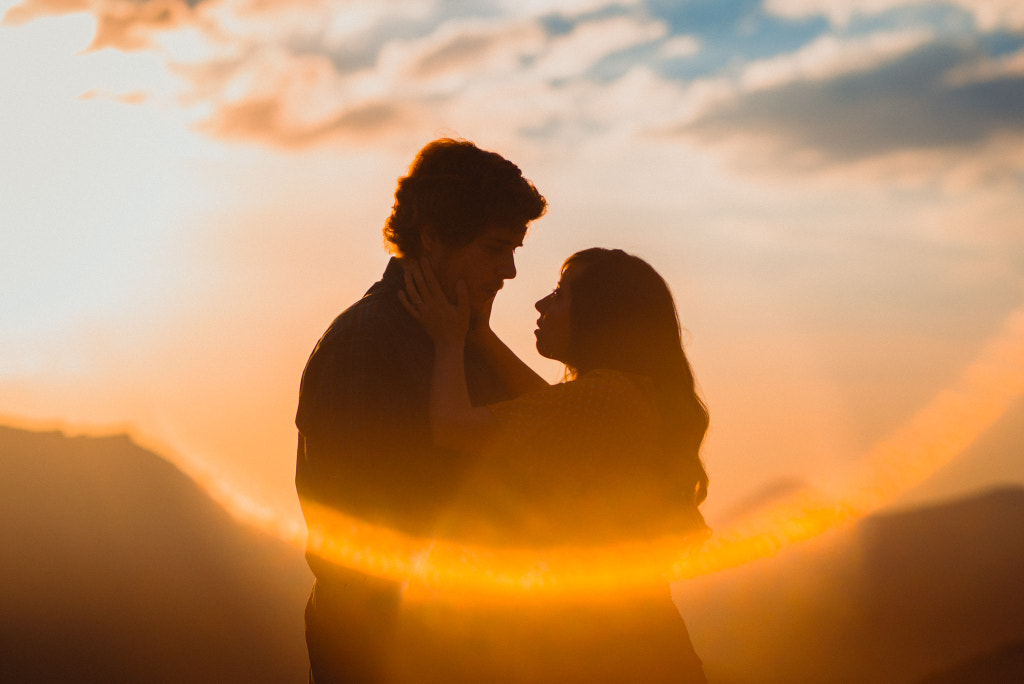
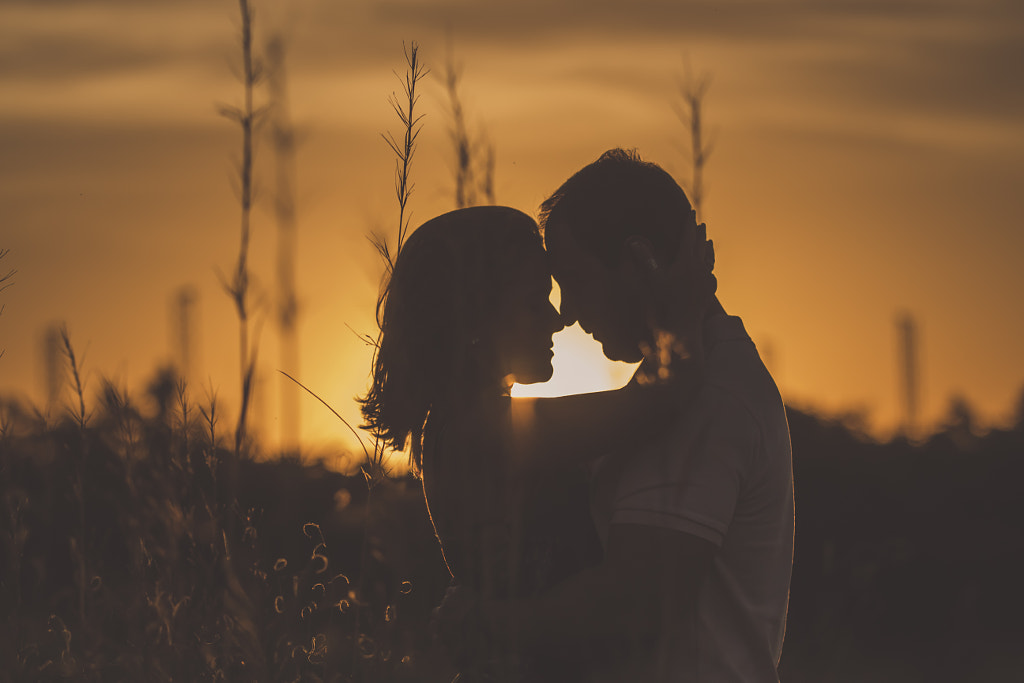
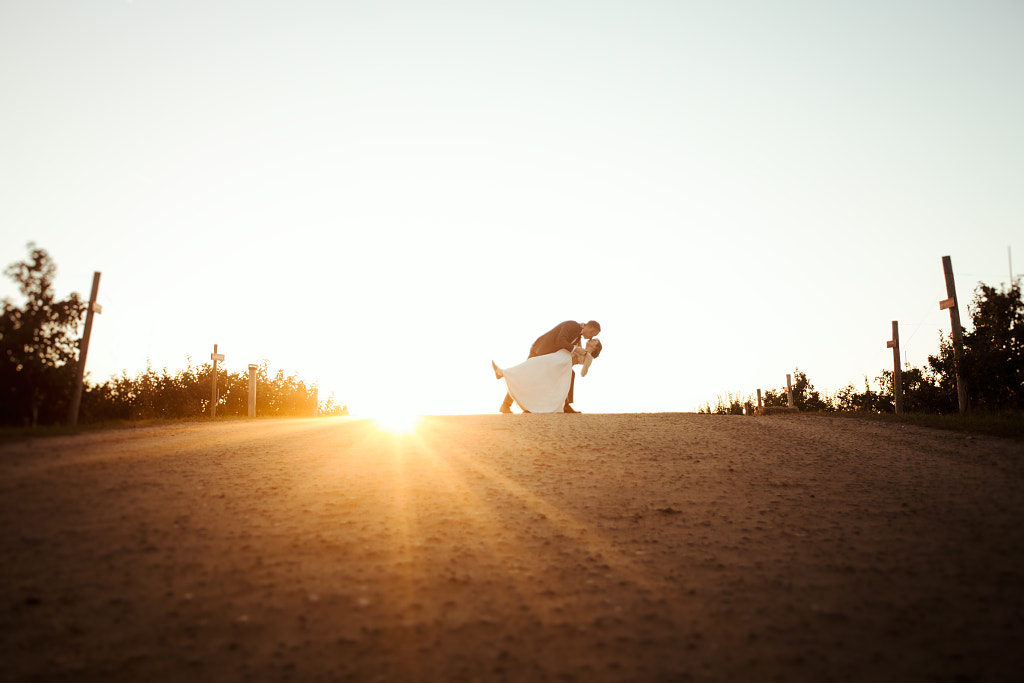
Golden hour silhouettes
Speaking of the golden hour, sunset is an ideal time to get dramatic, backlit silhouettes.
Leaning
Ask one person to lean their head on their partner’s shoulder or lap. In addition to leaning against each other, your models can lean against something else once they’re on location—like a giant rock or beautiful building—for a casual, laid-back pose.
Dancing
Keep things moving by asking the couple to stay in motion. Whether it’s walking or a simple caress, avoid stiff poses by encouraging your couple to interact with each other and their environment.
Dancing is an easy, straightforward way to get your models moving. Ask about their favorite music before the shoot, and have it on hand on the day-of.
The ‘dip’
A few years ago, a couple made international headlines for recreating that Time’s Square kiss photographed by Alfred Eisenstaedt in 1945, complete with the signature “dip,” in locations around the world. All these years later, it’s still a go-to pose for couples.
Running
Stand apart from the couple, and then have them run towards you. Stay open to surprises; flying hair and unexpected giggles will bring your photos to life. Remember to turn on burst mode to freeze the movement and gestures you might miss otherwise.
Walking away
After the couple moves towards you, capture them walking away from you, backs turned, for a nostalgic, mysterious vibe. You can also ask them to peek back at you for variety.
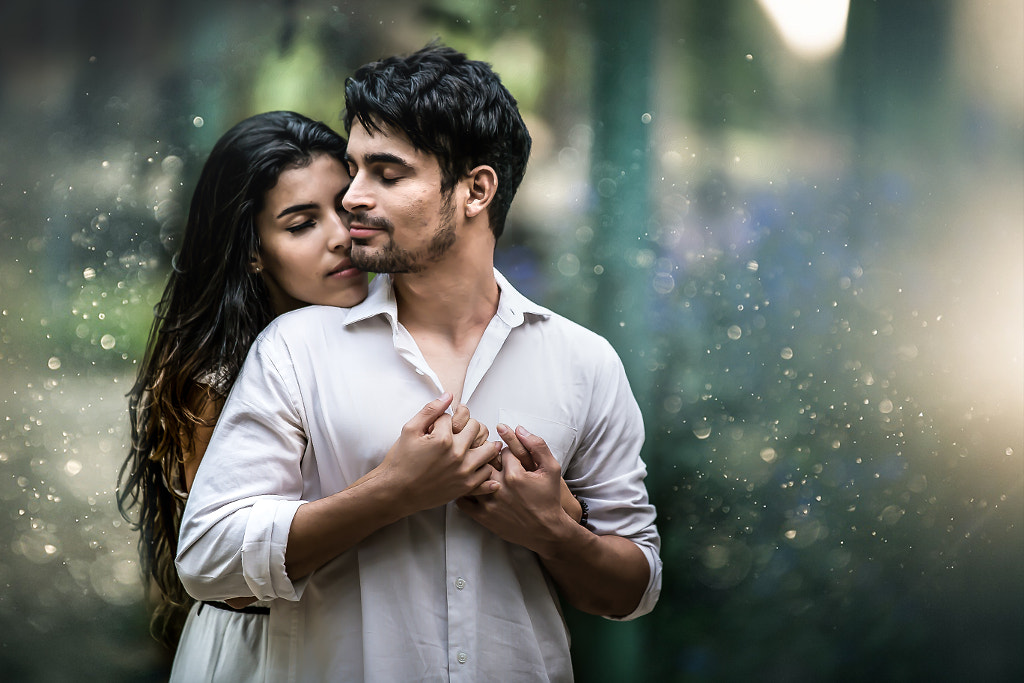
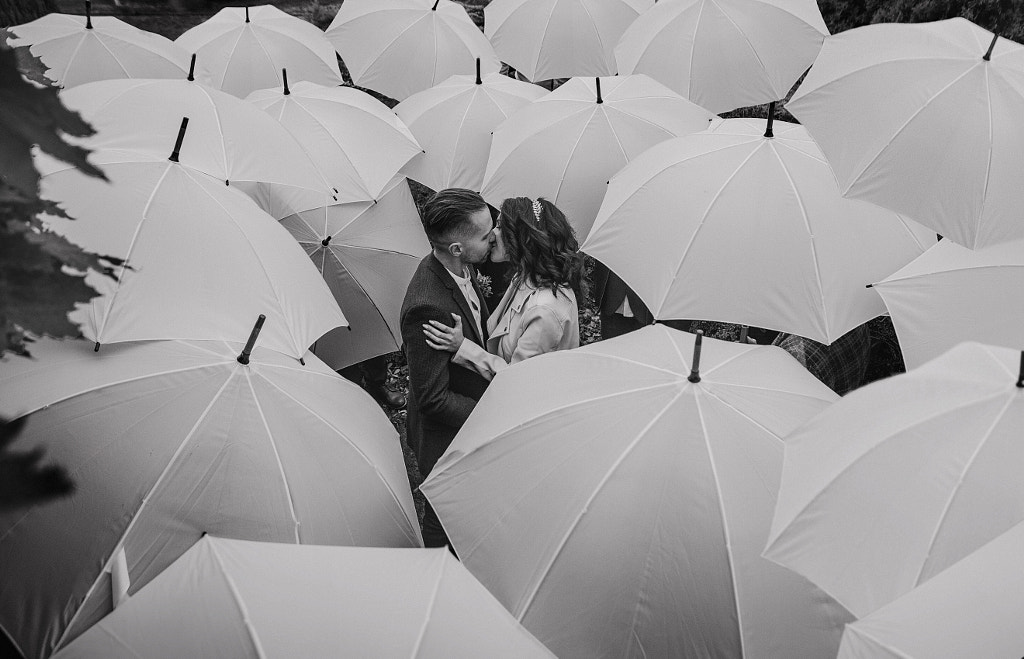
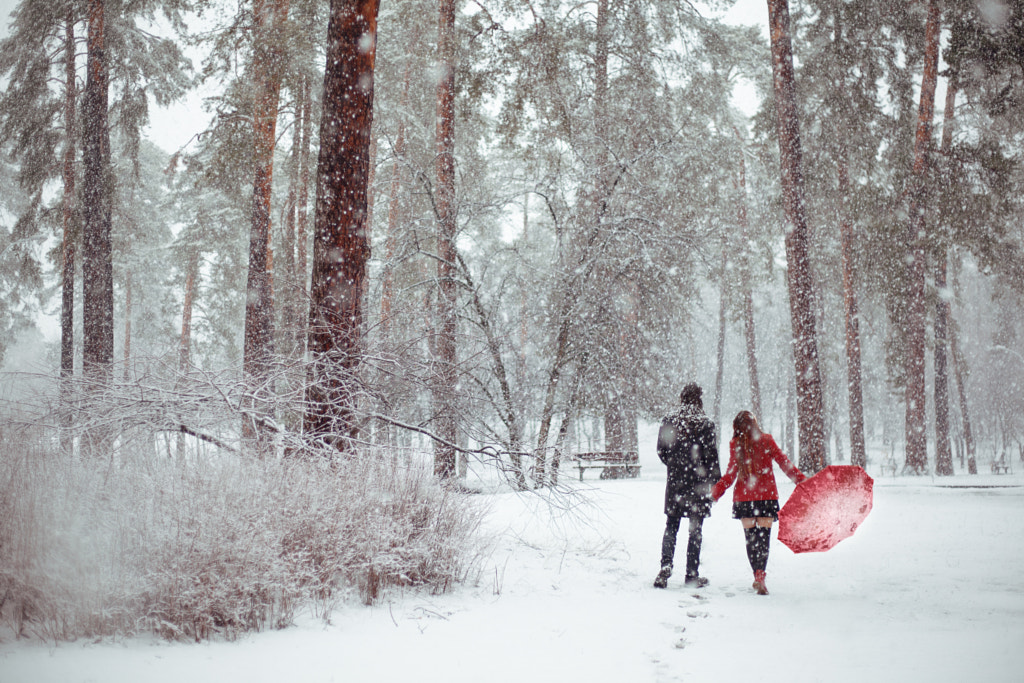
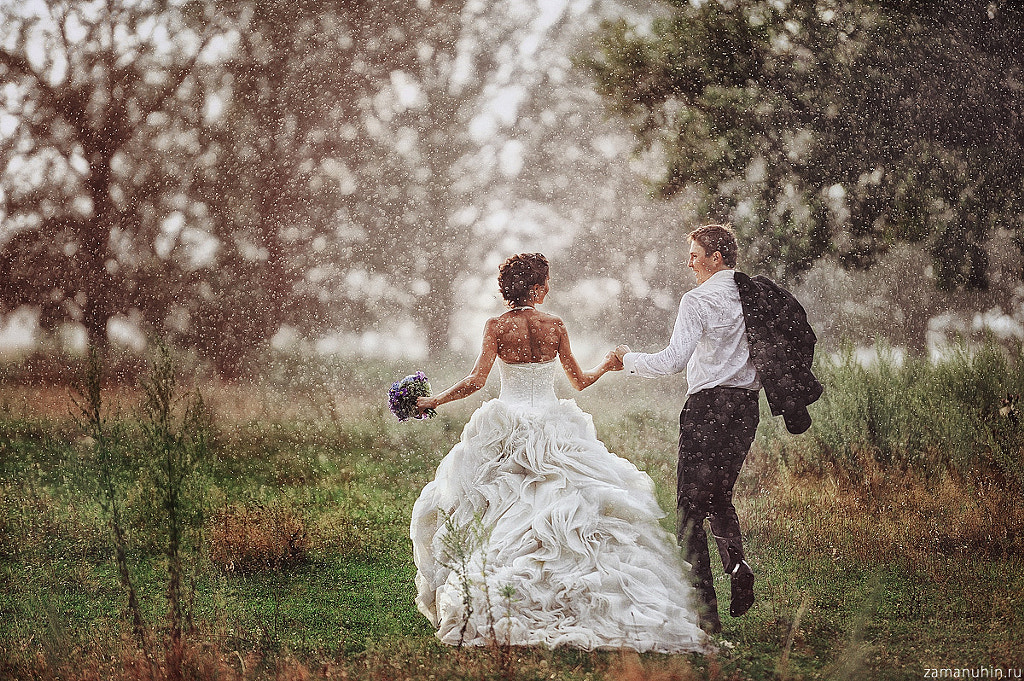
In the rain
Don’t be afraid to shoot in bad weather. A rainy, gray day can be great for capturing moody, cinematic couple shots. Remember to bring some umbrellas to add pops of color to your photos.
In the Snow
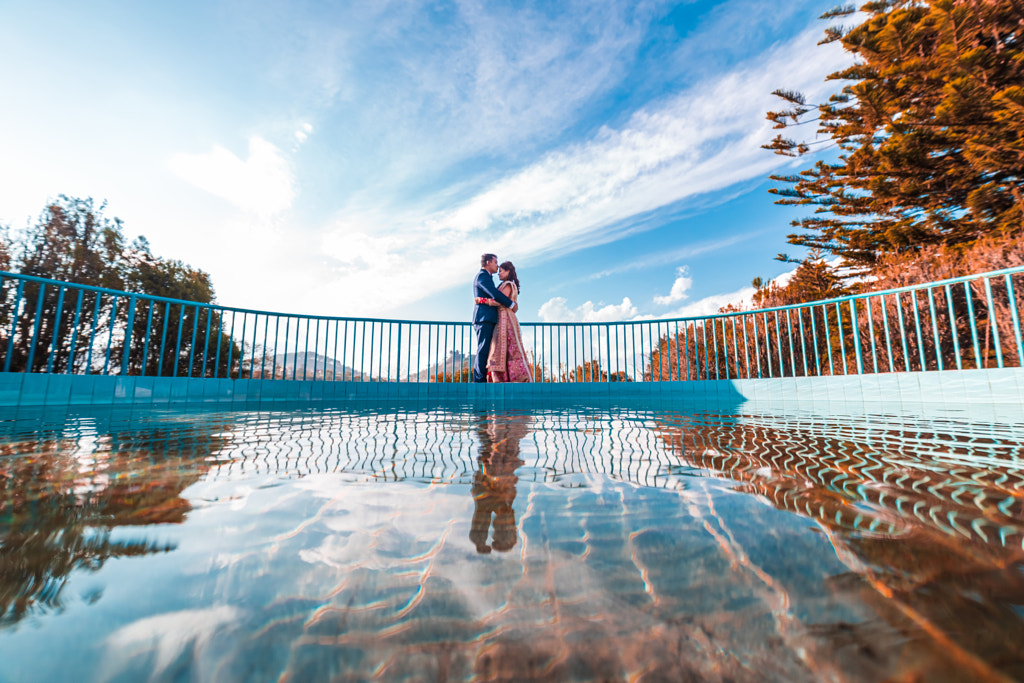
Reflections
Employed by the legendary photographer Elliot Erwitt in the 1950s, this pose has been around for decades, and it never goes out of style. Simply set up a mirror (Erwitt used a car window) or take advantage of reflections in windows and puddles for a unique perspective.
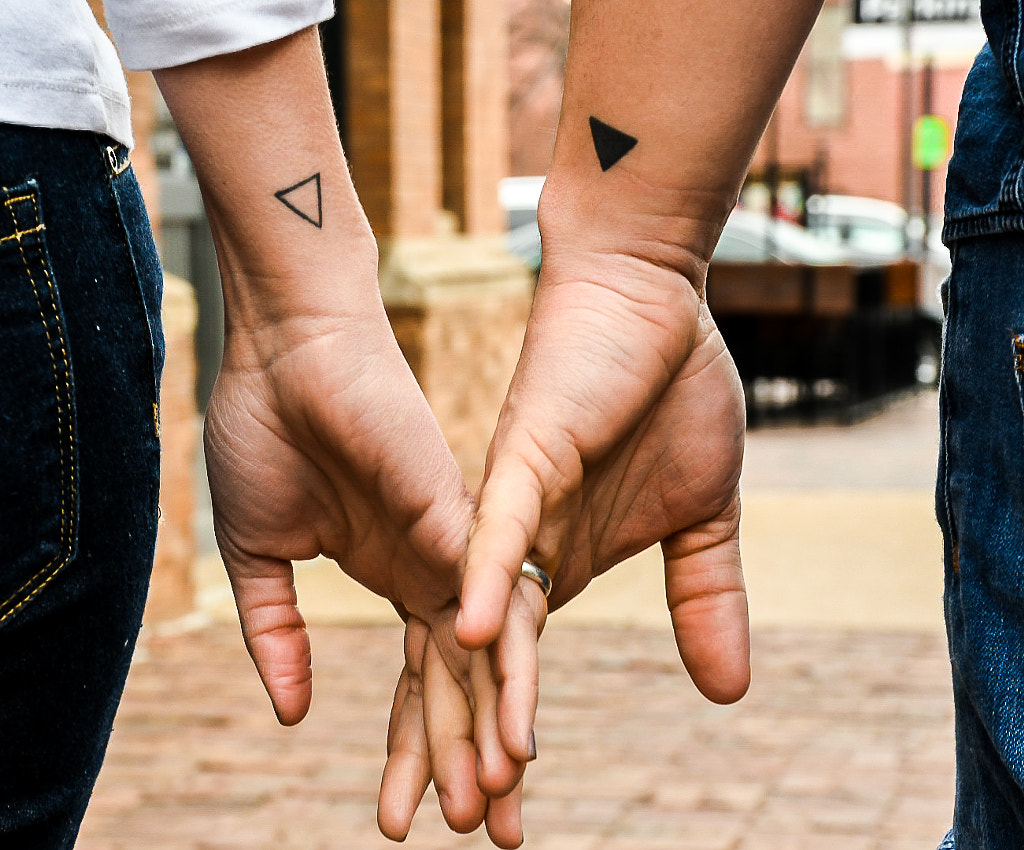
Tattoos
Okay, this one isn’t a “pose” per se, but tattoos are meaningful, so if the couple has them, include some detail shots. This one is especially important if they have matching tattoos or even wedding ring tattoos.
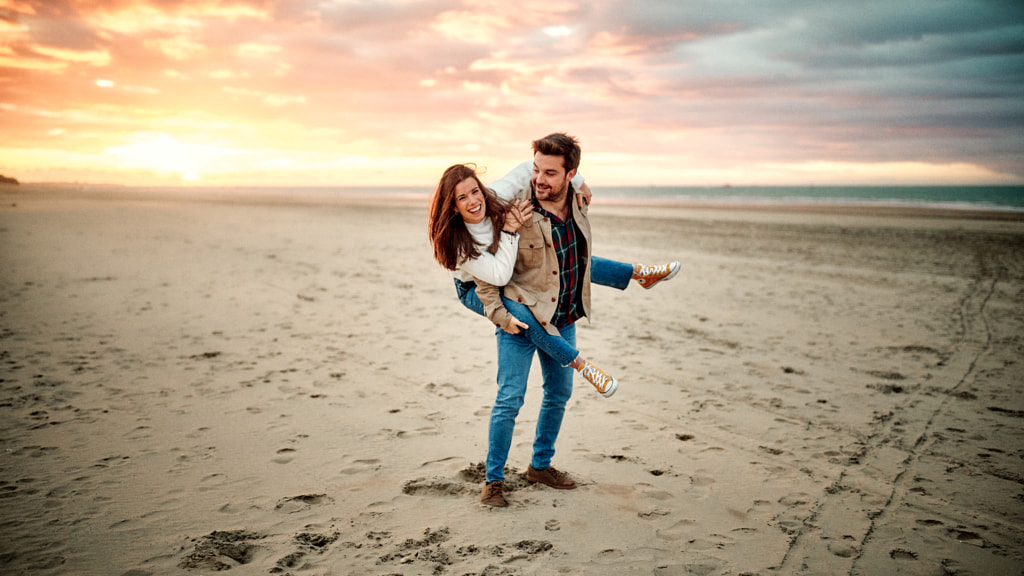
Piggyback
This pose is perfect for getting a couple to relax and have fun with each other. Giving them something to do takes some of the pressure off and often results in genuine laughter.
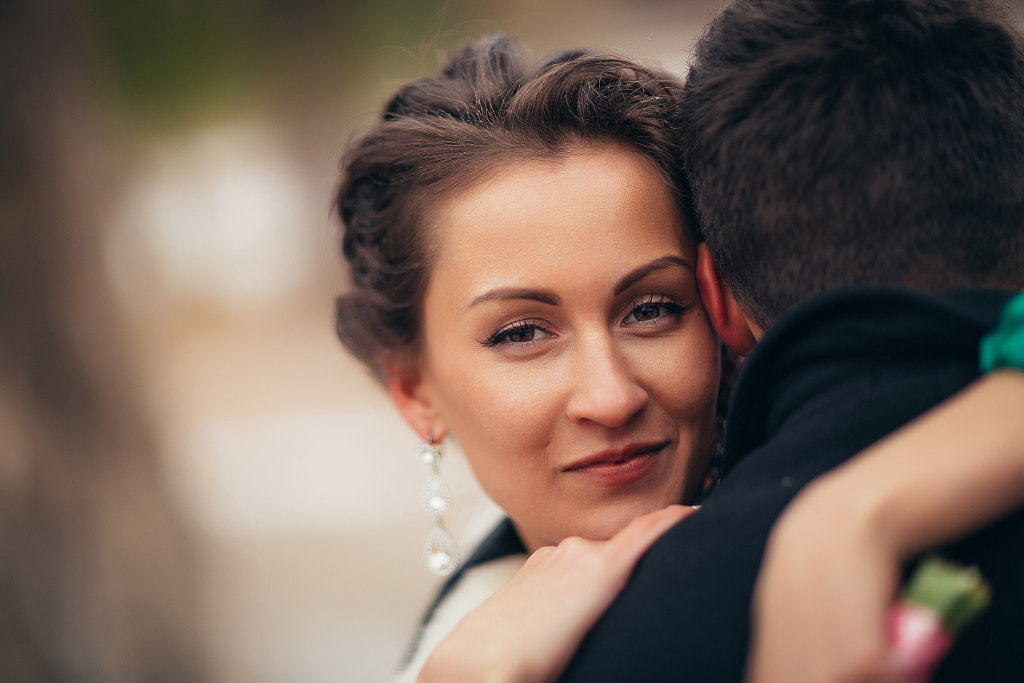
One person looking at the camera
Used to great effect in the paintings of impressionist Pierre-Auguste Renoir, this pose features one person looking over the shoulder of another.
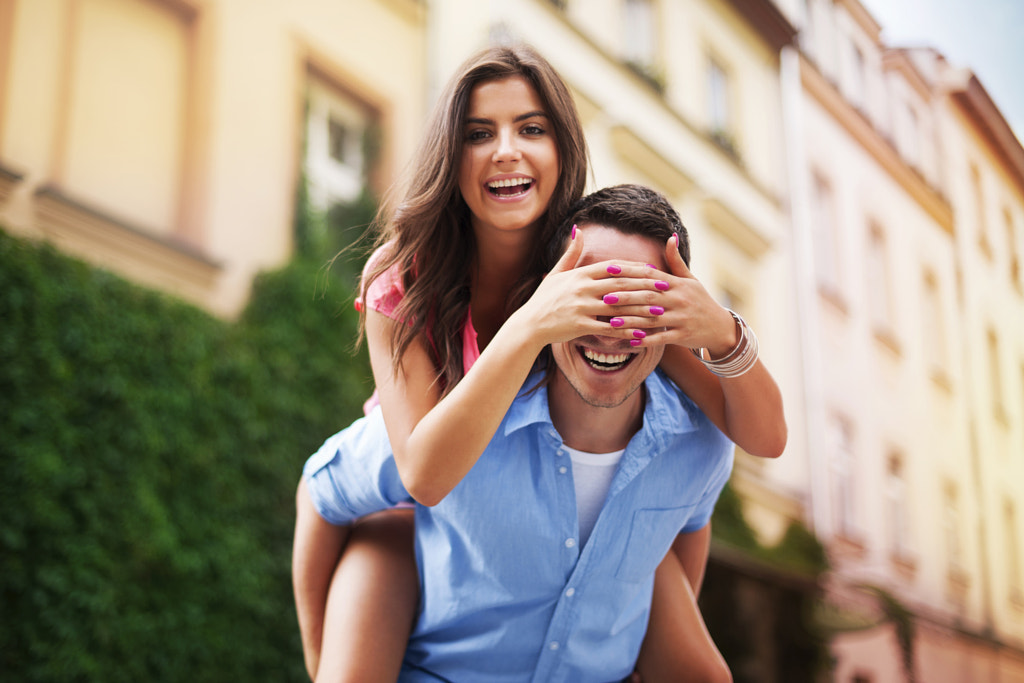
The ‘blindfold’
Ask one person to sneak up behind their partner and cup her hands over his eyes for a playful, whimsical photo.
Ocean view
There’s a reason so many couple shoots take place on the beach. Take advantage of the rolling waves and azure sky when you compose your images.
These 50 ideas are just the tip of the iceberg when it comes to couple photography poses, so feel free to get creative and add your own. You can also develop several different shot lists for various occasions—couple poses for weddings, engagements, honeymoons, etc.
While the poses are always important, the key ingredient to any photoshoot is the rapport between artist and subject. Create a fun, casual atmosphere on set, and encourage the couple to be themselves. During the shoot, interact with the couple by asking them to recount their first date or how they met. This will give them a chance to connect with each other and take their minds off of the shoot.

You Might Also Like These Articles:
- A Beginners Guide to Photography | The Essential Guide
- 50 Creative Self-Portrait Ideas To Trump All Selfies
- 21 Poses To Try When Photographing Men
- 16 Classic and Unique Poses for Photographing Women
- 35 Mobile Photography Tips For Taking Better Smartphone Shots
The post 50+ Adorable Couple Poses for Beautiful Portrait Photography appeared first on 500px.
[NDN/ccn/comedia Links]