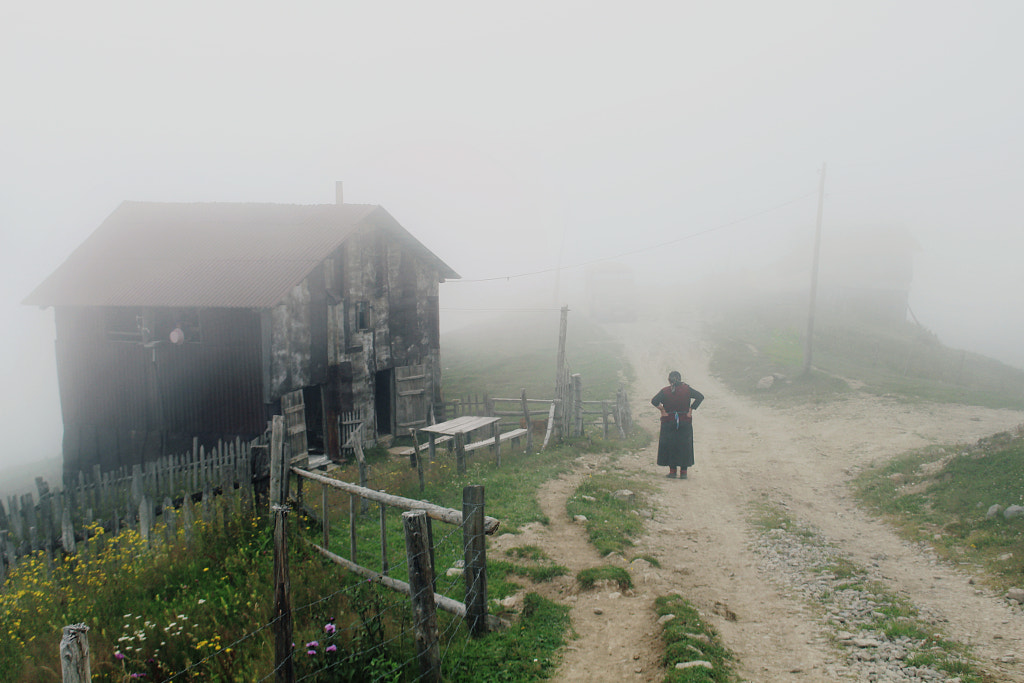
Wednesday, November 15, 2023

Pixels to Inches: How to Resize Images Without Losing Quality in Photoshop

Instagram photos look best at 1080 pixels wide. Pinterest images shine at around 1000×1500 pixels. A Facebook photo should be at least 1200 pixels wide—1920 if it’s an event photo. In 2003, when 500px launched, the perfect web-resolution was, well, 500 pixels. Now, it’s best to upload your photos with a resolution of at least 2048 pixels.

The web is constantly evolving, and for photographers, that means regular image resizing. While you can resize your photos using a variety of quick online tools, we recommend doing it with care and precision so you don’t damage the quality of your files. Here are our tips for resizing your images without losing any details in the process.

Knowing the vocabulary

First, it’s important to understand the terms that will be used in this article.

Dimension

The dimension of a photo is essentially the measurement of its length and width. Depending on what you’re using your photo for, you may need to see this measurement in pixels, inches, or centimeters. There are many standard sets of dimensions that you’re probably familiar with; for example, your old family photo albums are probably full of standard 4×6 inch prints.

Resolution (Pixel Density)

The resolution of a photo refers to how many pixels there are within those dimensions. (Therefore, the pixel density of the photo.) The smaller those pixels, the more of them you can fit within your dimensions and, in most cases, the sharper your image will appear.

DPI and PPI

DPI (Dots Per Inch) and PPI (Pixels Per Inch) are the two terms that describe your image resolution. Although you may hear them used interchangeably, DPI refers to print resolution (as in, the number of ink dots per inch) while PPI refers to screen resolution (or how many pixels in an inch when your photo is viewed at 100%).

File Size

File size refers to how much space or memory your photo takes up. The more information there is in an image, the more memory it requires, and the bigger the file size. “Information” can refer to pixels, which means a higher resolution may give you a larger file, or it can refer to things like layers if you are saving in a non-destructive file type.

Aspect Ratio

Aspect ratio is often confused with dimension because they’re closely related. Your dimension, as we just discussed, describes the length and width of your image in terms of measurements. Your aspect ratio describes that length and width in terms of—you guessed it—a ratio. Those 4×6 inch family photos we just talked about have an aspect ratio of 3:2.

Why is resizing images important?

Resizing is a daily part of a professional photographer’s workflow. Even if you are not going to print your image, your website or online portfolio will probably have requirements for the file size and resolution that an image must be in order to be uploaded. Depending on where your image will appear, you may want to use a specific aspect ratio (a hero image will require a different aspect ratio than an Instagram post).

If you do not resize to fit those requirements, the hosting site may refuse to upload it altogether, or worse, compress or distort your photo. The process of resizing the dimensions of a photo and/or changing its resolution and file size to prepare it for the web is called image optimization.

How to resize in Photoshop for beginners

Resizing in Photoshop is a relatively simple process. Start by going to Image > Image Size.

Here you’ll see all that vocab we just covered. Your file size (Image Size) is right there at the top. Below it are your dimensions.

If you want to convert pixels to inches or need to do the opposite and convert inches to pixels, simply select a new unit of measurement from one of the dropdown menus on the right. Last is the image resolution, which is measured in PPI or DPI. In theory, you can just set these numbers however you like and click “OK.” In practice, it’s not always that easy.

An image being resized in Photoshop

Above, we’re resizing Forest Sky, a piece by 500px Contributor Kalen Emsley, as an example. You can see the “Image Size” dialogue box we just described.

Say you want to increase the resolution, so you type a new number into the resolution box.

Notice what happens below.

An image being resized in photoshop

Resolution, resizing, and resampling

Not only has your resolution increased in the image above, but your dimensions have also increased as well. You haven’t actually increased the resolution; you’ve just expanded those pixels out. Imagine you have a stretchy polka-dot shirt. If you lay it flat, the dots are close together. If you stretch it, those dots get farther apart as the edges of the shirt extend further out. That’s how it works with pixels and resizing.

Because the resample button is checked in our dialogue box (it will usually be this way by default), Photoshop filled in those pixel gaps for us. But because your computer does not have the actual scene to compare your image to, it can only make an educated guess at what the new pixels should look like. When you resize without resampling, Photoshop will not fill those gaps; it will simply change the resolution to match your resizing.

That’s how issues like fuzziness occur when you enlarge what was originally a razor-sharp photo and because of that, it’s easier to retain good quality when you’re making an image smaller than when you are making it bigger. However, when you make an image smaller, you may be inadvertently deleting some of that pixel information, which means you might still experience a loss of quality if you try to size back up again.

Preserving image quality

In the case of this particular photo, the loss of image quality would barely be noticeable since it had a healthy number of pixels to start with. You may find yourself in a position where you have to make changes like this in order to meet an upload or printing requirement with an image, so do two things to keep image degradation from becoming noticeable to the naked eye:

1. Shoot at a high resolution
This way, you give yourself plenty of information to work with in case you ever have to “fudge” the numbers on your resolution in post-processing.

2. Keep a copy of your original
If you ever make a change and later discover that the quality doesn’t hold up the way it appeared to on your editing screen, you can go back to the drawing board with your original pixel density.

How to choose the right image size

When you are determining how to size your image, start with the dimensions. The first step is to use the correct unit of measurement. If you will be printing your photo, measure in inches or centimeters. This will be especially helpful if you want to mat and/or frame it, as you can simply choose a standard size like 5×7, 8×10, or 11×14 and go from there.

Remember that different standard sizes have different aspect ratios. So if your image has an aspect ratio of 3:2 (remember, that’s a 4×6 inch photo), you will experience some cropping if you resize it to an 8×10, which has an aspect ratio of 5:4.

How to choose the right image resolution

After your in-camera focus settings, your resolution is what ultimately determines the sharpness of your image. The standard for web-based images is 72 PPI (or DPI, depending on who you speak with about it), although many photographers choose to go with 300, which is the standard for a high-resolution print image.

Now that you’ve learned what to do in Photoshop to resize your images, and how to do it without sacrificing quality, you can easily resize your photography for use on the web or in print. Remember to use the correct resolution for your medium and shoot at a high resolution to allow yourself plenty of flexibility when you are ready to resize.

Not on 500px yet? Sign up here to explore more impactful photography.

The post Pixels to Inches: How to Resize Images Without Losing Quality in Photoshop appeared first on 500px.

[NDN/ccn/comedia Links]
Friday, November 10, 2023

Landscape Photography | 23 Actionable Tips To Stir Emotions

Landscape photography may be a popular subject among photographers, but it takes a lot of mastery, patience, and a certain frame of mind to capture imagery that will really stir the viewers’ emotions and minds.

Just ask photographer Iurie Belegurschi, whose own jaw-dropping landscapes never fail to amaze us. In this 500px ISO exclusive, Iurie shares his personal tips that will help you improve your landscape photography from scouting locations to gear recommendations.

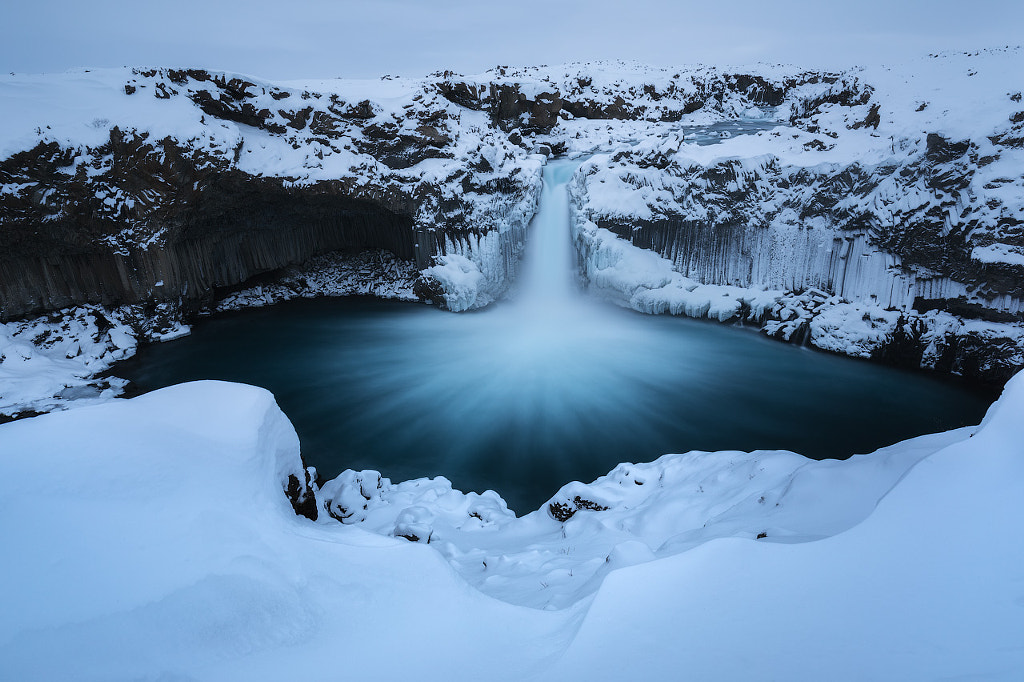
Frozen Aldeyjarfoss by Iurie Belegurschi on 500px.com

Scroll down for a Q&A with Iurie—followed by his photos and a list of 23 helpful tips!

Q&A WITH IURIE ON LANDSCAPE PHOTOGRAPHY

Hi Iurie! Please introduce yourself to our readers.
IURIE BELEGURSCHI:
I’m originally from Moldova. I moved permanently to Iceland in 2006. I work full-time as a professional landscape photographer. I also run photo tours and workshops in Iceland and around the world. My work has been published in major newspapers, magazines, books, and calendars worldwide. My two passions in life are photography and traveling.

Steamy Kerlingarfjoll by Iurie Belegurschi on 500px.com

How did you discover photography and how long have you been doing this?
IURIE:
I have been shooting for many years, but I got serious about my photography five years ago.

Icelandic Highlands by Drone by Iurie Belegurschi on 500px.com

As a landscape and travel photographer, how much time do you spend out in the field?
IURIE:
I do mostly tours and workshops in Iceland, Norway, and Greenland, so I am outdoors 90% of the time, shooting with my guests. Sometimes, I go out and take photos on my own during my free time, but that is very seldom. I’m making it a point now to travel at least three to four times a year—my last one being in New Zealand last April.

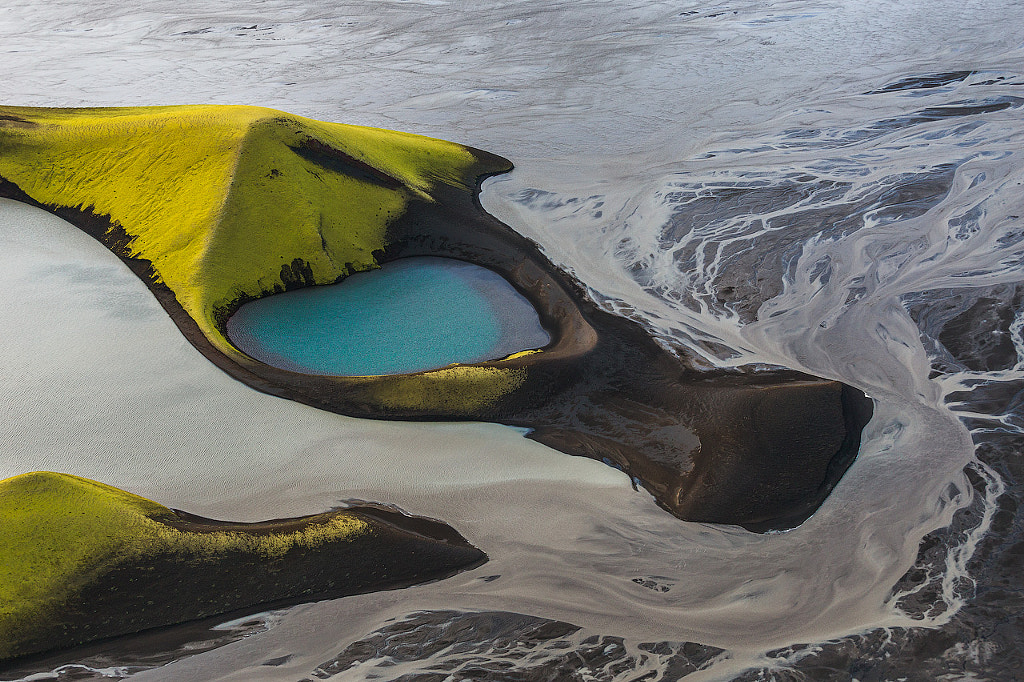
Iceland is Hot by Iurie Belegurschi on 500px.com

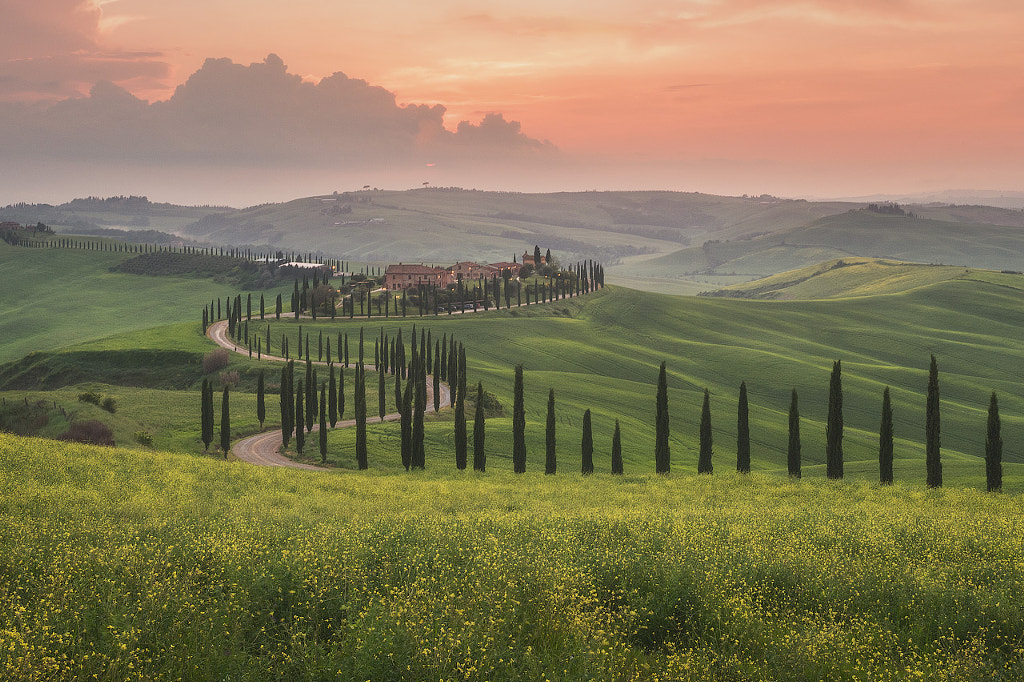
The Rolling Hills of Tuscany by Iurie Belegurschi on 500px.com

Your landscape images are otherworldly, but still grounded in the natural world. What type of subjects do you enjoy shooting the most?
IURIE:
Icelandic landscapes, of course! I love winterscapes, snow-covered mountains, icy lakes, waterfalls, glaciers, and ice caves. I like night photography the most—shooting the Milky Way, stars, and the Northern Lights. It gives me a sense of fulfillment and peace when I’m outdoors at night, capturing what is relatively hard to fully see with the naked eye.

Blue Ice Cave by Iurie Belegurschi on 500px.com

Mothership by Iurie Belegurschi on 500px.com

What about Iceland do you find the most fascinating, and what makes it different from the landscape of other countries?
IURIE:
Iceland is a photographer’s paradise, truly “the land of ice and fire”. We have amazing waterfalls all around the country—volcanoes, glaciers, mountain ranges, rivers, lakes, black sand beaches, rocky coastlines, and more. When you combine this with the Northern Lights in winter and the Midnight Sun in summer, the creative possibilities are endless.

Far Away in the Clouds by Iurie Belegurschi on 500px.com

In all your years of experience, what has been the most difficult terrain or weather condition to shoot?
IURIE:
Definitely mountains and winter. You have to deal with lots of hiking, elevated to get to vantage points from the top. Bringing your gear and the weight of the clothes you wear to keep yourself warm is challenging. You have to be physically and mentally fit to be able to keep doing it. I have been shooting as well in sandstorms, windstorms, and blizzards—those are always a challenge.

Reflection of Kirkjufell by Iurie Belegurschi on 500px.com

What’s the photograph that you are the most proud of?
IURIE:
I was guiding a workshop. We had been stuck due to bad weather, but we were planning on shooting at a glacier lagoon. I really wanted everyone to get a great sunset shot, as it was near the end of our trip. So, I took a risk and drove through a major sandstorm to get there. As we arrived, I could see that soon the sky would be on fire. We quickly set up. The result was this photo, which is one of my all-time favorites.

landscape photography -Blue Ice Cave by Iurie Belegurschi on 500px.com

IURIE’S TIPS FOR SHOOTING LANDSCAPE PHOTOGRAPHY

1. Start with a vision of you want to achieve as a landscape photographer.
2. Quality is better than quantity when it comes to landscape photography.
3. Keep yourself motivated. You will realize that landscape photography is not easy—the weather, the hiking, getting the best conditions for the shot or mood you want.
4. Look to others’ work for inspiration, and keep on learning. It never stops.

Above the Highlands by Iurie Belegurschi on 500px.com

CHOOSING A LOCATION FOR LANDSCAPE PHOTOS

5. Be prepared and plan ahead for location. Consider the direction or state of the sun and moon.
6. I always look for leading lines, a good foreground, angle of view to the subject, direction of the natural light, and the direction of the moon if there is one.
7. Visit your locations ahead of time, and scout for other vantage points. You may find something that takes a bit more effort and time to reach, and you may not make it if you arrive on the dot.

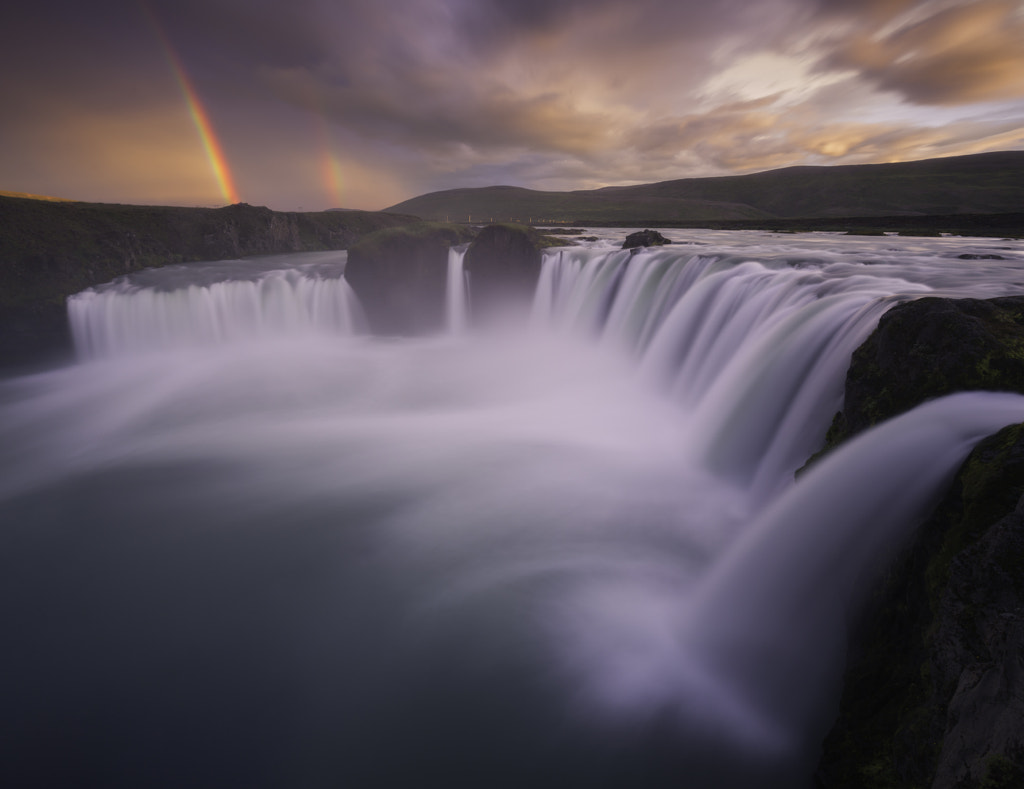
Thunderous Fall of the Gods by Iurie Belegurschi on 500px.com

8. When you arrive at your scene, don’t rush your shots. Take 5 minutes to “see” the scene, and then form your shooting plan.
9. Get to your location early and stay there late.
10. I see photographers shooting for one hour during sunset from the same spot with same composition. Get up, move around, change your direction, change your focal length, and shoot different photos.
11. When you are shooting seascapes, always take a look at the tides before you visit. Some places are better shot in high tide, some in low tide.
12. For seascapes, also take note of the prevailing tide swells in the sea.

Steamy Kerlingarfjoll by Iurie Belegurschi on 500px.com

TIPS ON ON THE BEST TIME TO SHOOT

13. I prefer to take my photos at 12 o’clock noon—okay, I’m kidding! You cannot get the very best results without missing some sleep. I will get to my location an hour before sunrise or sunset. After sunset, you can find me chasing the Northern Lights!

Still Water at Vestrahorn by Iurie Belegurschi on 500px.com

WHAT GEAR AND EQUIPMENT SHOULD I USE FOR LANDSCAPE PHOTOGRAPHY

14. Get a tripod. I see many new photographers with expensive gear, but very flimsy tripods. It is so important to have a very stable tripod and camera mounting system.

The Rolling Hills of Tuscany by Iurie Belegurschi on 500px.com

15. Make sure to check the quality of the gear and filters you use. It is foolish to think that everything can be done and corrected in post.
16. I personally shoot with Canon 5DM III. My second body is Canon 6D.
17. My go-to lens for most of my landscapes is the Canon 16-35 f/2.8 II. My passion is in seeing and capturing the wide-angle, so I use the Canon 16-35 f/2.8 II lens most of the time.
18. At night, I love shooting with the Canon 24 f/1.4 lens.

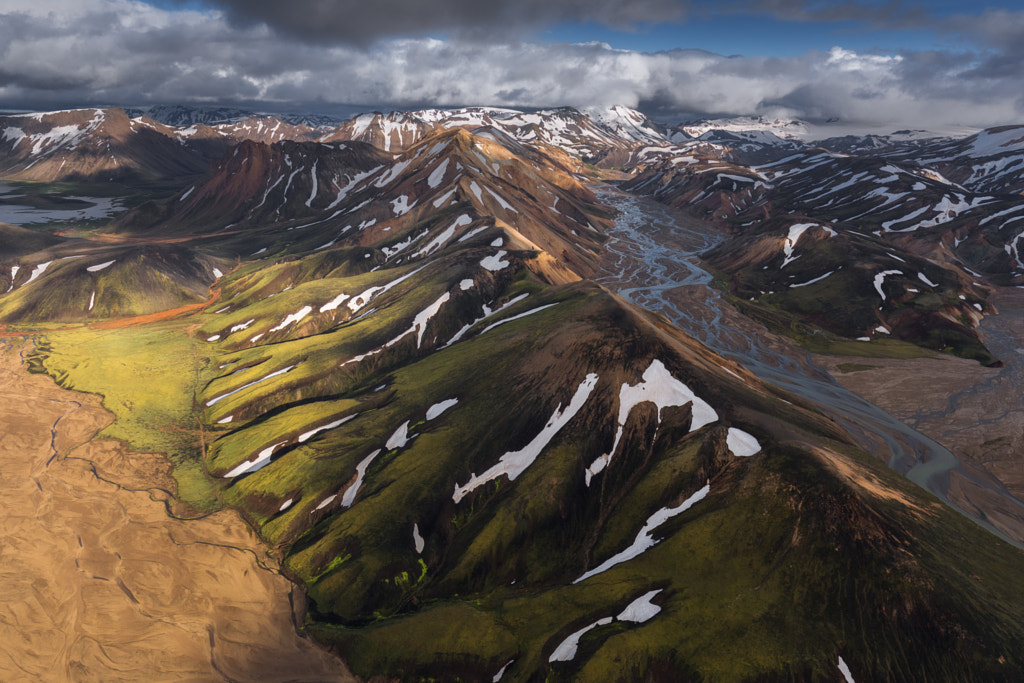
Aerial View of the Icelandic Highlands by Iurie Belegurschi on 500px.com

19. For the panoramas I have recently started to shoot, I use Really Right Stuff double-row panorama gear on top of my Really Right Stuff tripod, which is an amazing combination.
20. As I do more panoramas, I am experimenting with longer focal lens lengths to gain maximum resolution of my final image.
21. I don’t rely on much more gear, but I am never without a Circular Polarizer and my Lee Filter System.

landscape photography - Mothership by Iurie Belegurschi on 500px.com

POST-PROCESSING TIPS FOR LANDSCAPE PHOTOGRAPHY SHOTS

22. The work is only partially done when you press the shutter. I shoot in RAW and process my photos in Lightroom and Photoshop—it is extremely important.
23. My workflow involves basic moves such as lens correction, chromatic aberration, white balance, and minor tone curve adjustments. From there, it’s very simple. I typically only spend 5-10 minutes finishing an image; mostly, color and exposure adjustments.

Waterfall in the Icelandic Highlands by Iurie Belegurschi on 500px.com


We hope you found Iurie’s tips and thoughts on shooting landscapes helpful.
To see more of his work, follow Iurie Belegurschi on 500px, or thumb up his Facebook Page.

For more information on his photo tours and workshops, visit Winter Photo Workshops, Guide To Iceland, or subscribe to his newsletter.

Running with the Horses by Iurie Belegurschi on 500px.com

Got a question for Iurie? Got your own landscape photography shooting tips, or stories about Iceland and other amazing terrains that you think we should explore?
Tell us all about it in the comments below!

You Might Also Like These Articles:

  • 8 Post-Processing Tips For Creating Beautiful Landscape Photos
  • Best of 2015: Top 10 Landscape Photos
  • Everything You Need to Know About Filters For Landscape Photography
  • Tutorial: Focus Stacking For Landscape Photography

The post Landscape Photography | 23 Actionable Tips To Stir Emotions appeared first on 500px.

[NDN/ccn/comedia Links]

Friday, November 3, 2023

How to take your drone photography to the next level

In March of 2021, an 87-second video made by a drone operator, Jay Christensen, went viral, amassing hundreds of thousands of views on social media. Christensen created the video to promote a Minneapolis bowling alley, Bryant Lake Bowl & Theater. In one continuous take, he took us from a bird’s eye view of the exterior, through the doors, down the lanes, and into the restaurant and theater. Offering a wholly new perspective on a familiar scene, the video was immediately lauded by Hollywood insiders.

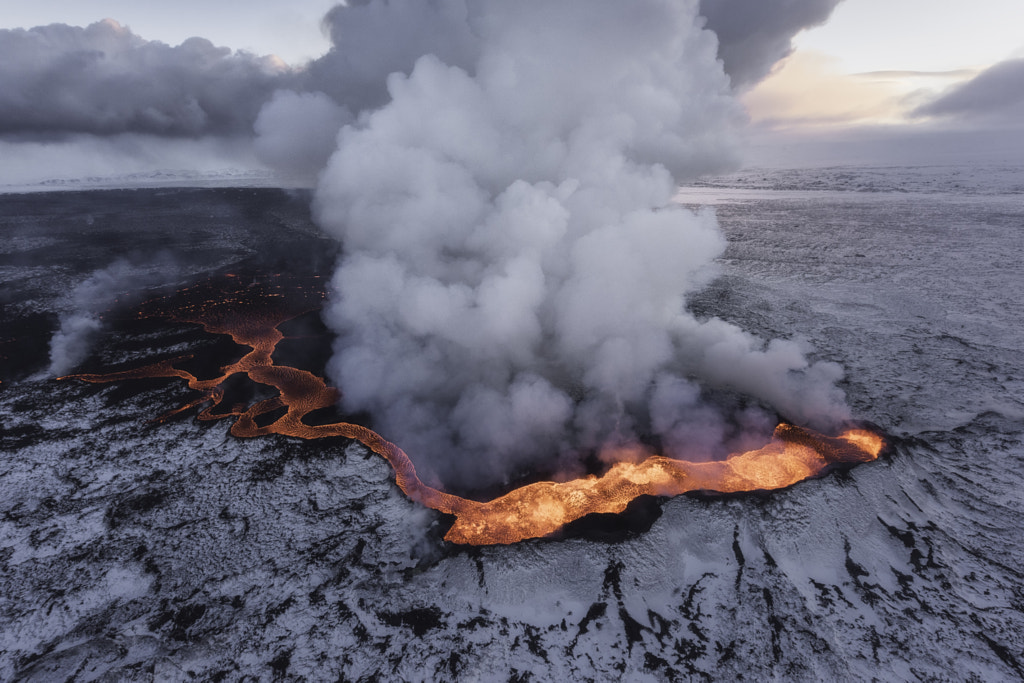
Early in 2021, Insider Intelligence predicted that drone sales would surpass $12 billion, driven in part by the sale of personal drones for still photography and filmmaking. As photographers make creative use of new technologies, brands have followed suit, with drones becoming a mainstream fixture in the world of advertising. As we head into 2022, drone pictures are used by everyone from architectural firms to tourism boards.

For commercial photographers, drone views offer a fresh opportunity to stand out to clients, even in a saturated market. “Drone photography captivates viewers and provides shots that buyers love,” the 500px team tells us. “Drones allow photographers to capture previously inaccessible perspectives, pushing the boundaries of landscape, real estate, and travel photography. More methods and creative uses will emerge as more photographers take hold of this booming industry.”

The challenge of drone photography is that you often don’t know what you’ll find until you start flying, but there are some things you can do to prepare for and recognize shots worth taking. We put together this easy guide to help you elevate your Licensing portfolio through the art of drone photography. We’ve relied on a few core concepts and principles, illustrated by stunning examples from the 500px community.

Use color wisely

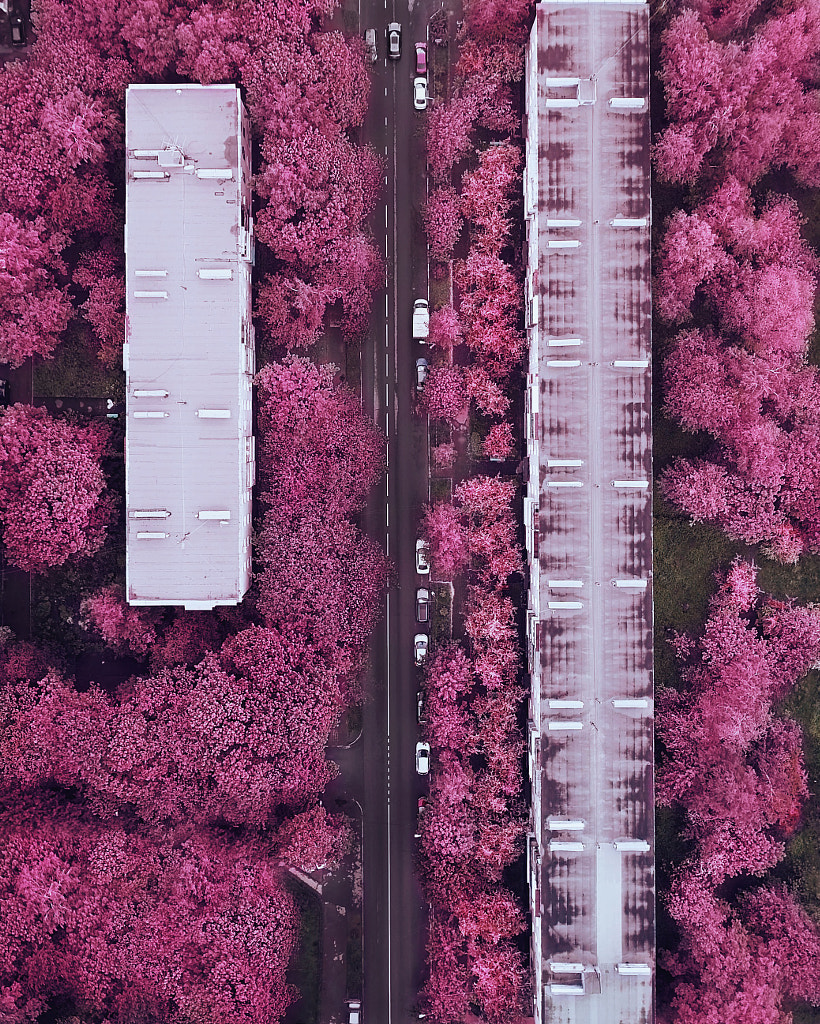
Marketing pros understand the power of color, eagerly following Pantone’s predictions for Color of the Year and using the color wheel to create pleasing graphics. Drone photographers can also turn color to their advantage by scouting their locations or scheduling their shoots to coincide with specific events, from flower blooms to cultural celebrations. Snowy days can reduce the appearance of color for a dramatic white-out effect. Sometimes, even the time of day can drastically change the colors and mood of your scene, shifting from the warm temperature of sunset to the cool hues around twilight and later, colors of city lights at night.

Play with shadow

Time of day will also affect the light in your surroundings, with shadows shortening around mid-day and then elongating as the sun approaches the horizon. In color theory, we talk about the importance of value contrast; that is, you want a variety of light and dark colors to make an image interesting. If you convert a photo to black and white and everything looks middle gray, it’s less dynamic, so look for those gradients.

When scouting your locations, look for objects that might cast interesting shadows across the space as the light changes throughout the day. These elements could be buildings, trees, dunes, or something else in the landscape. To ensure your shoot coincides with the golden hour and those long shadows, check the time of sunrise and sunset at your planned location using an app like PhotoPills.

Incorporate lines

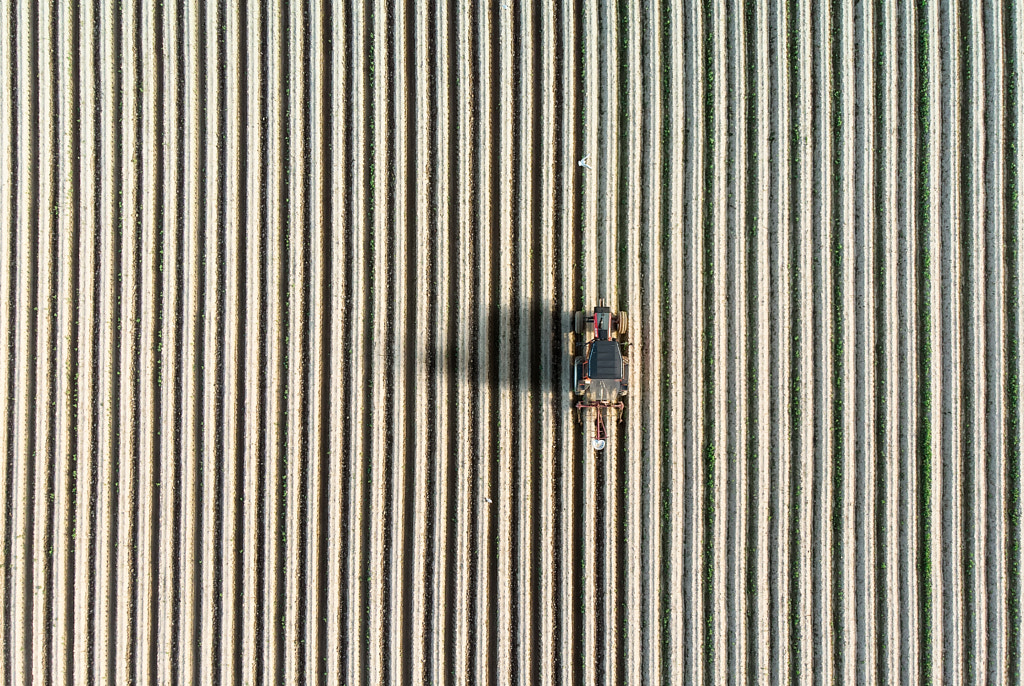
Horizontal, vertical, and diagonal lines can add visual interest, so consider places where they’re abundant, such as tulip fields, salt evaporation ponds, or city blocks. In landscapes, you can also find curving lines in the form of snaking rivers or winding roads through the forest. These lines can establish a pattern, or they can be used as leading lines to draw focus to a specific subject.

Look for patterns

The human brain is designed to detect patterns, and art often uses patterns or repetition to engage our minds. On Instagram, for example, entire pages have cropped up in celebration of symmetrical photographs, lined up one after the other, with @symmetrybreakfast and @geometryclub among them. And then, of course, there are tremendously popular Tumblr pages like Things Organized Neatly and Things Fitting Perfectly Into Other Things.

Our surroundings, whether natural or manmade, are filled with patterns that only become apparent from a distance. Drones allow us to see them more clearly, so be intentional in your composition and framing. “Crop your images so that some of the repeating elements fall out of the frame to give the illusion that the pattern is ongoing,” the 500px team suggests. “Additionally, consider places that do not look appealing from the ground but look amazing in top-down photos, such as parking lots or junkyards with repeating elements.”

Drive emphasis

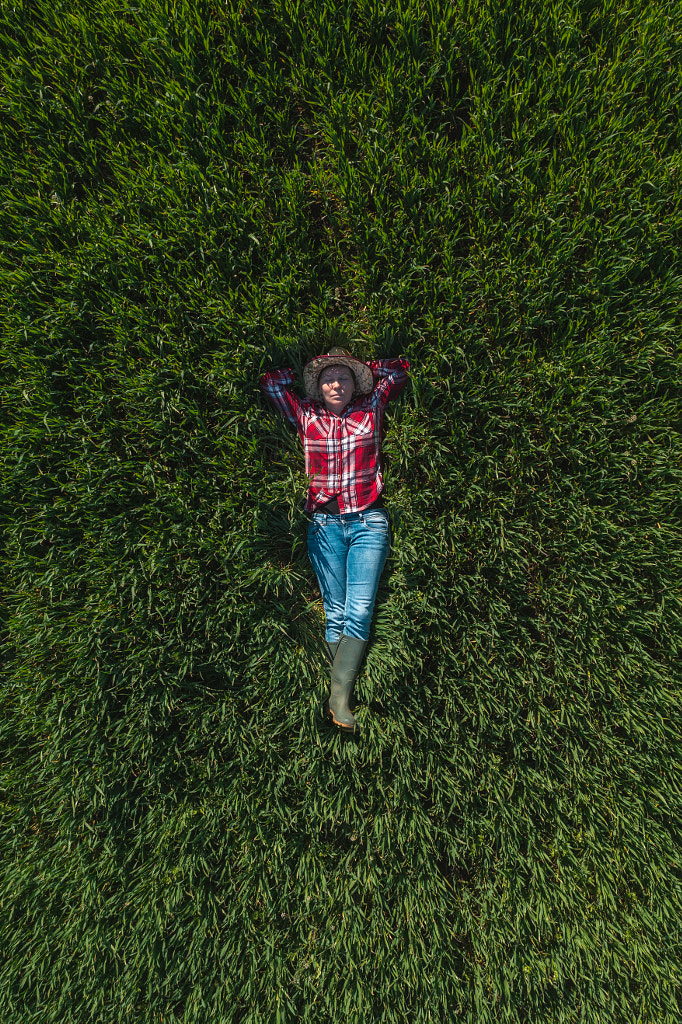
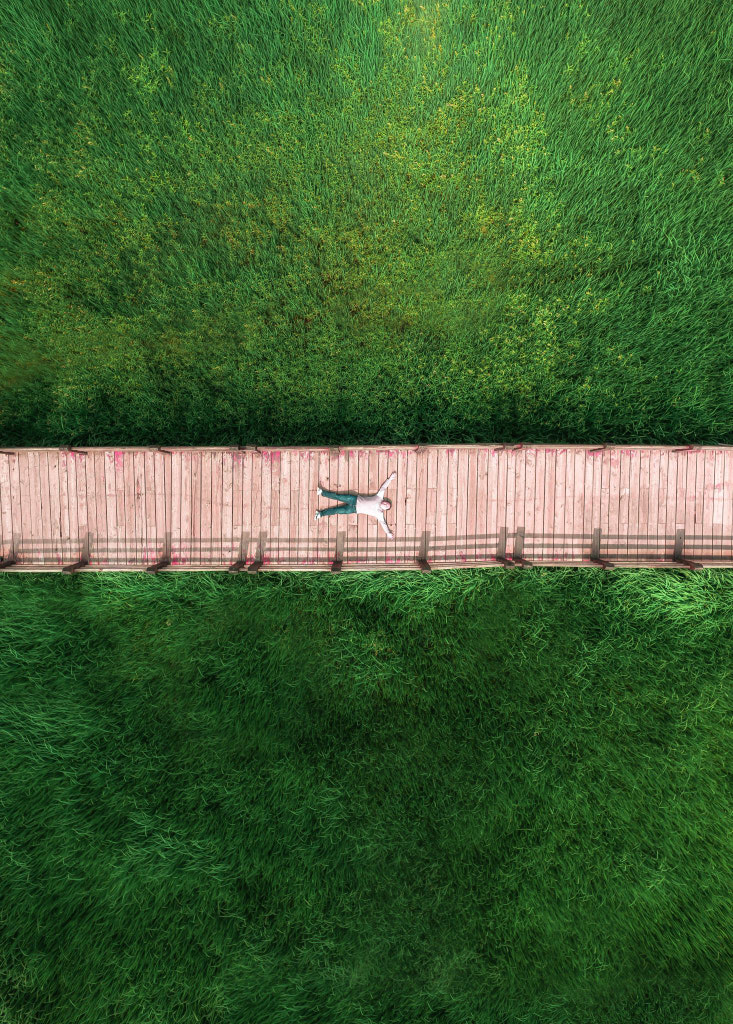
Patterns are appealing, but they can also be used to draw attention to an element that breaks the pattern, from a human figure to a lone tree. Recognizable figures like people, cars, or houses work especially well because they provide a sense of scale and context to a seemingly infinite scene. “In drone photos, the presence of a model can evoke feelings of isolation, wanderlust, or exploration,” the team at 500px adds. When composing your pictures, make sure there’s one clear subject; all the lines and elements in the frame should serve to complement that object or detail, rather than distracting from it.

Seek moments of contrast

One common motif in drone photography has become the juxtaposition of the natural world and manmade objects, whether it’s a paved road running through the woods or a boardwalk leading to the sea. It could be a bridge cutting through a lush landscape, adding scale and a human touch. Look for details that provide balance and harmony.

In aerial photography, some of these contrasts between the manmade and natural world can be even more dramatic, like a barren field cleared from miles of pristine wilderness. These kinds of pictures can speak to enduring themes like our influence over our environment, underscoring the importance of sustainable practices and regenerative agriculture. Research your local parks, hiking trails, and beaches to find unique spots others might have overlooked.

Embrace textures

One way to create contrast is through the use of varying textures, from powdery, snow-covered forests to slick, frozen lakes. The directional lighting of the golden hour is ideal for accentuating texture and depth in landscapes, so that’s another reason to schedule your shoot for around sunrise or sunset.

Incorporate movement

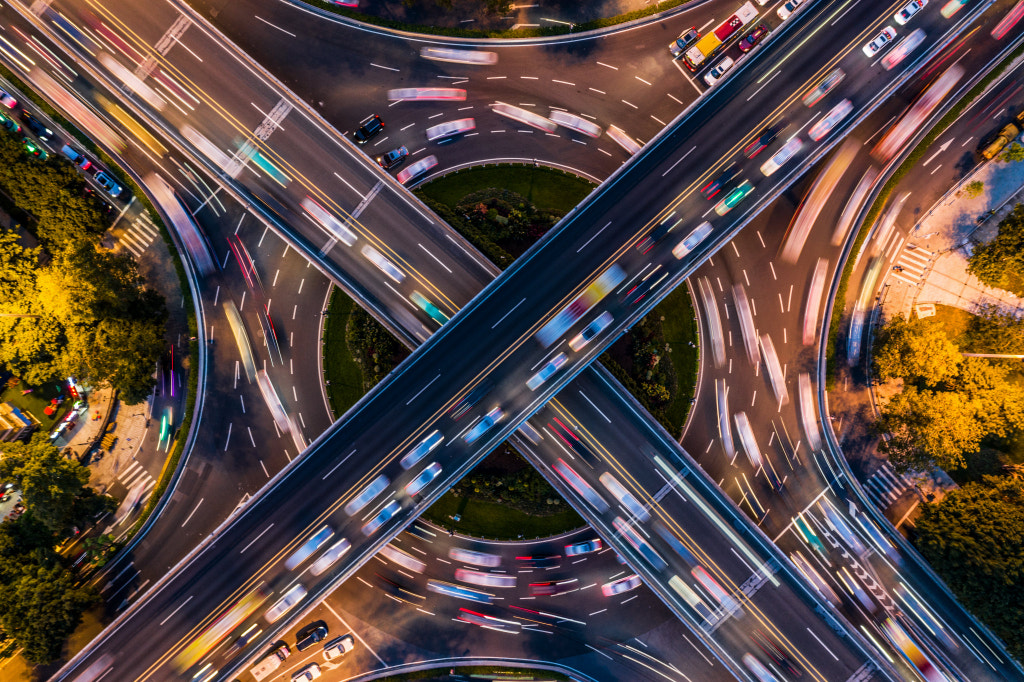
Part of what made that viral bowling video by Jay Christensen so successful was its sense of speed and motion. While it might be harder to capture movement in still images, it’s not impossible. One way is through long exposures; a slower shutter speed will blur moving elements of the landscape, like ocean waves or passing cars during rush hour. Consider visiting the same location several times. The more time you spend scouting your spot, the more familiar you’ll become with its rhythms and movements.

Not on 500px yet? Click here to learn about Licensing with 500px.

The post How to take your drone photography to the next level appeared first on 500px.

[NDN/ccn/comedia Links]
How to tell a story through your pictures (with photo essay examples)

In the mountains of Adjara in Georgia, Nika Pailodze has traveled kilometers on foot to get to some of the remotest regions. In a few areas, he’s lost his phone signal and gone without access to electricity. Setting up his tent for the night, he’s slept beneath the stars, preparing for yet another day of wandering the mountains.

But everywhere the photographer roams, the people of Adjara welcome him with open arms. In this magical corner of the world, where family homes have been passed down from one generation to the next over one hundred and fifty years, he has stood in awe of intricate embroideries. He’s tasted local dishes, carefully prepared by his hosts, and he has awoken to see the morning light kiss the rooftops of their huts.

Once, when traveling through Adjara, Nika met a geography teacher, who, upon learning the photographer would be sleeping in a tent, invited him to spend the night with his family. The artist politely declined, but the teacher continued to check up on him via text to make sure he was safe and warm. “His sincere concern deeply touched me,” Nika tells me now.

When he returns to the mountains, the families he’s visited before are there to greet him, glad of his return. For artists like Nika, who dedicate themselves to photo essays and long-term projects, creating pictures is just one part of an ongoing journey of discovery.

We spoke to three photographers who’ve traveled far and wide in search of once-in-lifetime stories; along the way, we learned about the importance of curiosity, patience, and resilience.

Spotlight on: Eduardo Teixeira de Sousa

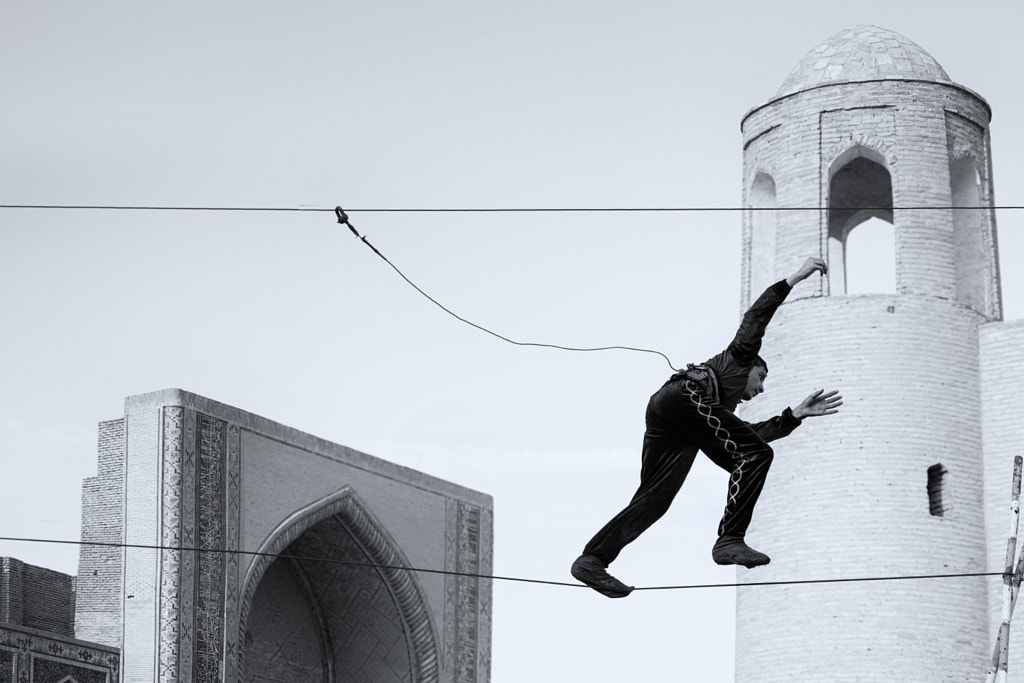
Eduardo Teixeira de Sousa, a street and travel photographer from Portugal, has created photo essays around the globe, from Egypt to Patagonia. He was inspired to embark on a journey to Uzbekistan, along with Joao Martinho, a fellow photographer he met through 500px. “We had both read about the rich history of this place as one of the keys to the Silk Road,” Eduardo tells me.

Once there, the language barrier didn’t pose problems for the experienced street photographers. “When English was not an option (well, it usually wasn’t), I kept speaking Portuguese and receiving my answers in Uzbek along the way,” Eduardo remembers. “That worked out well enough—actually, for street photography, this can sometimes even be a good thing, as it keeps communication simple and light.” A smile goes a long way.

While in Uzbekistan, Eduardo abandoned the typical “postcard” shots and searched for something deeper. “I’ll never forget the feeling of heading out with full batteries into the maze of the quiet and dusty streets of Bukhara at sunrise,” he says. “At first, there was silence—then the sound of a fast, cranky bicycle racing around the corner. Suddenly, a man selling bread appeared, warmly shouting at us a rolled ‘bonjour,’ while I tried to swap lenses and adjust my settings for his fast movement.” In the end, he didn’t get that particular shot, but it set the tone for the trip.

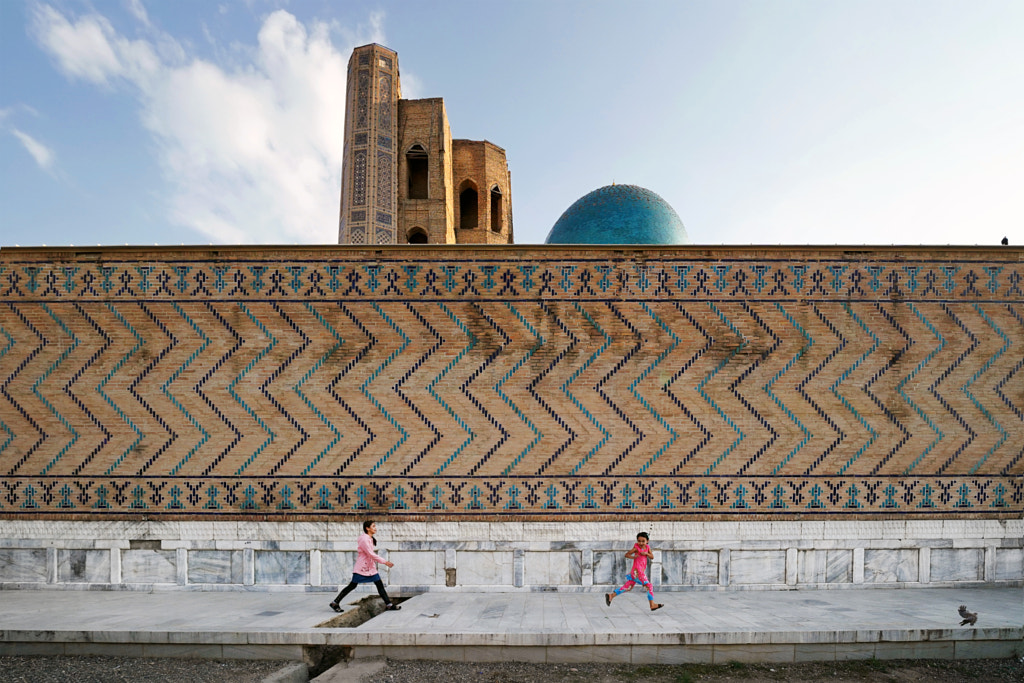
Throughout the trip, the photographers encountered plenty of surprises. In Samarkand, they marveled at the vibrant blue tiles and historic architecture. In Khiva, they met a woman who later invited them to her garden. Although she initially declined to be photographed, they won her trust, and she sat for a portrait at the end of the day. She practiced shamanism, and she gave them a special blessing before they left.

Pro tip: Do your research

By the time Eduardo and Joao traveled to Uzbekistan, they’d already seen how its cities had been photographed by other people, and they knew they wanted to capture something different. With that goal in mind, they decided to focus on only three cities, rather than packing too much into their itinerary. “As a photographer, I find focusing on fewer locations puts me a bit more at ease, as I feel I can always return to the same place if somehow a chance was missed,” Eduardo says.

Eduardo and Joao spent a little under a month researching and preparing their itinerary for Uzbekistan, so they were well prepared. At the end of each day of exploring, while backing up his photos, Eduardo made rough plans for the next day—it’s good to have a starting point, at least. Consult guidebooks, blogs, and other resources for tips on local spots.

“Keep a mental library of dream shots,” Eduardo suggests. “That way, you’ll react quicker if they happen to really occur in front of you.” At the same time, however, he always leaves room for chance and serendipity, telling me, “Sometimes, luck happens, too.”

Once you’re out there on the streets, take as many photos as you can. “I’ve trained myself to be a serial shooter, to click first and react later,” Eduardo admits. “When I feel there’s potential in a scene, I actively try to avoid overanalyzing it; instead, I try to respect the impulse, go with the flow, and improvise.

“I am always strolling, scanning, interacting, getting lost, running, hunting, and getting frustrated by a missed chance or an idea that sometimes comes too late. I think you have to accept your lot of randomness with humor—and balance it with solid research of the place, a sense of optimism, and occasional sore legs.”

Finally, when he’s home, he goes through all those photos and edits them down to the very best of the bunch.

Spotlight on: Alessio Laratta

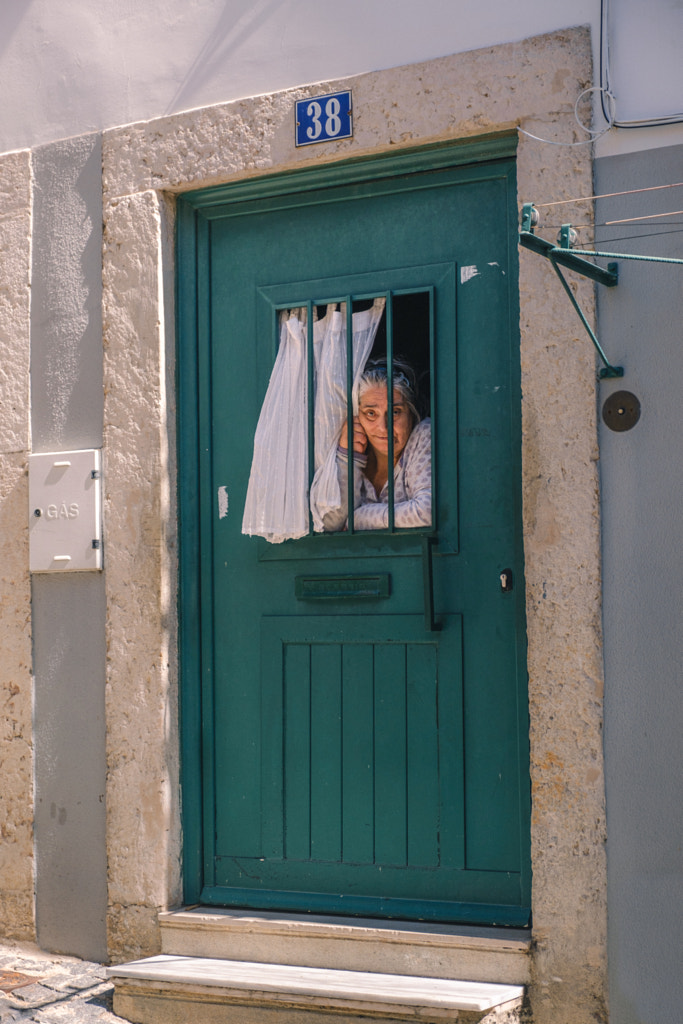
Alessio Laratta, a street and portrait photographer from Italy, traveled to Lisbon, Portugal, in early 2023. While there, he captured ephemeral moments and people lost in contemplation while on their way from one place to the next.

It’s true what they say about Lisbon: the light really is golden. “I noticed that Lisbon for some reason had very warm, orange light even at night,” the artist remembers. It was so warm, in fact, that his usual approach to color correction had to be adjusted slightly to get the look he wanted.

“The only other challenge I faced was the steepness of Lisbon’s streets,” Alessio admits. “I had to prioritize a very comfortable outfit and a good pair of shoes to make the most of each day. At the same time, the warmth of the locals is something that I have rarely found in other places. I felt at home after a few days. It’s really a special city, where the old and the new blend together in a very special way.”

Pro tip: Make the best of what you have

While in Lisbon, Alessio initially hoped for clear, sunny days. But when he got there, he found rainy, overcast weather. Instead of throwing in the towel, he embraced what the city offered him, creating moody and wistful images of people as they made their way through the clouded streets. And with some contrast tweaks in post-production, everything worked out beautifully.

“Remember to let your inner artist find your own personal way of conveying what you see through the lens,” he advises. “A great essay is made from your personal point of view on the world.” Give yourself the freedom to experiment and try new things, while staying true to your voice as an artist.”

Spotlight on: Nika Pailodze

Finally, we return to Nika Pailodze, who’s been documenting life in the mountainous regions of Georgia for more than a decade now. Two years ago, he made his first trip to Adjara. “Initially, my journey began with a deep appreciation for nature, but as I roamed and observed the traditional Adjarian houses, the allure of the landscape slowly faded into the background,” he remembers.

“Some of these wooden huts had stood the test of time, their age rivaled only by the ancient trees around them. They had become an integral part of the Adjarian ecosystem, and there was nothing more disheartening than witnessing their demise.

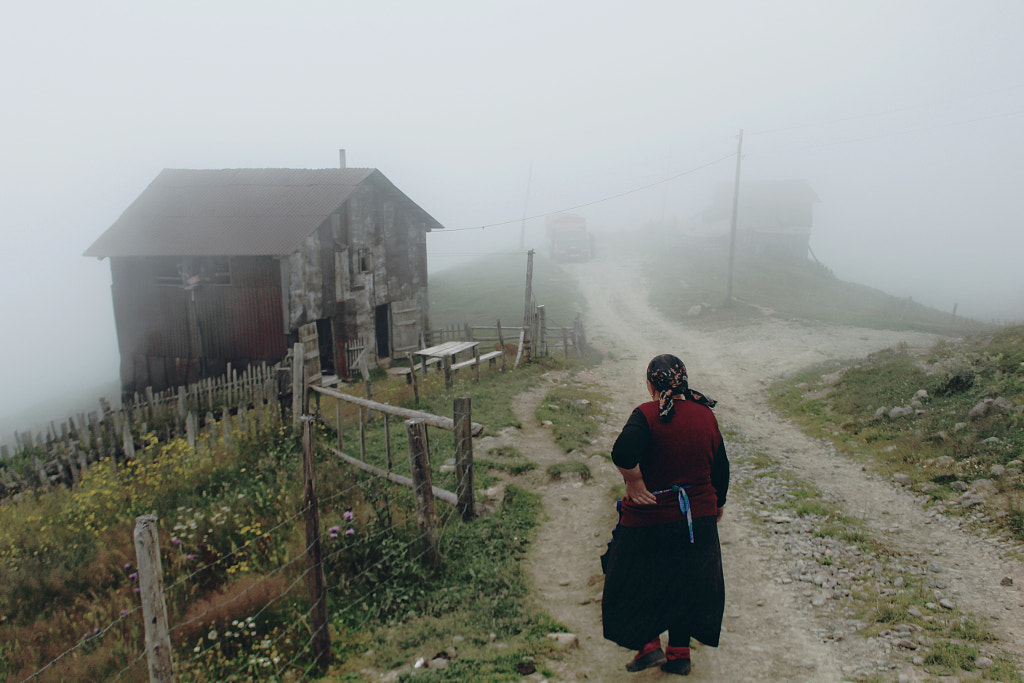
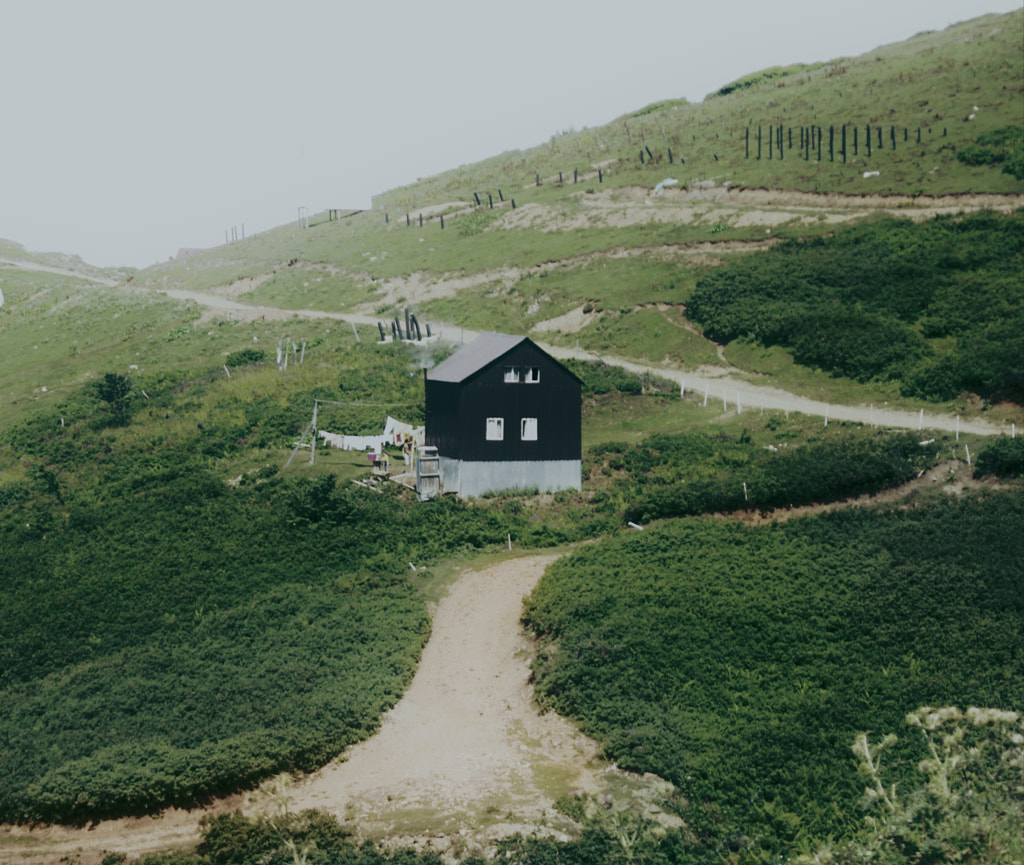
“One particular hut left a profound impact on me: a shroud of mist enveloped the scene, and it seemed as though nature itself cradled what remained of the hut. It felt like the entire essence of this small cottage and its residents resonated in a brief moment, even more transient than the fog in the Adjara highlands.”

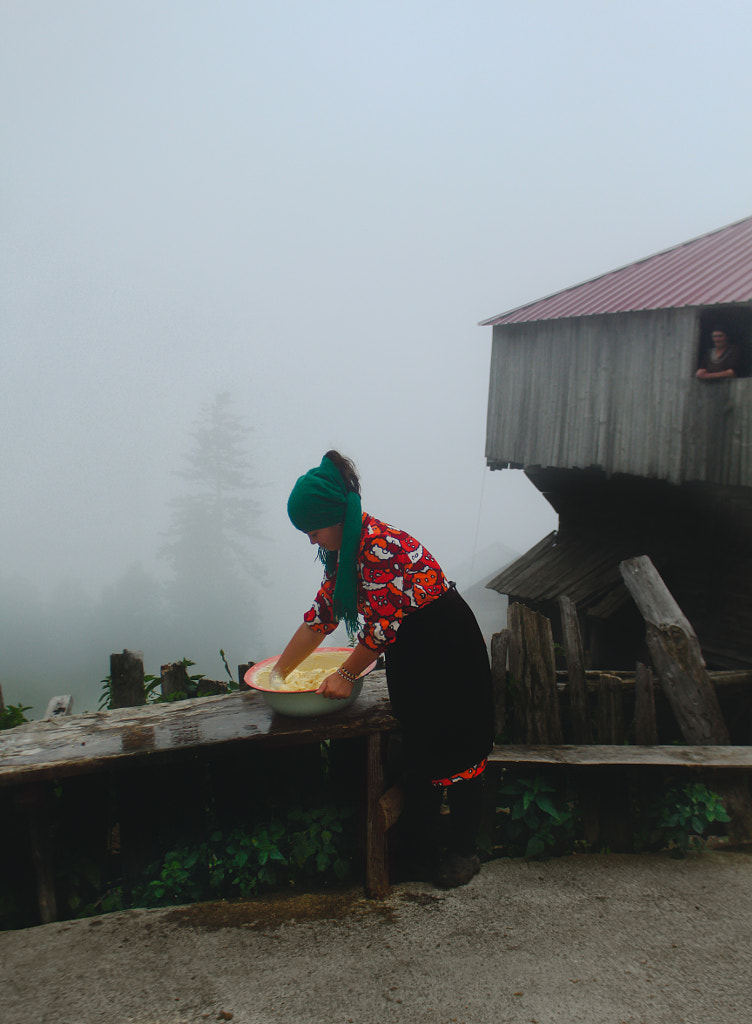
Set on preserving the stories that lingered within those houses, he approached the local people, who travel uphill with their cows in the summer so the animals can graze on fresh grass. “As I traversed pasture to pasture, I was welcomed with a steaming cup of coffee and an assortment of delectable sweets,” he remembers. Along the way, he was treated to homemade, local feasts.

“While capturing these photographs, I forged numerous friendships, some of which endure to this day with friends who regularly check in on me,” the photographer tells me. He longs to return again to the rolling hills, lush fields, and foggy mornings.

Pro tip: Let go of preconceived notions

Nika initially traveled to Adjara in search of natural wonders, but somewhere along the way, his focus turned to the people themselves. His advice is to stay open to change and evolution. “When you embark on such a project, you must accept from the beginning that everything may develop differently from what you had planned,” he explains.

“The main thing is to go with the flow and always remain connected to the people and the environment. I didn’t pre-select a topic, nor did I set out to work on any specific subject. Instead, I observed and documented people’s real lives.”

If you can, make multiple trips and spend as much time in the location as possible. “At times, circumstances unfold quite differently from our initial expectations,” Nika says. “In such moments, the virtue of patience becomes absolutely indispensable.”

Not on 500px yet? Sign up here to explore more impactful photography.

The post How to tell a story through your pictures (with photo essay examples) appeared first on 500px.

[NDN/ccn/comedia Links]