Friday, November 3, 2023

How to take your drone photography to the next level

In March of 2021, an 87-second video made by a drone operator, Jay Christensen, went viral, amassing hundreds of thousands of views on social media. Christensen created the video to promote a Minneapolis bowling alley, Bryant Lake Bowl & Theater. In one continuous take, he took us from a bird’s eye view of the exterior, through the doors, down the lanes, and into the restaurant and theater. Offering a wholly new perspective on a familiar scene, the video was immediately lauded by Hollywood insiders.

Early in 2021, Insider Intelligence predicted that drone sales would surpass $12 billion, driven in part by the sale of personal drones for still photography and filmmaking. As photographers make creative use of new technologies, brands have followed suit, with drones becoming a mainstream fixture in the world of advertising. As we head into 2022, drone pictures are used by everyone from architectural firms to tourism boards.

For commercial photographers, drone views offer a fresh opportunity to stand out to clients, even in a saturated market. “Drone photography captivates viewers and provides shots that buyers love,” the 500px team tells us. “Drones allow photographers to capture previously inaccessible perspectives, pushing the boundaries of landscape, real estate, and travel photography. More methods and creative uses will emerge as more photographers take hold of this booming industry.”

The challenge of drone photography is that you often don’t know what you’ll find until you start flying, but there are some things you can do to prepare for and recognize shots worth taking. We put together this easy guide to help you elevate your Licensing portfolio through the art of drone photography. We’ve relied on a few core concepts and principles, illustrated by stunning examples from the 500px community.

Use color wisely
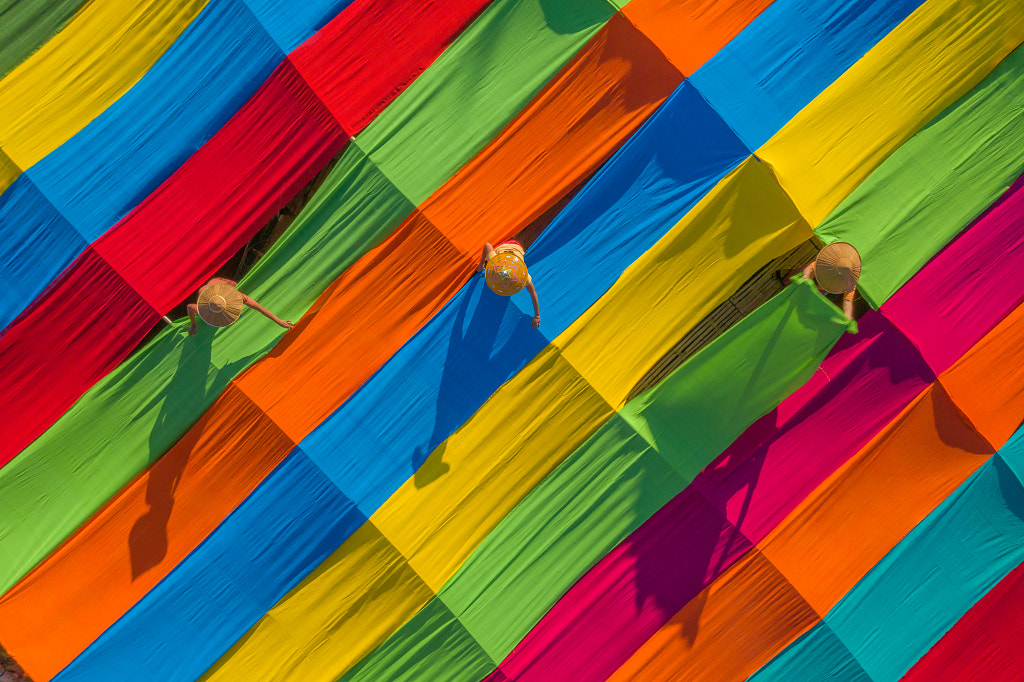
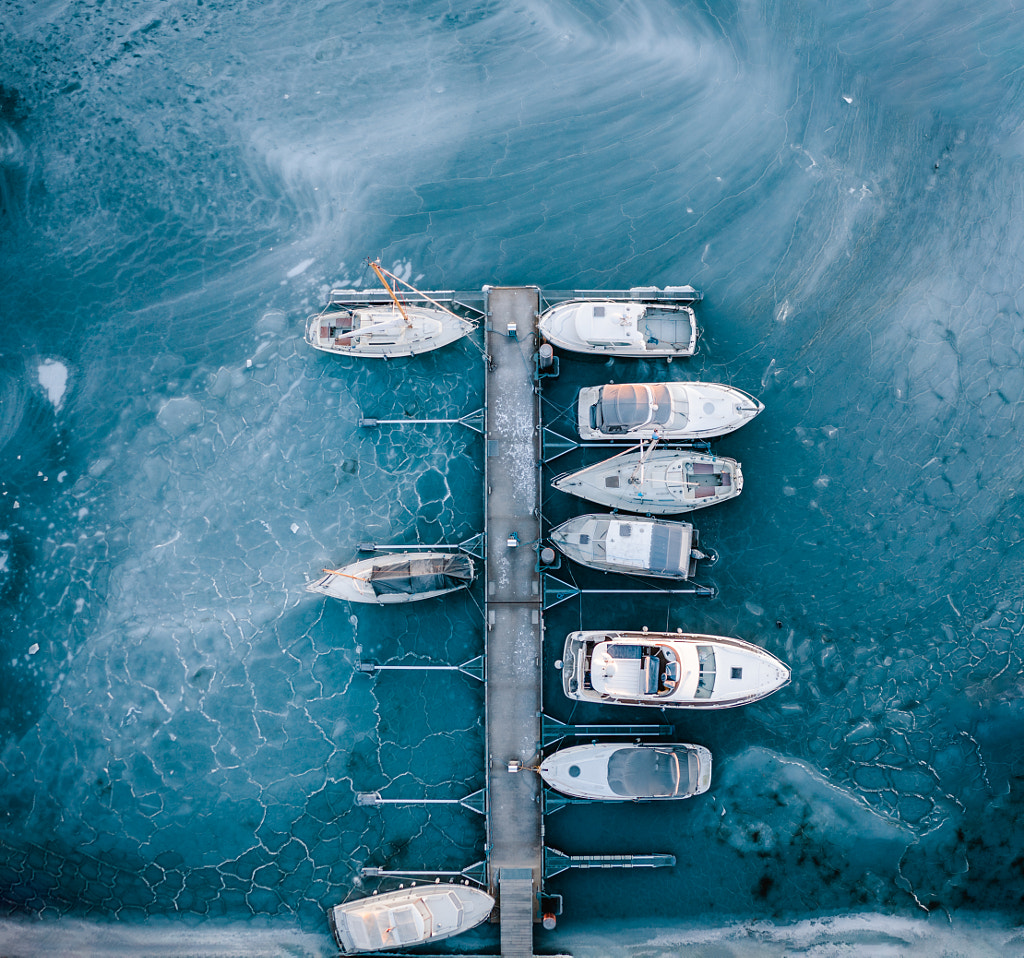
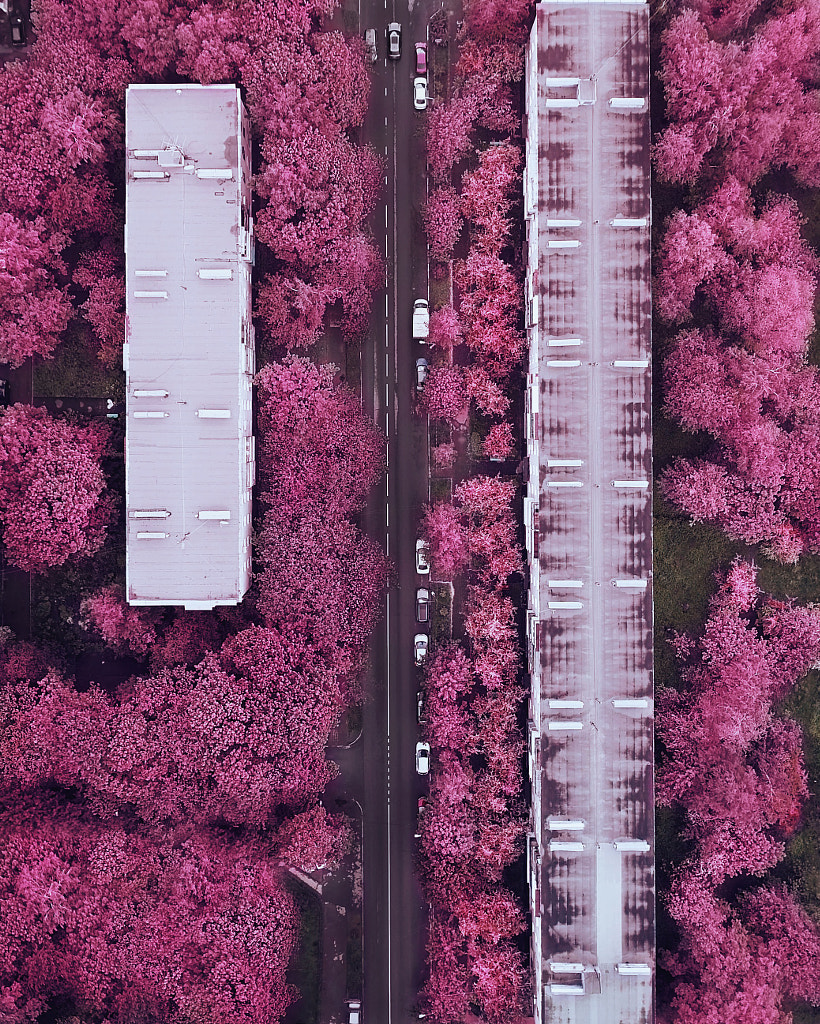
Marketing pros understand the power of color, eagerly following Pantone’s predictions for Color of the Year and using the color wheel to create pleasing graphics. Drone photographers can also turn color to their advantage by scouting their locations or scheduling their shoots to coincide with specific events, from flower blooms to cultural celebrations. Snowy days can reduce the appearance of color for a dramatic white-out effect. Sometimes, even the time of day can drastically change the colors and mood of your scene, shifting from the warm temperature of sunset to the cool hues around twilight and later, colors of city lights at night.
Play with shadow

Time of day will also affect the light in your surroundings, with shadows shortening around mid-day and then elongating as the sun approaches the horizon. In color theory, we talk about the importance of value contrast; that is, you want a variety of light and dark colors to make an image interesting. If you convert a photo to black and white and everything looks middle gray, it’s less dynamic, so look for those gradients.
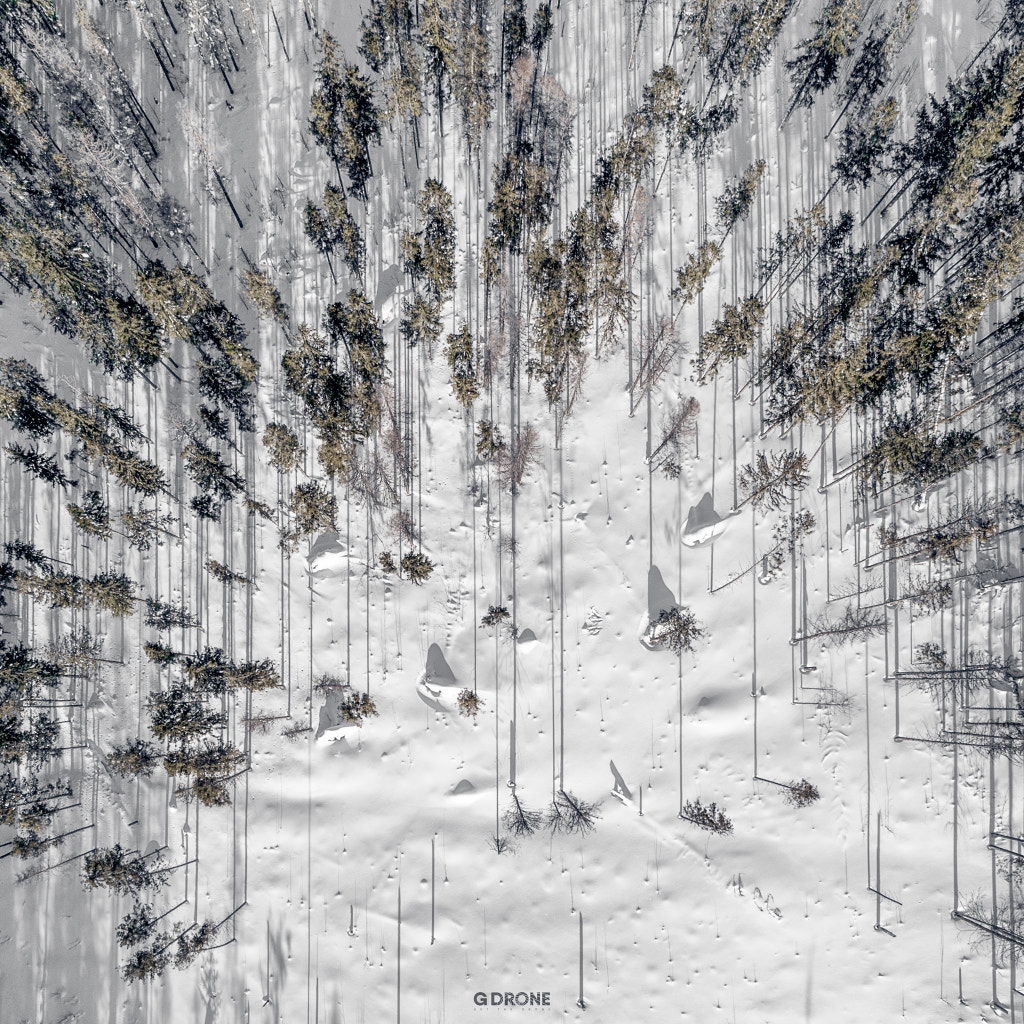
When scouting your locations, look for objects that might cast interesting shadows across the space as the light changes throughout the day. These elements could be buildings, trees, dunes, or something else in the landscape. To ensure your shoot coincides with the golden hour and those long shadows, check the time of sunrise and sunset at your planned location using an app like PhotoPills.

Incorporate lines
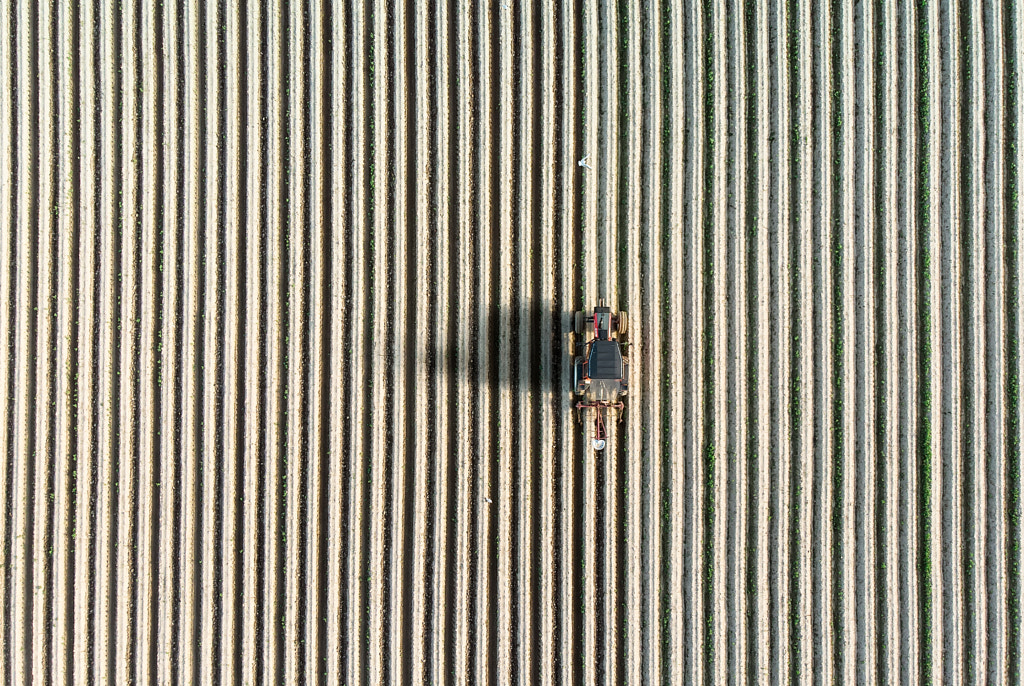
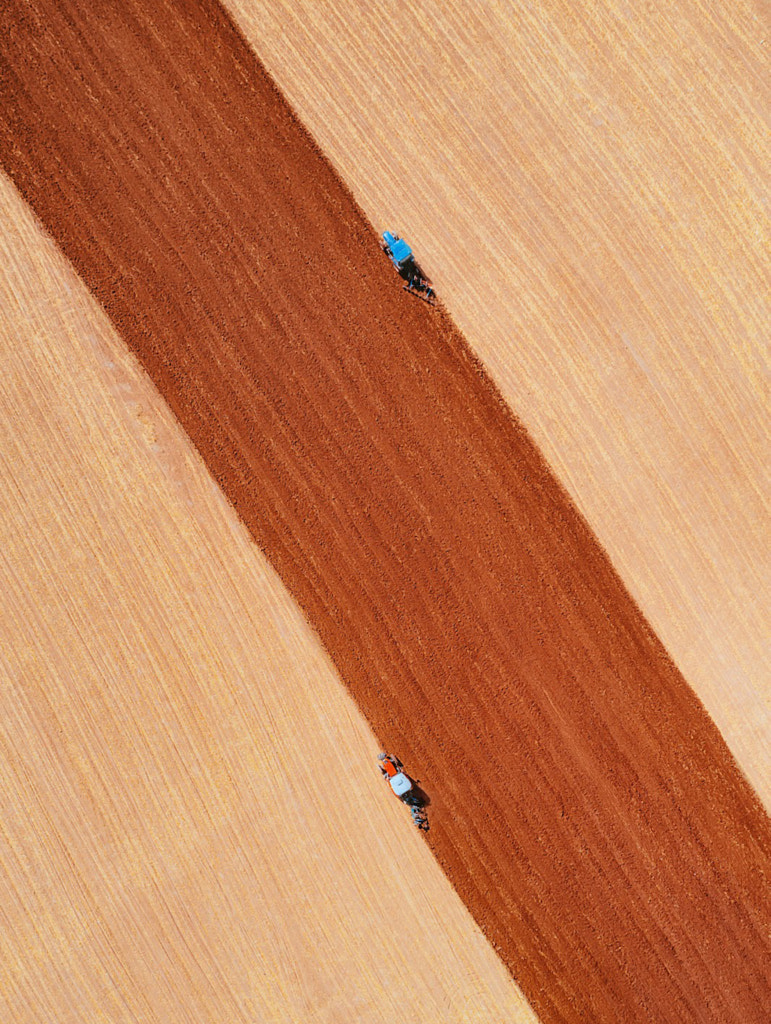
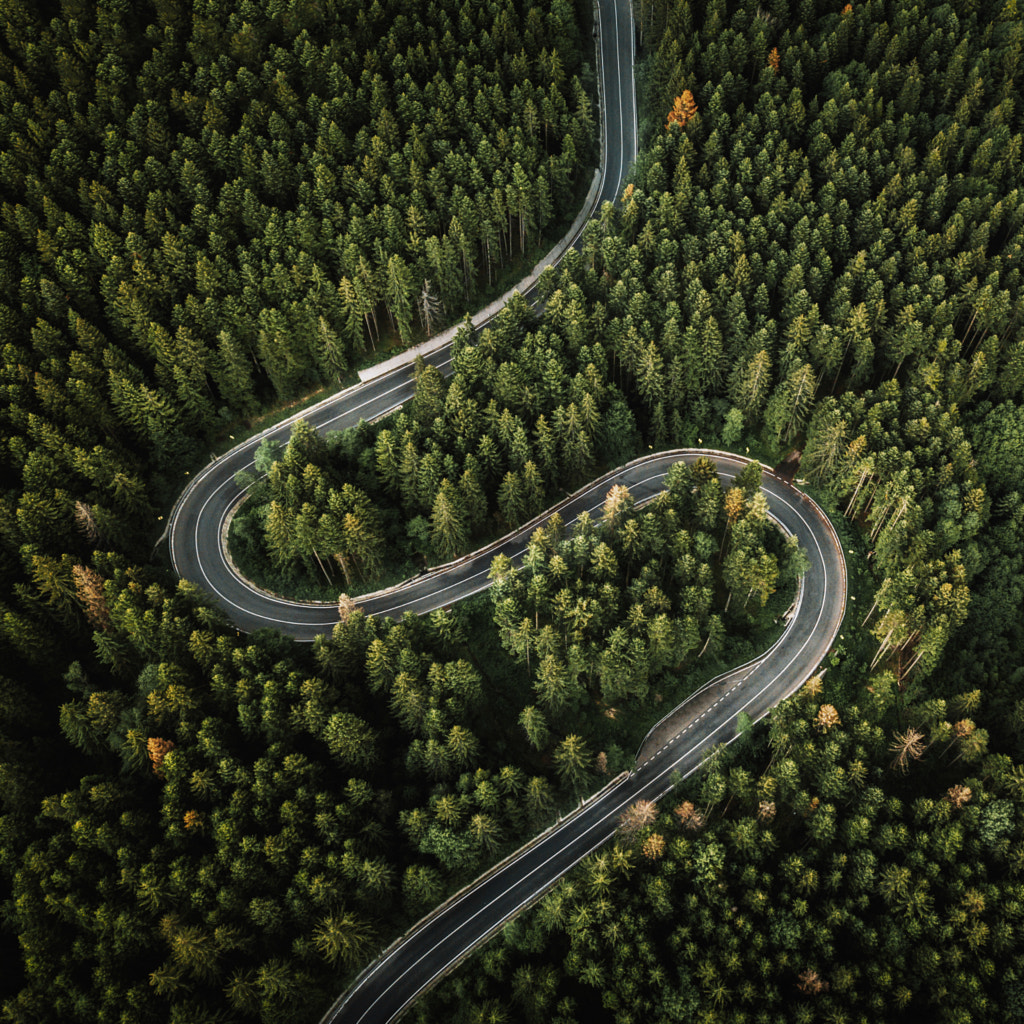
Horizontal, vertical, and diagonal lines can add visual interest, so consider places where they’re abundant, such as tulip fields, salt evaporation ponds, or city blocks. In landscapes, you can also find curving lines in the form of snaking rivers or winding roads through the forest. These lines can establish a pattern, or they can be used as leading lines to draw focus to a specific subject.
Look for patterns

The human brain is designed to detect patterns, and art often uses patterns or repetition to engage our minds. On Instagram, for example, entire pages have cropped up in celebration of symmetrical photographs, lined up one after the other, with @symmetrybreakfast and @geometryclub among them. And then, of course, there are tremendously popular Tumblr pages like Things Organized Neatly and Things Fitting Perfectly Into Other Things.

Our surroundings, whether natural or manmade, are filled with patterns that only become apparent from a distance. Drones allow us to see them more clearly, so be intentional in your composition and framing. “Crop your images so that some of the repeating elements fall out of the frame to give the illusion that the pattern is ongoing,” the 500px team suggests. “Additionally, consider places that do not look appealing from the ground but look amazing in top-down photos, such as parking lots or junkyards with repeating elements.”
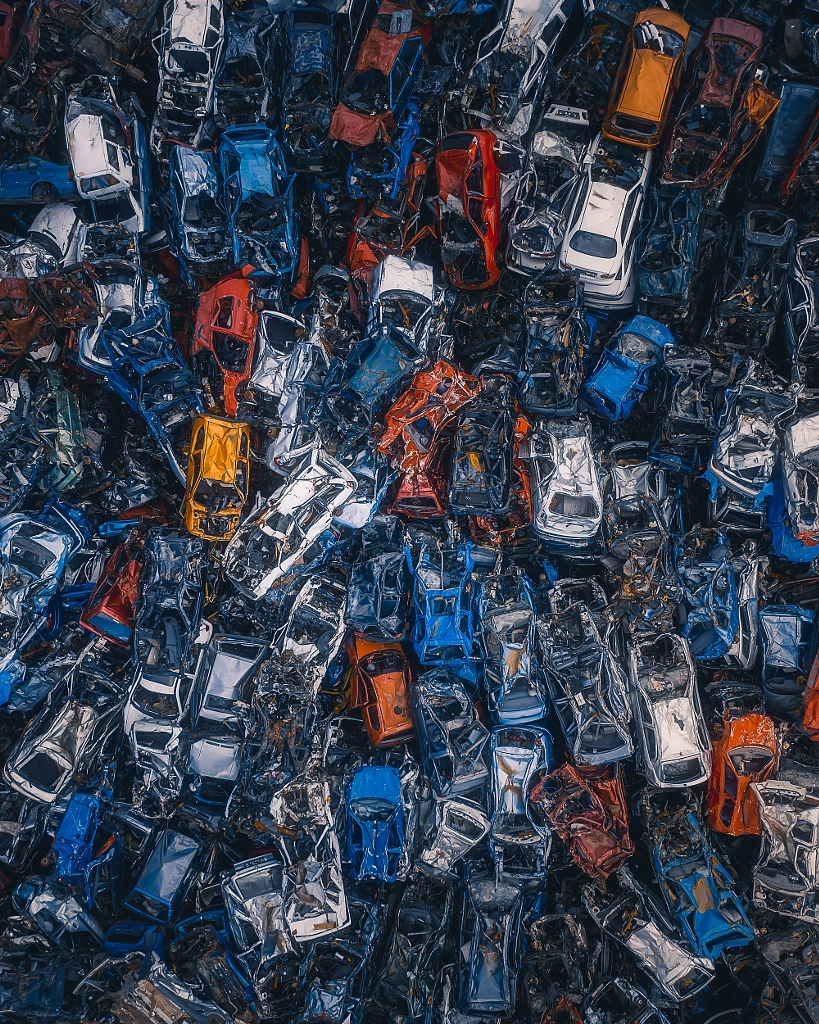
Drive emphasis
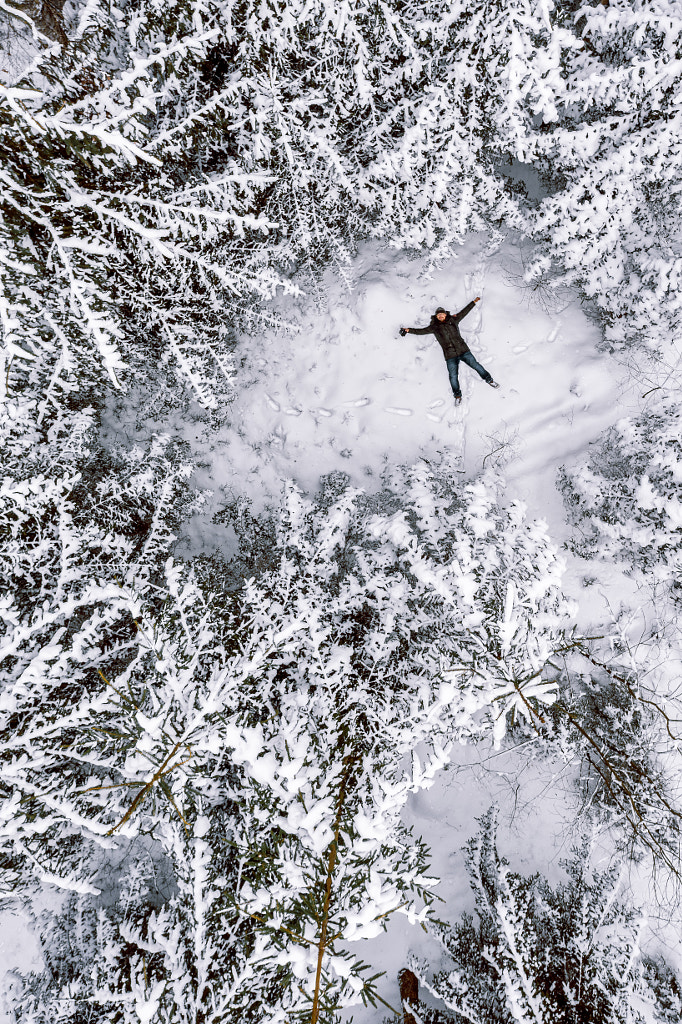
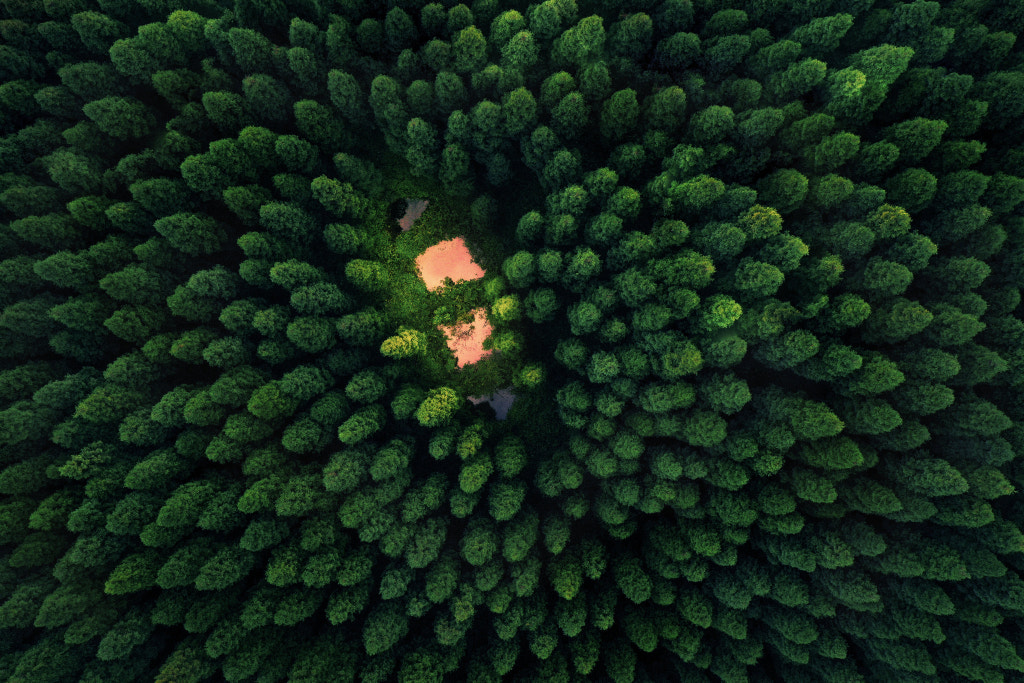
Patterns are appealing, but they can also be used to draw attention to an element that breaks the pattern, from a human figure to a lone tree. Recognizable figures like people, cars, or houses work especially well because they provide a sense of scale and context to a seemingly infinite scene. “In drone photos, the presence of a model can evoke feelings of isolation, wanderlust, or exploration,” the team at 500px adds. When composing your pictures, make sure there’s one clear subject; all the lines and elements in the frame should serve to complement that object or detail, rather than distracting from it.
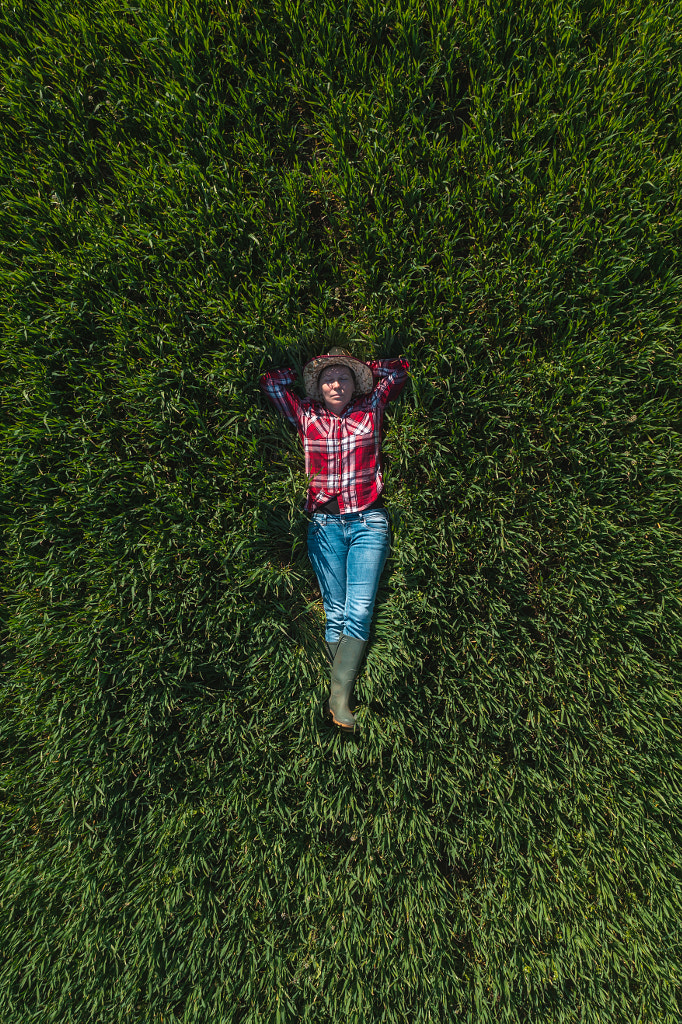
Seek moments of contrast

One common motif in drone photography has become the juxtaposition of the natural world and manmade objects, whether it’s a paved road running through the woods or a boardwalk leading to the sea. It could be a bridge cutting through a lush landscape, adding scale and a human touch. Look for details that provide balance and harmony.
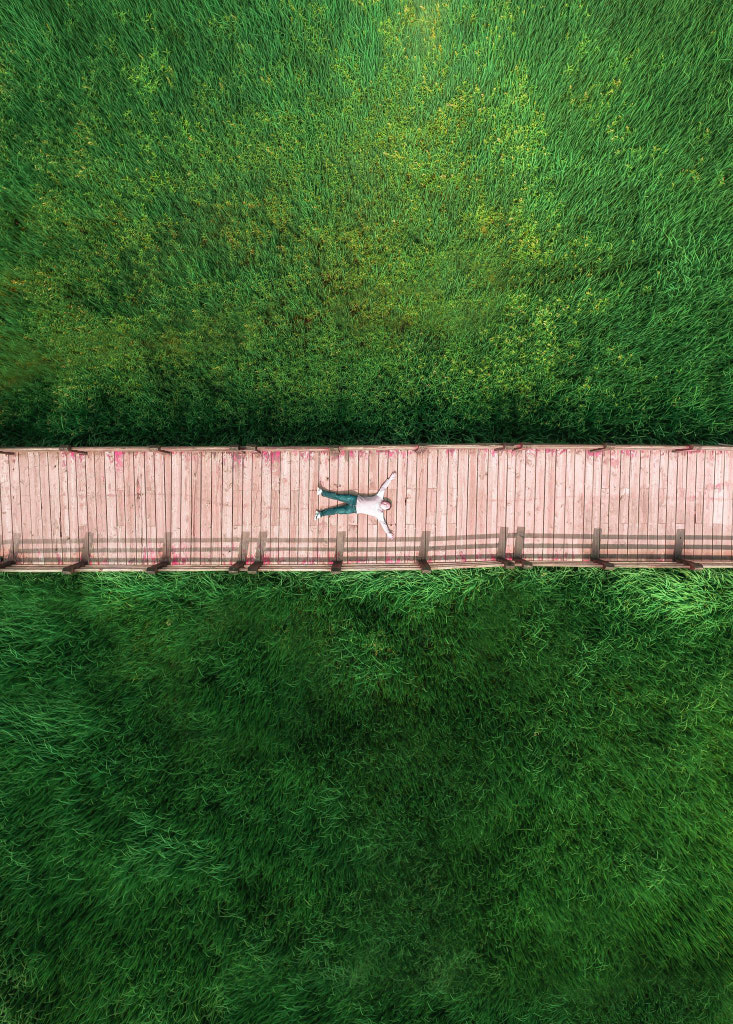
In aerial photography, some of these contrasts between the manmade and natural world can be even more dramatic, like a barren field cleared from miles of pristine wilderness. These kinds of pictures can speak to enduring themes like our influence over our environment, underscoring the importance of sustainable practices and regenerative agriculture. Research your local parks, hiking trails, and beaches to find unique spots others might have overlooked.

Embrace textures
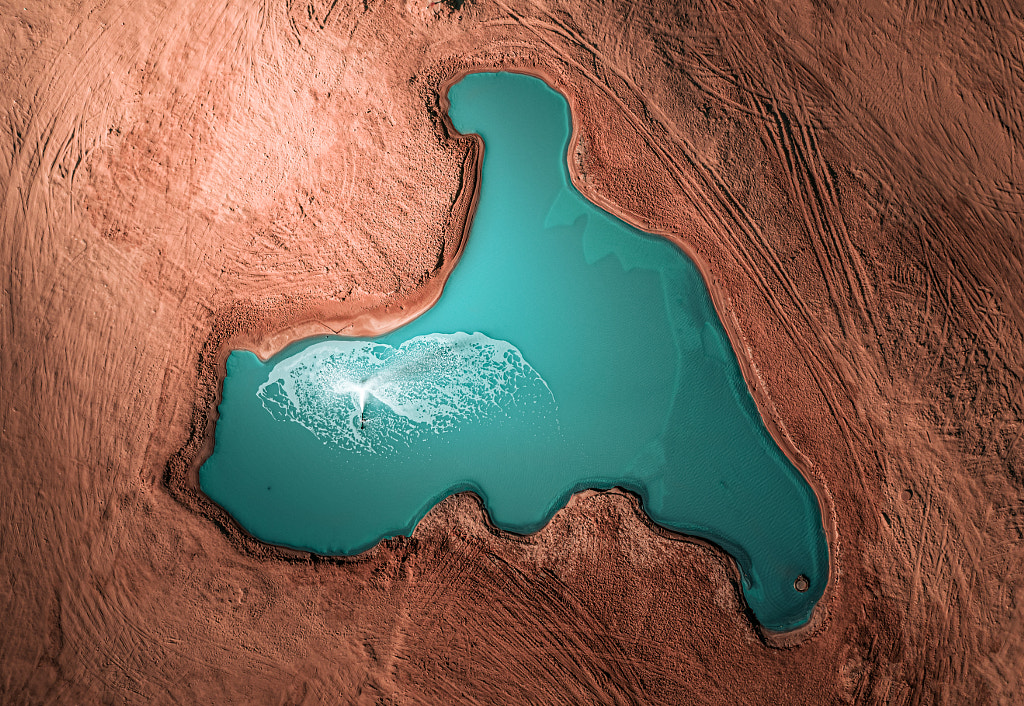
One way to create contrast is through the use of varying textures, from powdery, snow-covered forests to slick, frozen lakes. The directional lighting of the golden hour is ideal for accentuating texture and depth in landscapes, so that’s another reason to schedule your shoot for around sunrise or sunset.
Incorporate movement
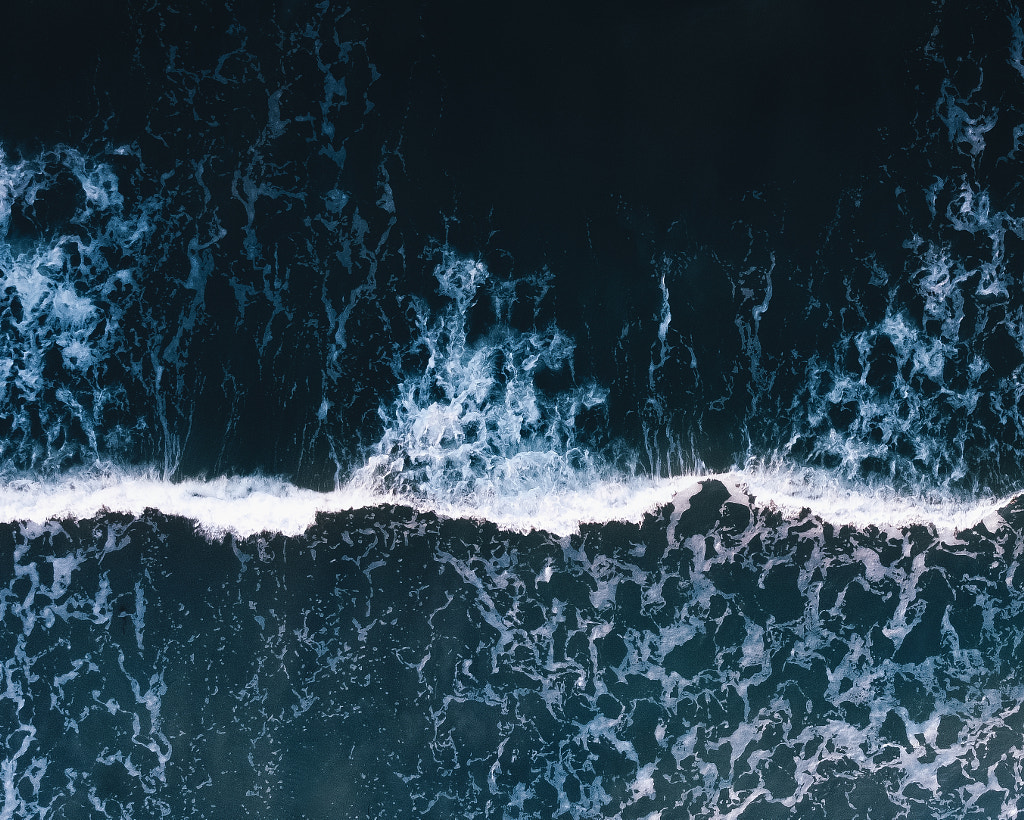
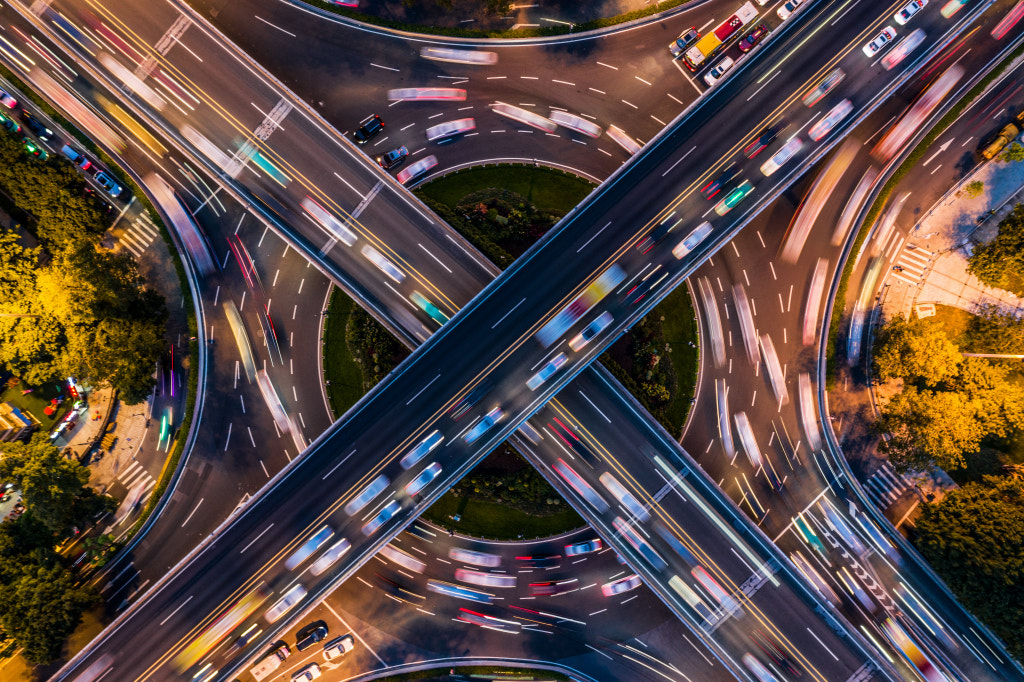
Part of what made that viral bowling video by Jay Christensen so successful was its sense of speed and motion. While it might be harder to capture movement in still images, it’s not impossible. One way is through long exposures; a slower shutter speed will blur moving elements of the landscape, like ocean waves or passing cars during rush hour. Consider visiting the same location several times. The more time you spend scouting your spot, the more familiar you’ll become with its rhythms and movements.

Not on 500px yet? Click here to learn about Licensing with 500px.

The post How to take your drone photography to the next level appeared first on 500px.

[NDN/ccn/comedia Links]
How to tell a story through your pictures (with photo essay examples)

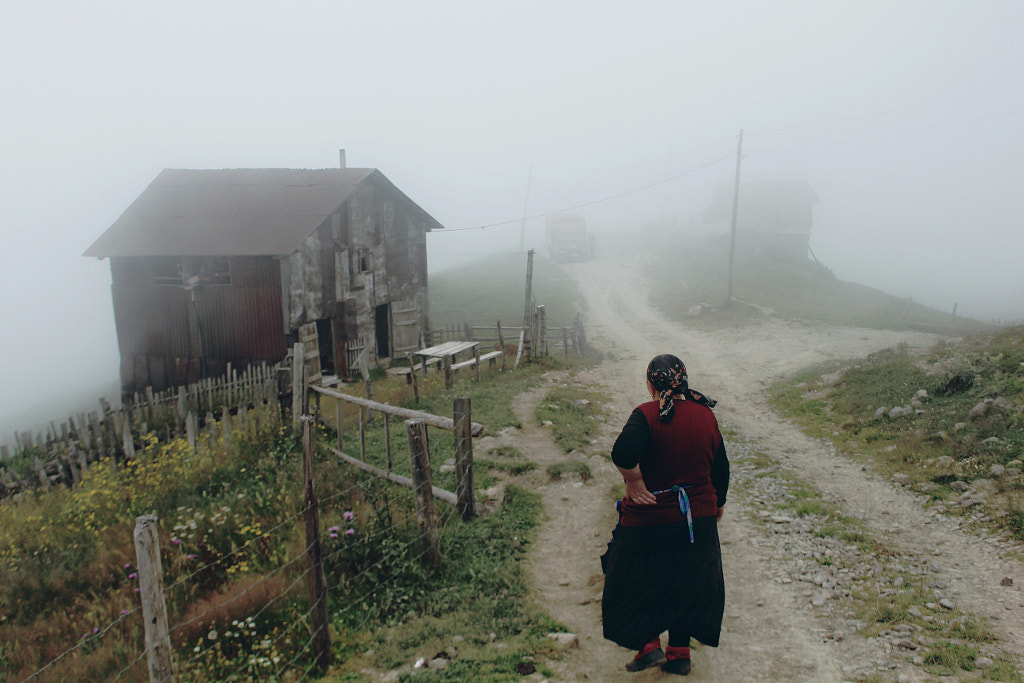
In the mountains of Adjara in Georgia, Nika Pailodze has traveled kilometers on foot to get to some of the remotest regions. In a few areas, he’s lost his phone signal and gone without access to electricity. Setting up his tent for the night, he’s slept beneath the stars, preparing for yet another day of wandering the mountains.

But everywhere the photographer roams, the people of Adjara welcome him with open arms. In this magical corner of the world, where family homes have been passed down from one generation to the next over one hundred and fifty years, he has stood in awe of intricate embroideries. He’s tasted local dishes, carefully prepared by his hosts, and he has awoken to see the morning light kiss the rooftops of their huts.

Once, when traveling through Adjara, Nika met a geography teacher, who, upon learning the photographer would be sleeping in a tent, invited him to spend the night with his family. The artist politely declined, but the teacher continued to check up on him via text to make sure he was safe and warm. “His sincere concern deeply touched me,” Nika tells me now.

When he returns to the mountains, the families he’s visited before are there to greet him, glad of his return. For artists like Nika, who dedicate themselves to photo essays and long-term projects, creating pictures is just one part of an ongoing journey of discovery.

We spoke to three photographers who’ve traveled far and wide in search of once-in-lifetime stories; along the way, we learned about the importance of curiosity, patience, and resilience.

Spotlight on: Eduardo Teixeira de Sousa

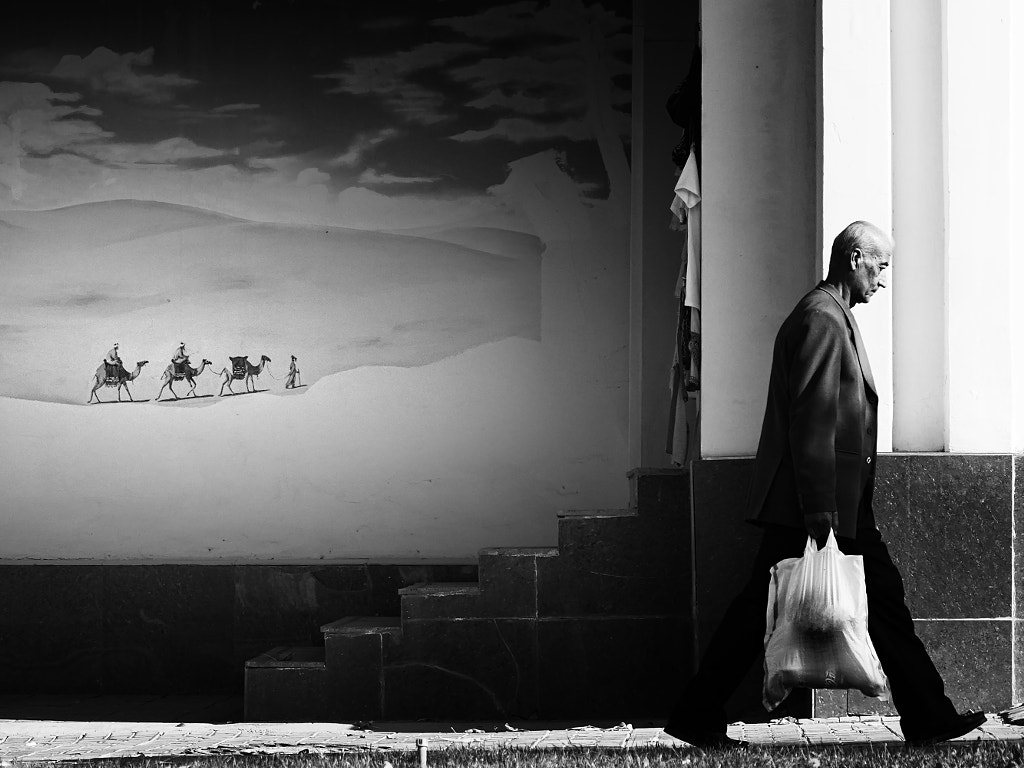
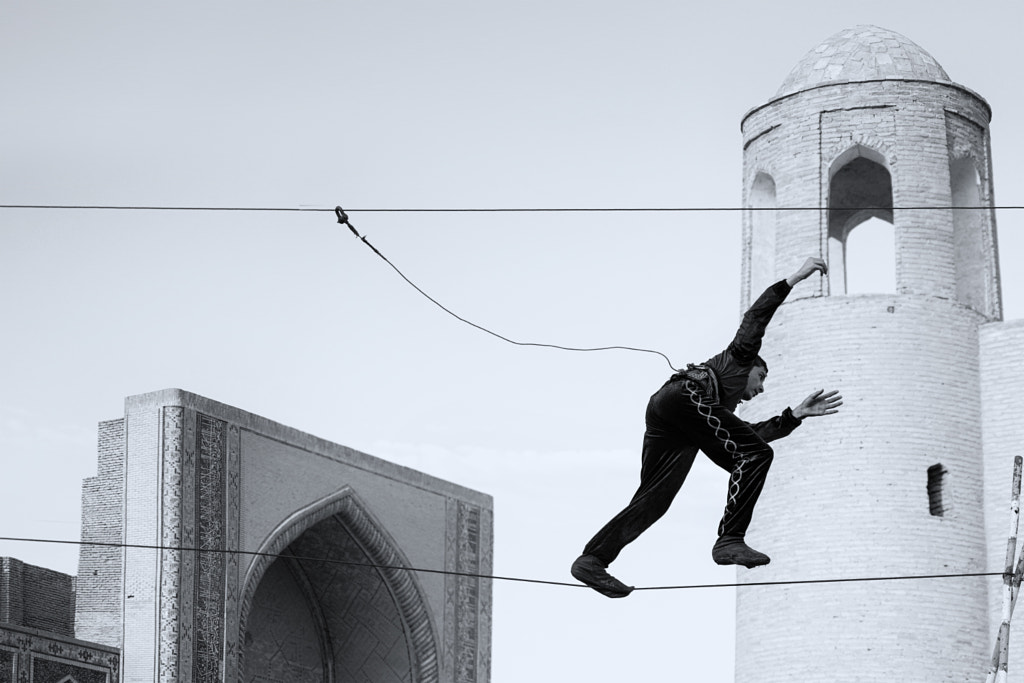
Eduardo Teixeira de Sousa, a street and travel photographer from Portugal, has created photo essays around the globe, from Egypt to Patagonia. He was inspired to embark on a journey to Uzbekistan, along with Joao Martinho, a fellow photographer he met through 500px. “We had both read about the rich history of this place as one of the keys to the Silk Road,” Eduardo tells me.

Once there, the language barrier didn’t pose problems for the experienced street photographers. “When English was not an option (well, it usually wasn’t), I kept speaking Portuguese and receiving my answers in Uzbek along the way,” Eduardo remembers. “That worked out well enough—actually, for street photography, this can sometimes even be a good thing, as it keeps communication simple and light.” A smile goes a long way.

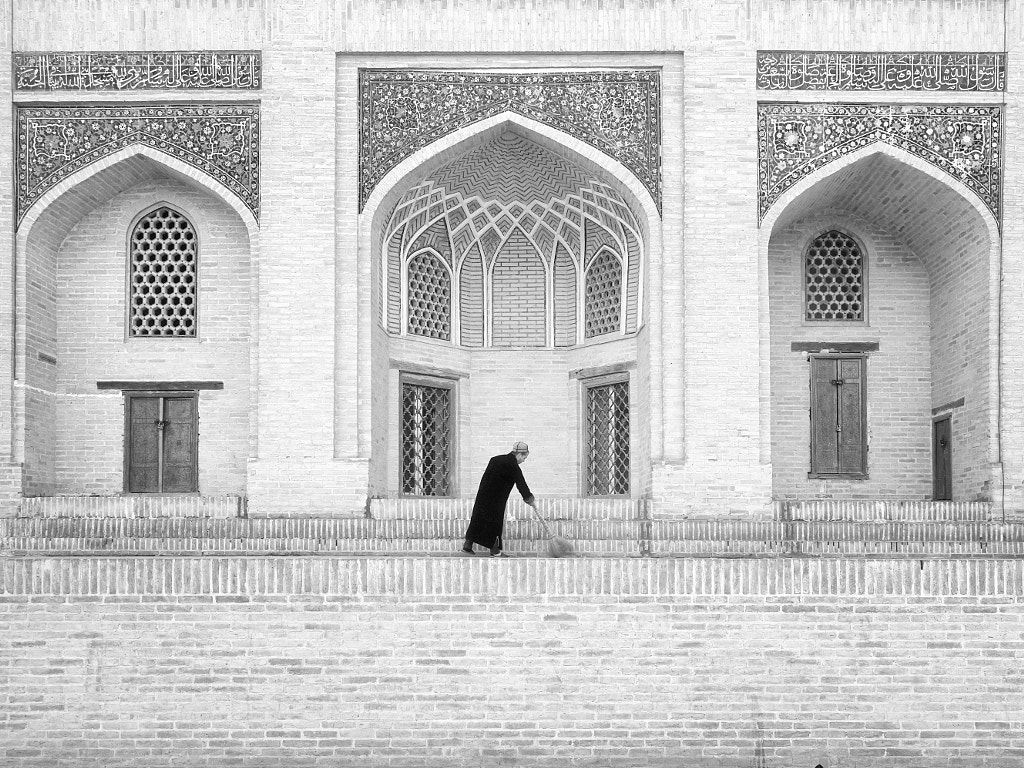
While in Uzbekistan, Eduardo abandoned the typical “postcard” shots and searched for something deeper. “I’ll never forget the feeling of heading out with full batteries into the maze of the quiet and dusty streets of Bukhara at sunrise,” he says. “At first, there was silence—then the sound of a fast, cranky bicycle racing around the corner. Suddenly, a man selling bread appeared, warmly shouting at us a rolled ‘bonjour,’ while I tried to swap lenses and adjust my settings for his fast movement.” In the end, he didn’t get that particular shot, but it set the tone for the trip.

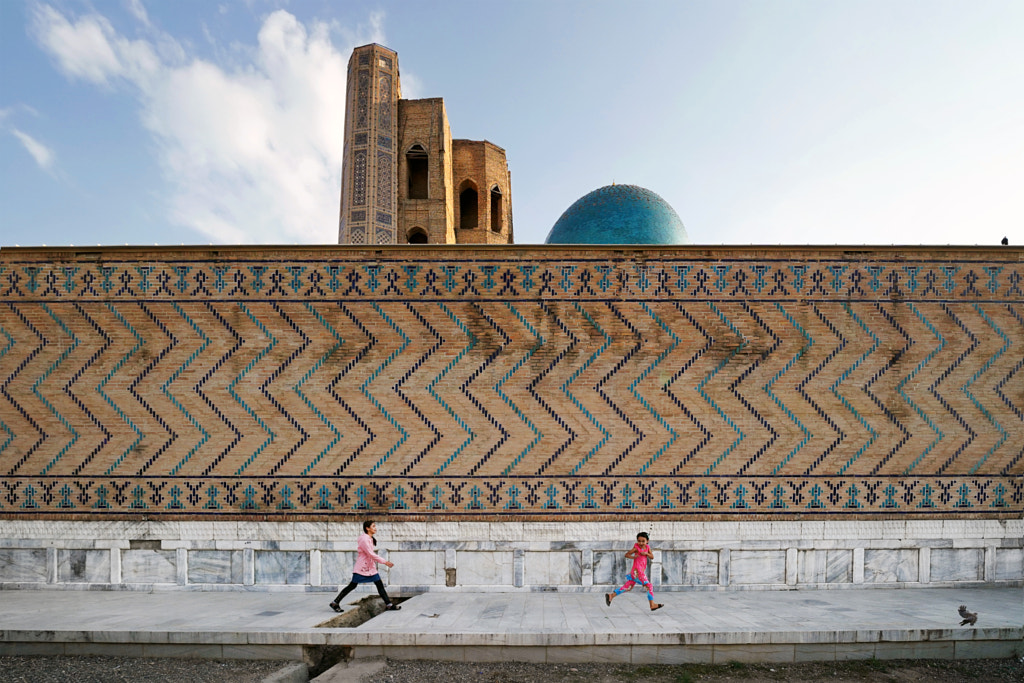
Throughout the trip, the photographers encountered plenty of surprises. In Samarkand, they marveled at the vibrant blue tiles and historic architecture. In Khiva, they met a woman who later invited them to her garden. Although she initially declined to be photographed, they won her trust, and she sat for a portrait at the end of the day. She practiced shamanism, and she gave them a special blessing before they left.

Pro tip: Do your research

By the time Eduardo and Joao traveled to Uzbekistan, they’d already seen how its cities had been photographed by other people, and they knew they wanted to capture something different. With that goal in mind, they decided to focus on only three cities, rather than packing too much into their itinerary. “As a photographer, I find focusing on fewer locations puts me a bit more at ease, as I feel I can always return to the same place if somehow a chance was missed,” Eduardo says.

Eduardo and Joao spent a little under a month researching and preparing their itinerary for Uzbekistan, so they were well prepared. At the end of each day of exploring, while backing up his photos, Eduardo made rough plans for the next day—it’s good to have a starting point, at least. Consult guidebooks, blogs, and other resources for tips on local spots.

“Keep a mental library of dream shots,” Eduardo suggests. “That way, you’ll react quicker if they happen to really occur in front of you.” At the same time, however, he always leaves room for chance and serendipity, telling me, “Sometimes, luck happens, too.”

Once you’re out there on the streets, take as many photos as you can. “I’ve trained myself to be a serial shooter, to click first and react later,” Eduardo admits. “When I feel there’s potential in a scene, I actively try to avoid overanalyzing it; instead, I try to respect the impulse, go with the flow, and improvise.

“I am always strolling, scanning, interacting, getting lost, running, hunting, and getting frustrated by a missed chance or an idea that sometimes comes too late. I think you have to accept your lot of randomness with humor—and balance it with solid research of the place, a sense of optimism, and occasional sore legs.”

Finally, when he’s home, he goes through all those photos and edits them down to the very best of the bunch.

Spotlight on: Alessio Laratta

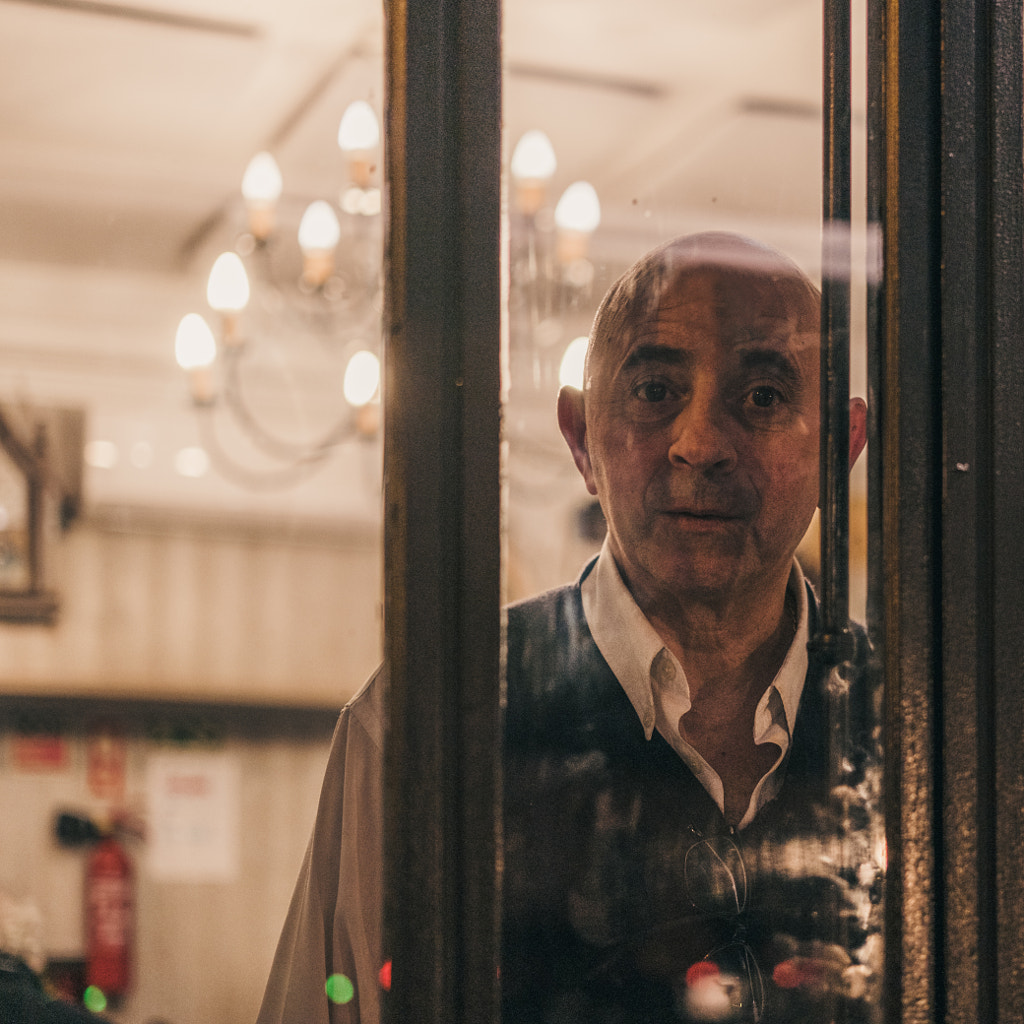
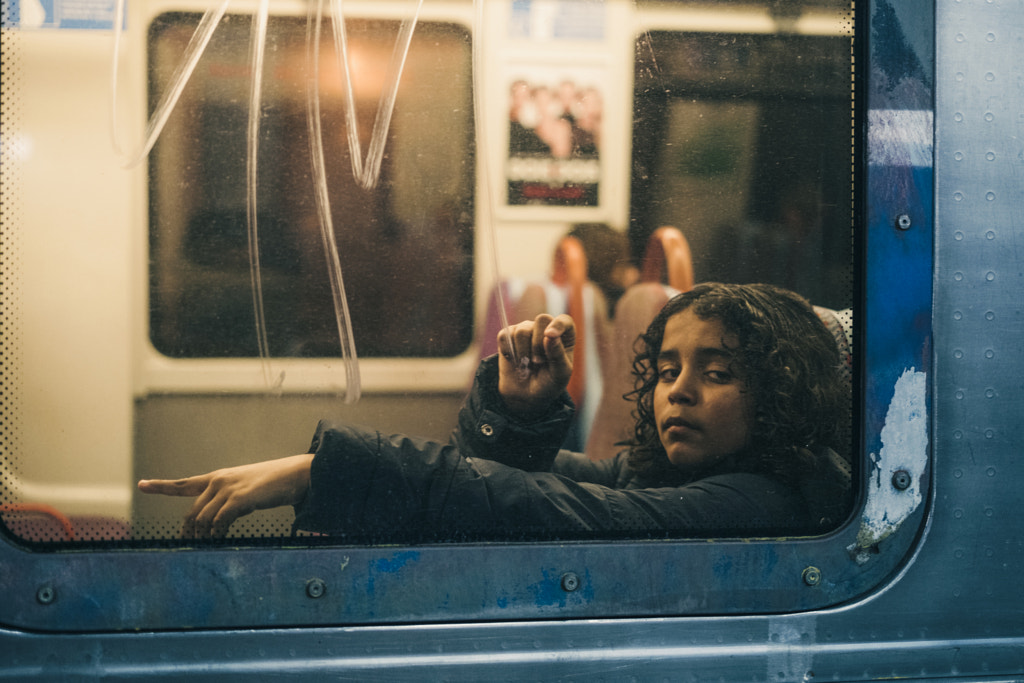
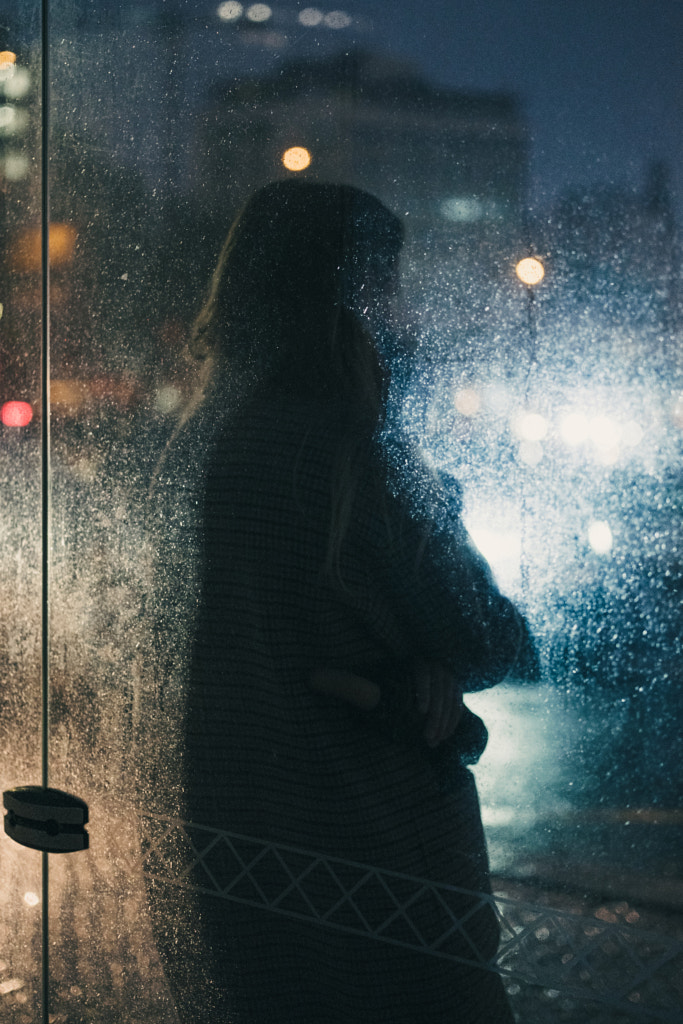
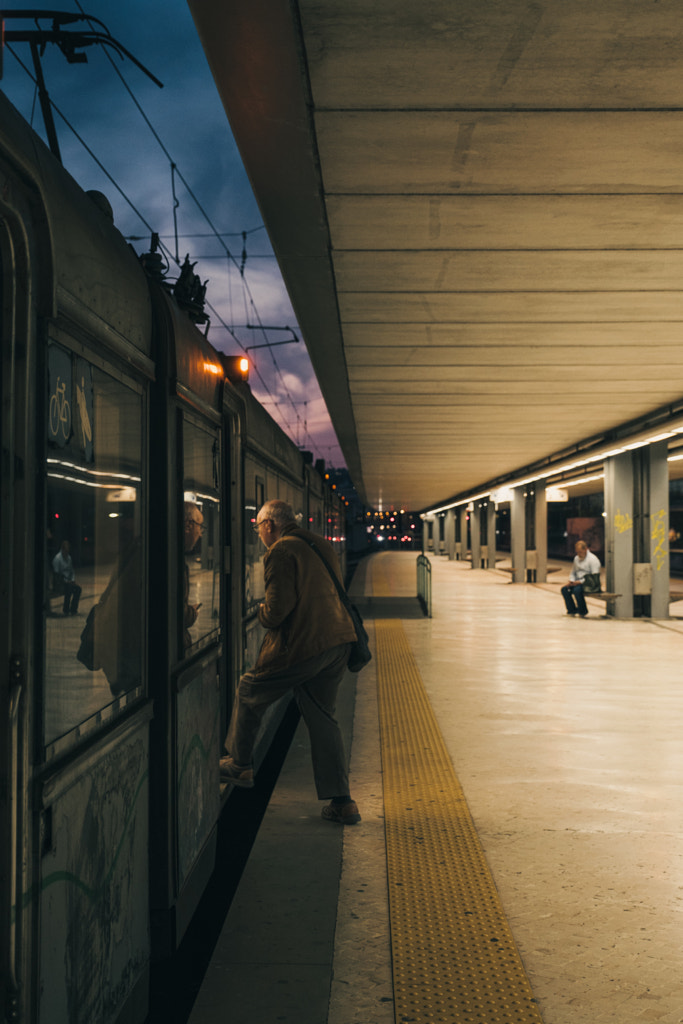
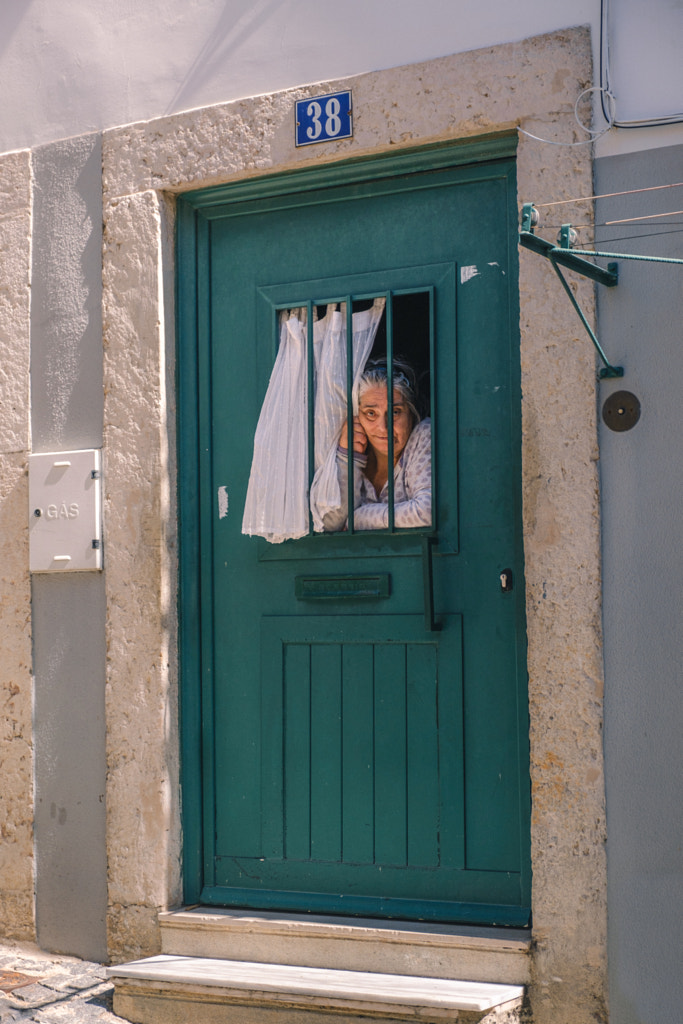
Alessio Laratta, a street and portrait photographer from Italy, traveled to Lisbon, Portugal, in early 2023. While there, he captured ephemeral moments and people lost in contemplation while on their way from one place to the next.

It’s true what they say about Lisbon: the light really is golden. “I noticed that Lisbon for some reason had very warm, orange light even at night,” the artist remembers. It was so warm, in fact, that his usual approach to color correction had to be adjusted slightly to get the look he wanted.

“The only other challenge I faced was the steepness of Lisbon’s streets,” Alessio admits. “I had to prioritize a very comfortable outfit and a good pair of shoes to make the most of each day. At the same time, the warmth of the locals is something that I have rarely found in other places. I felt at home after a few days. It’s really a special city, where the old and the new blend together in a very special way.”

Pro tip: Make the best of what you have

While in Lisbon, Alessio initially hoped for clear, sunny days. But when he got there, he found rainy, overcast weather. Instead of throwing in the towel, he embraced what the city offered him, creating moody and wistful images of people as they made their way through the clouded streets. And with some contrast tweaks in post-production, everything worked out beautifully.

“Remember to let your inner artist find your own personal way of conveying what you see through the lens,” he advises. “A great essay is made from your personal point of view on the world.” Give yourself the freedom to experiment and try new things, while staying true to your voice as an artist.”

Spotlight on: Nika Pailodze

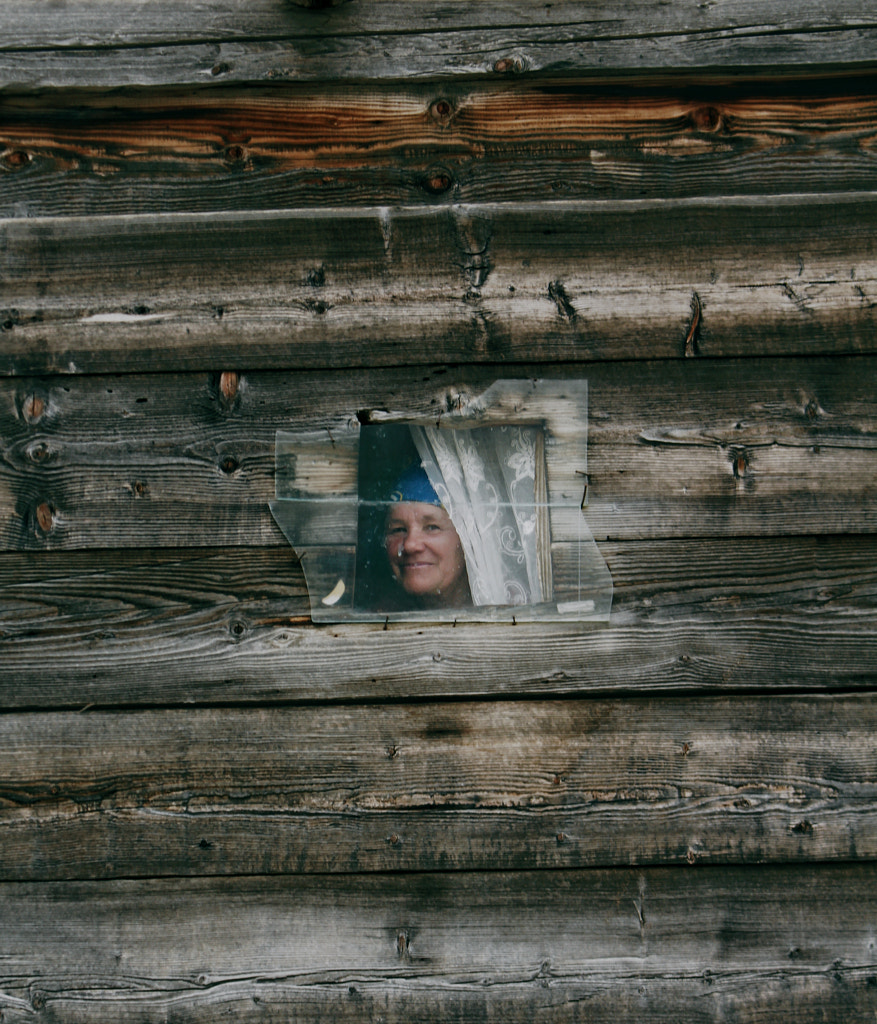
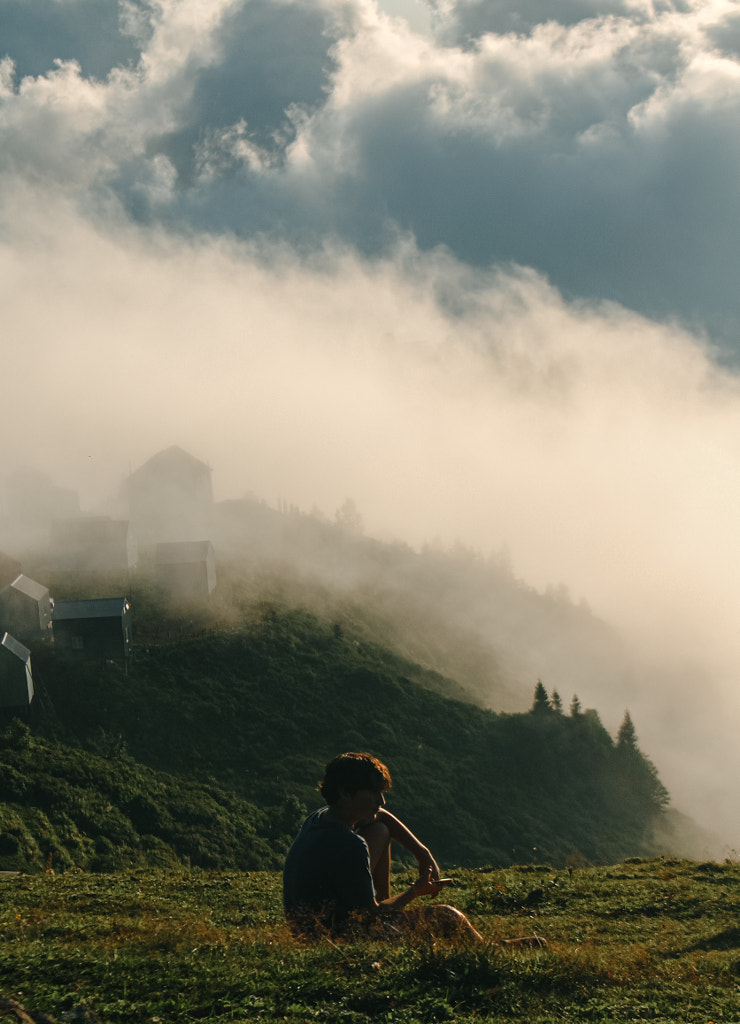
Finally, we return to Nika Pailodze, who’s been documenting life in the mountainous regions of Georgia for more than a decade now. Two years ago, he made his first trip to Adjara. “Initially, my journey began with a deep appreciation for nature, but as I roamed and observed the traditional Adjarian houses, the allure of the landscape slowly faded into the background,” he remembers.

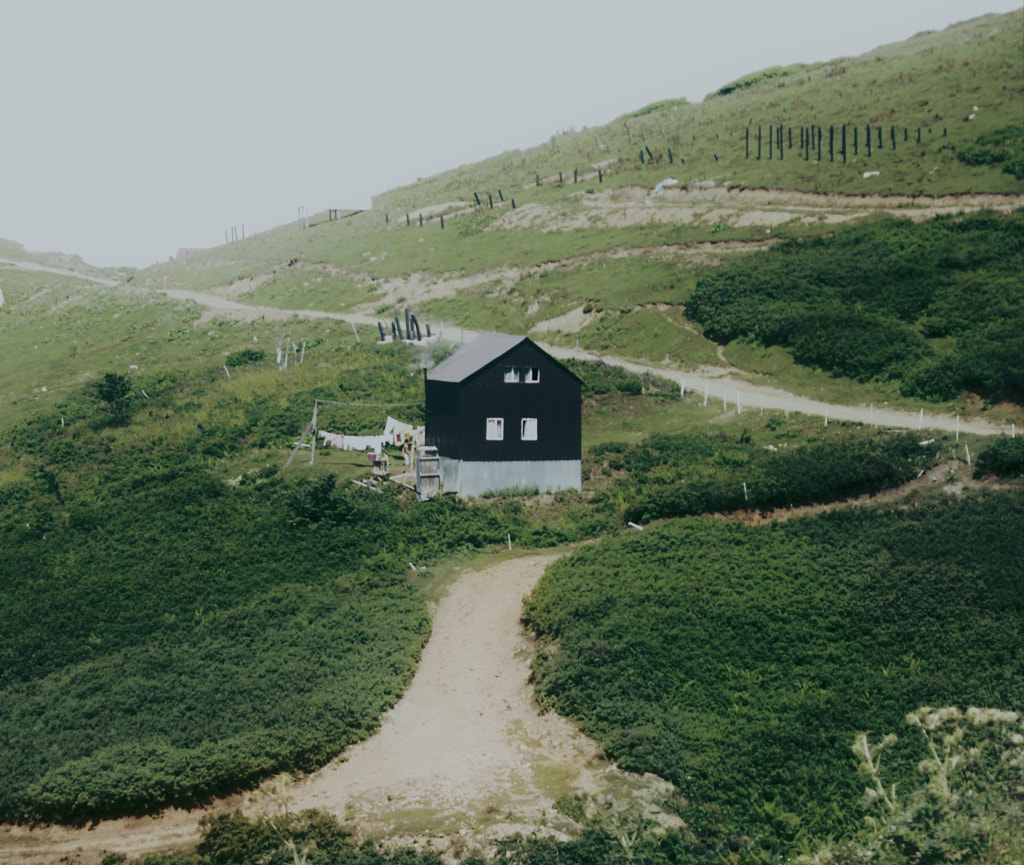
“Some of these wooden huts had stood the test of time, their age rivaled only by the ancient trees around them. They had become an integral part of the Adjarian ecosystem, and there was nothing more disheartening than witnessing their demise.

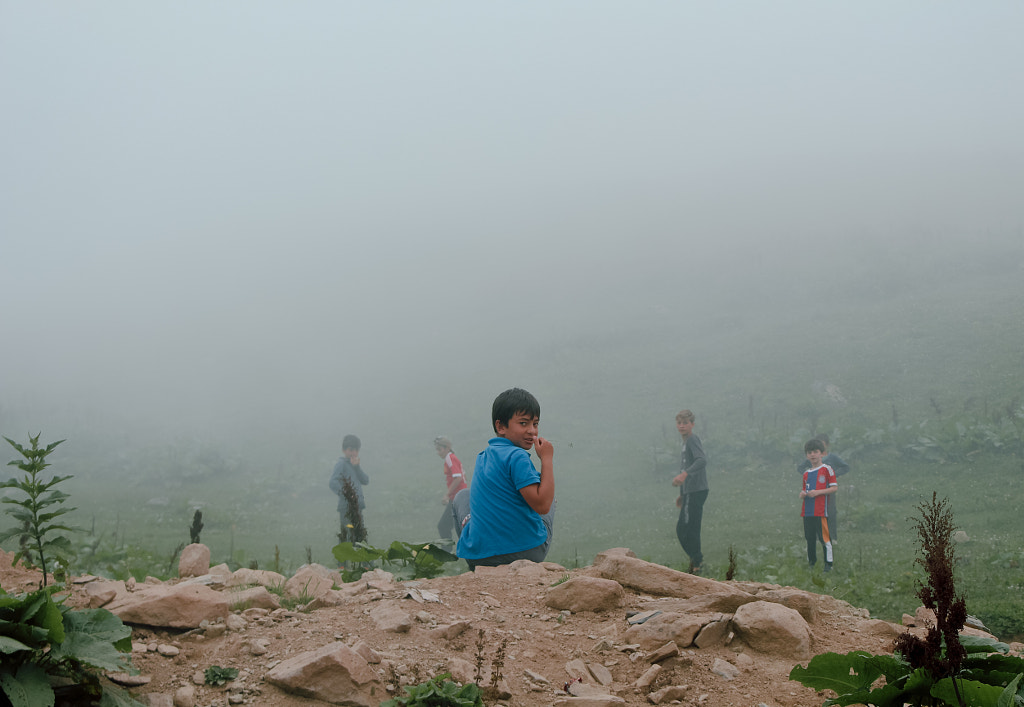
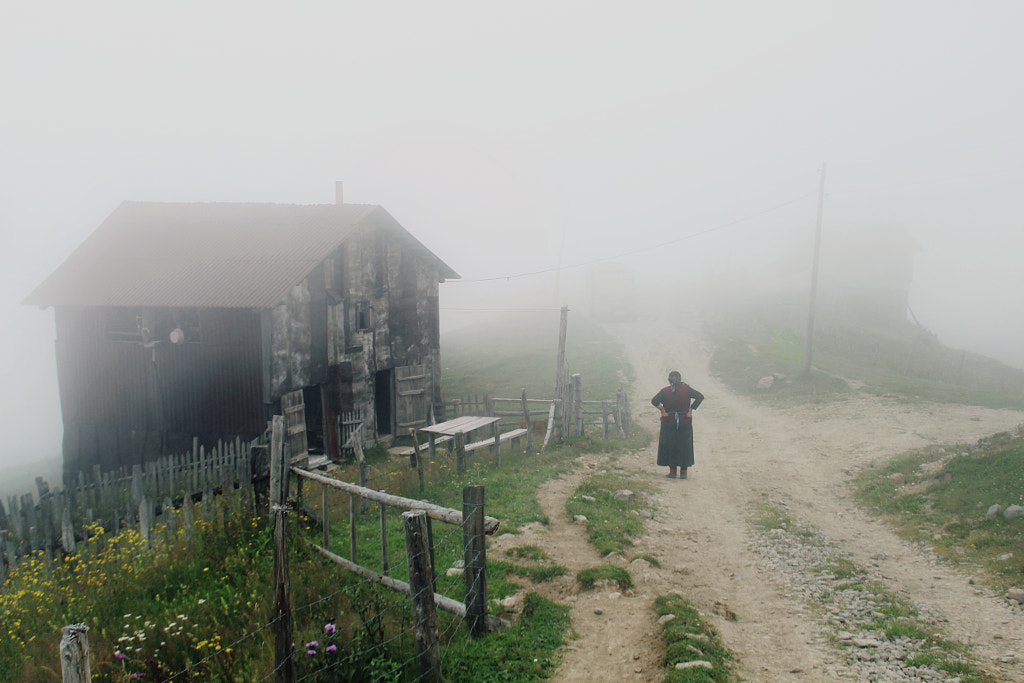
“One particular hut left a profound impact on me: a shroud of mist enveloped the scene, and it seemed as though nature itself cradled what remained of the hut. It felt like the entire essence of this small cottage and its residents resonated in a brief moment, even more transient than the fog in the Adjara highlands.”

Set on preserving the stories that lingered within those houses, he approached the local people, who travel uphill with their cows in the summer so the animals can graze on fresh grass. “As I traversed pasture to pasture, I was welcomed with a steaming cup of coffee and an assortment of delectable sweets,” he remembers. Along the way, he was treated to homemade, local feasts.

“While capturing these photographs, I forged numerous friendships, some of which endure to this day with friends who regularly check in on me,” the photographer tells me. He longs to return again to the rolling hills, lush fields, and foggy mornings.

Pro tip: Let go of preconceived notions

Nika initially traveled to Adjara in search of natural wonders, but somewhere along the way, his focus turned to the people themselves. His advice is to stay open to change and evolution. “When you embark on such a project, you must accept from the beginning that everything may develop differently from what you had planned,” he explains.

“The main thing is to go with the flow and always remain connected to the people and the environment. I didn’t pre-select a topic, nor did I set out to work on any specific subject. Instead, I observed and documented people’s real lives.”

If you can, make multiple trips and spend as much time in the location as possible. “At times, circumstances unfold quite differently from our initial expectations,” Nika says. “In such moments, the virtue of patience becomes absolutely indispensable.”

Not on 500px yet? Sign up here to explore more impactful photography.

The post How to tell a story through your pictures (with photo essay examples) appeared first on 500px.

[NDN/ccn/comedia Links]
Pet photography: Fail-proof strategies to capture our furry friends

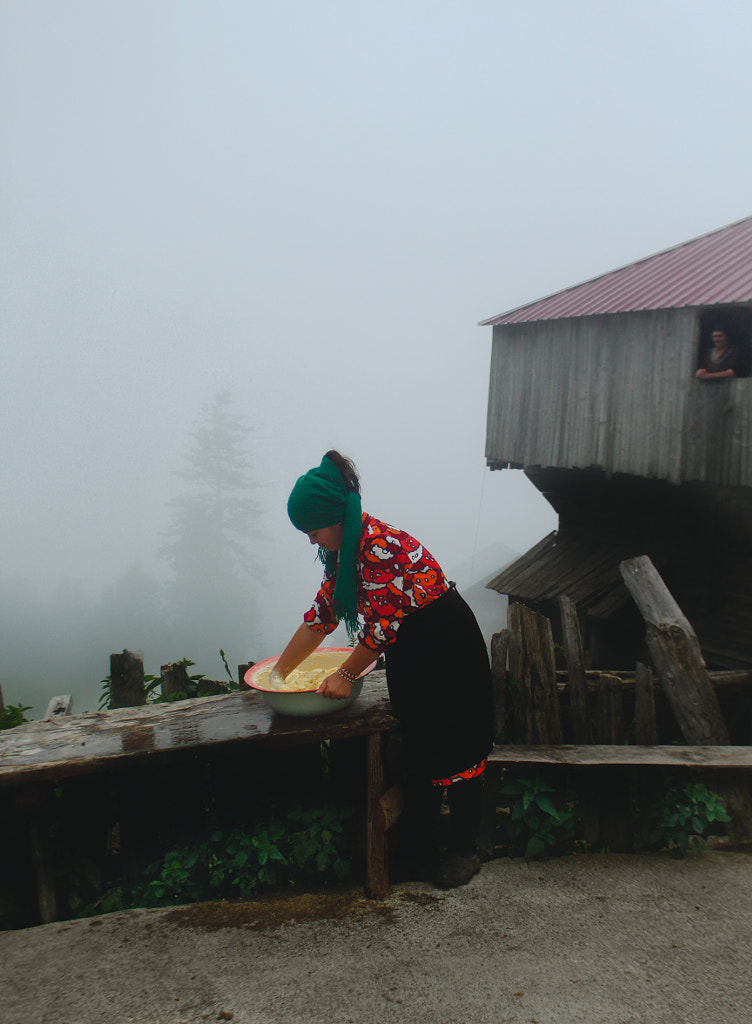
In the United States, approximately 23 million households brought an animal into their lives as they navigated the pandemic. It’s no wonder they did—across various studies, having a pet has been linked to decreased loneliness and boosted feelings of well-being. Plus, amid the isolation of 2020-21, many of our pets encouraged us to get outside and reconnect with nature.

For influential photographers like Iza Lyson and Taya Iv, dogs and cats became ever-present models and collaborators, even if they were stuck indoors. Others followed their lead, elevating the field of pet photography into the realm of fine art. The pictures they made brightened our days and gave us hope for better ones ahead.

Dog photography and cat photography, while wide-ranging, will always be in vogue. On social media, some celebrate by sharing photos tagged #DogsinBlankets and #TongueOutTuesday, while others invest in timeless professional portraits of their furry family members. In tribute to the canine and feline friends who helped us weather the last few years and continue to bring joy to our lives, we put together this quick guide to photographing pets.

Gear basics

A workhorse mirrorless or DSLR camera will offer plenty of flexibility to experiment with different lenses and perspectives. While some animal photographers opt for a wide-angle to capture the surrounding environment, others might play with telephoto lenses to capture animals at a distance. In general, a prime lens like a classic “nifty fifty” will offer better quality, while also allowing you to open up your aperture for portraits. A zoom lens, on the other hand, can offer more versatility, especially for animals in action, and you’ll get a lot of mileage from a 20-70mm.

Natural light is ideal for pet photography, especially during the golden hours around sunrise and sunset. Overcast days offer softer and more flattering conditions outdoors, while a window with indirect sunlight can be a game-changer inside. If the animal is comfortable with it, you can introduce studio lighting, but consider continuous lighting at first, as flash can be startling for pets who aren’t accustomed to it. Use a softbox to diffuse the light.

For studio animal portraits, backgrounds can include paper, fabric, or anything else you’d use for human portraits. These are ideal for removing distractions and keeping the focus on the pet. Just keep in mind that animals are messy, so only bring out backgrounds you’re comfortable soiling. If you choose paper, make sure to have some extra yards in case of slobber or paw prints. Vinyl is also a practical option because it’s easy to clean. Smudges are much easier to get rid of on set than in post-production.

Speaking of cleaning, a lens cloth and cleaning kit will also come in handy, especially with shedding dogs. Brushes and towels can also be good for making sure the animal looks his best. Finally, remember treats and toys. If you use treats, remember to check with the pet’s human to make sure that anything you offer is appropriate for the animal’s health and diet (or ask them to bring their own). Some pets might not be able to have treats, but you can still make the session fun by rewarding them with toys and praise. Check in with the owner before the shoot to see what their animal enjoys the most.

Must-have animal photography tips

Stay flexible

If you take one thing away from this guide, make it this one: be patient, and stay positive and calm. Animals don’t take direction like humans, but that’s part of what makes them fun to photograph. While it’s always good to go into a shoot with a plan of action, remember that that plan might change depending on what the pet needs.

“Prepare for the unexpected,” the 500px team urges. If an animal isn’t sitting still, for example, consider some candid pet portraits of her playing outdoors or interacting with her person. If the pet is shy, give him some space or have an assistant there to provide comfort and encouragement.

Take your time

Set aside more time for the session than you think you need, just to give the animal time to sniff, explore the environment, and get comfortable with you. Cats, for example, often take longer to get comfortable than dogs might. If the animal seems nervous, take a break and try again later. Breaks are a great idea, in general, as they allow the pet to unwind.

Do something he enjoys, whether it’s playing tug or taking it slow, and go at his pace. Use words the dog likes (ask the owner about these). Have your camera at your side at all times so you can whip it out at a moment’s notice and capture something magical and fleeting. Keep your shot list in the back of your mind; you might be able to return to what you planned as the session evolves.

Get low

As with portraits of humans, the beauty is in the eyes, so get down to the animal’s level and ensure those eyes are the sharpest part of the image. You can get a dog’s attention with treats or sounds; if you do use a squeaker, just make sure you’re the only person making noises so that the animal’s not confused or distracted.

Getting on your knees or even your belly can also make you more approachable, allowing the pet’s personality to shine through in your photographs. Feel free to get creative with your angles and perspectives; mixing it up can result in unexpected facial expressions. An ultra-wide angle like a 16-35mm can create some hilarious portraits.

Highlight the details

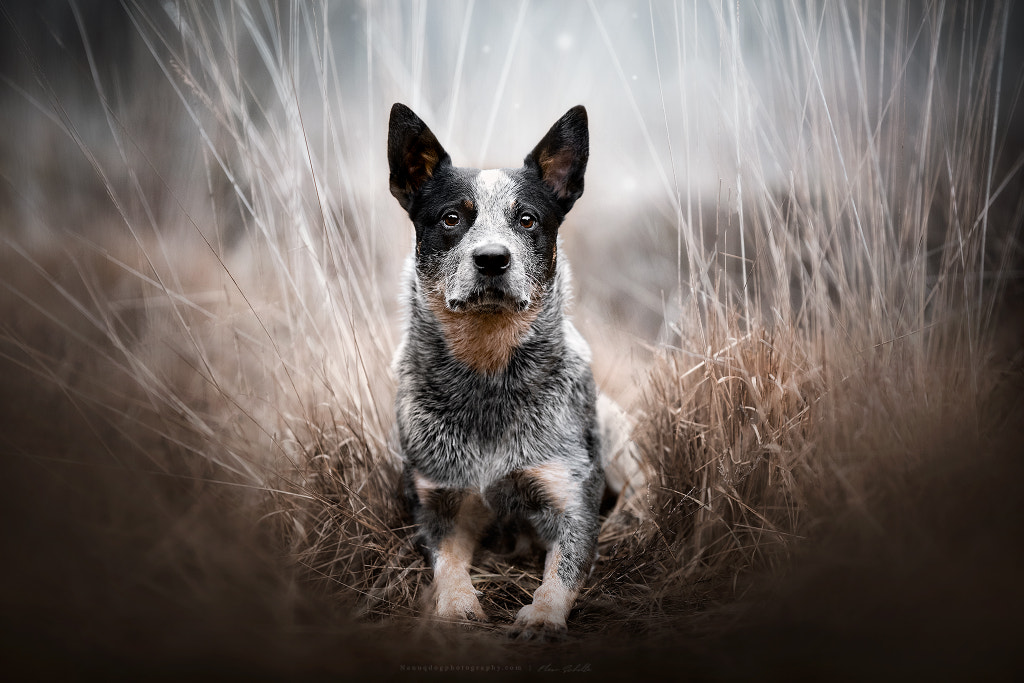
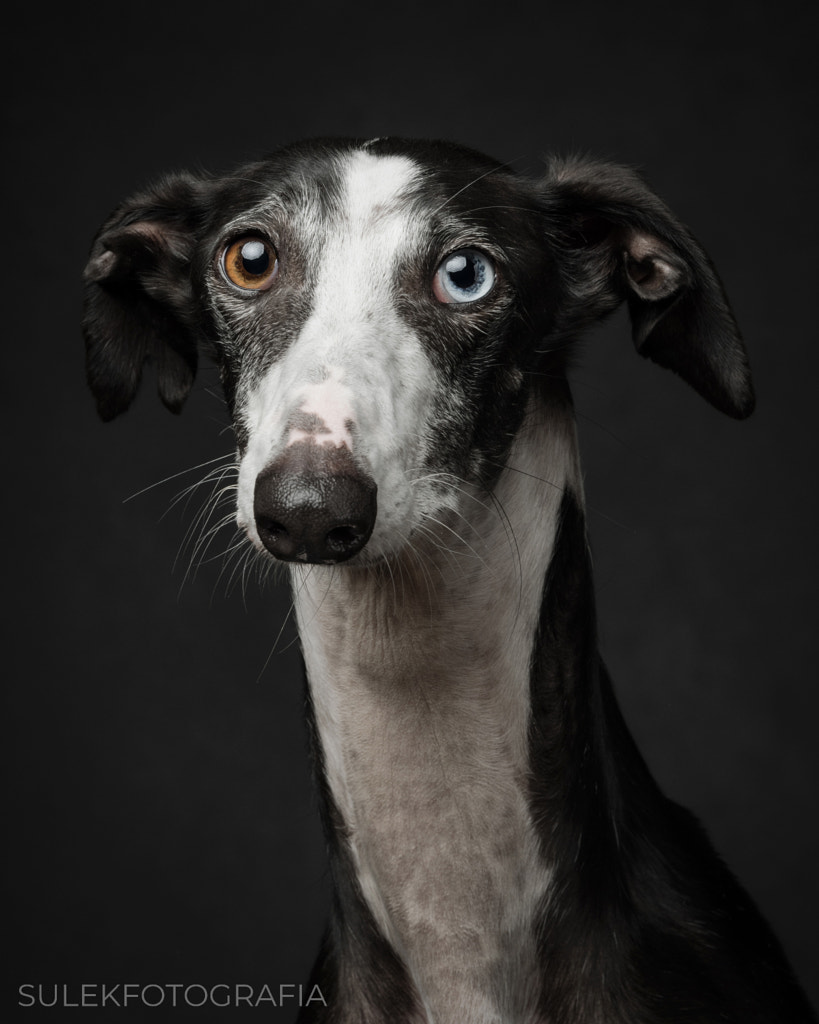
Every pet is different, so lean into what makes this animal unique. Maybe it’s the gray muzzle on a senior dog, or perhaps it’s a cat’s whiskers. It could be the way a cat sprawls out in a patch of sun close to the window or the way a dog soars through the air when catching a frisbee. Or maybe it’s as simple as a dog’s pink tongue after a game of fetch or a cat’s paws “making biscuits.”

You’ll get to know these details over the course of your time with the animal, but it can also help to interview the owner about their pet. What does their cat do that makes them laugh? What’s their dog’s favorite place in the world?

Break the rules

From using a fast shutter speed to freeze a dog in motion to getting that perfect focus on the catchlights in a cat’s eyes, there are countless technical considerations to take into account when photographing pets. In some ways, pet photographers operate like portrait photographers, sports photographers, and documentary photographers all rolled into one. And they have to have the skills of all three.

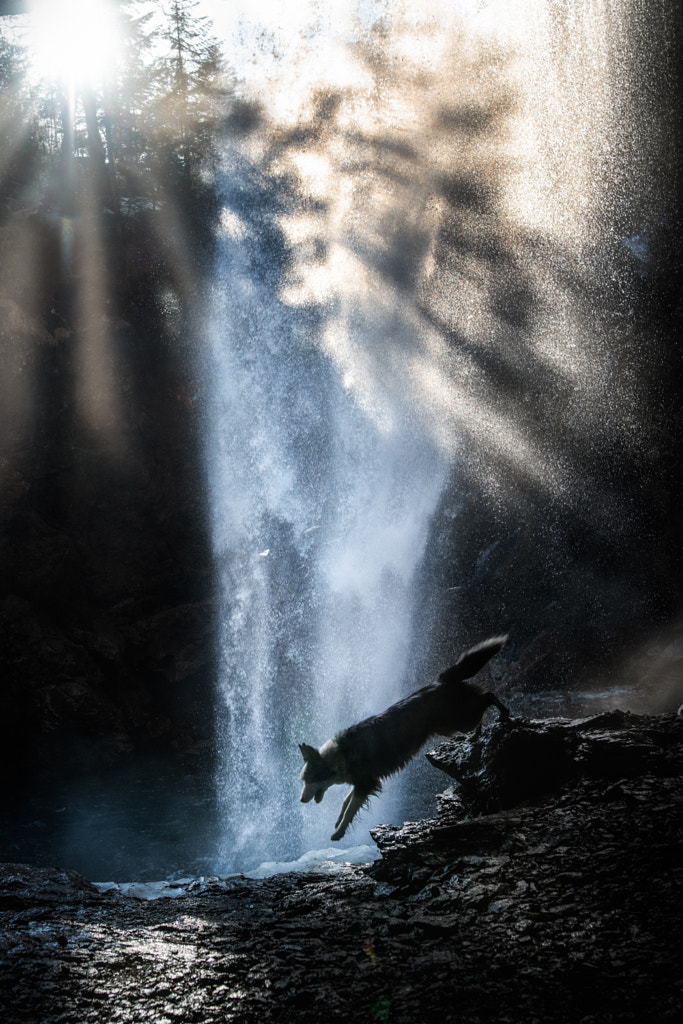
With that being said, technical proficiency will go a long way in this business, but it isn’t everything. Creative pet photography is also about being in the moment and connecting with your subject. Once you know the rules, you can break them, whether that means photographing your dog in silhouette or capturing “bloopers” of a cat making a funny face. Focus on the animal first and your gear second; you don’t want to miss a great photo because you’re too busy fiddling with your camera.

Not on 500px yet? Sign up here to explore more impactful photography.

The post Pet photography: Fail-proof strategies to capture our furry friends appeared first on 500px.

[NDN/ccn/comedia Links]
8 Post Processing Tips for Creating Beautiful Landscape Photos

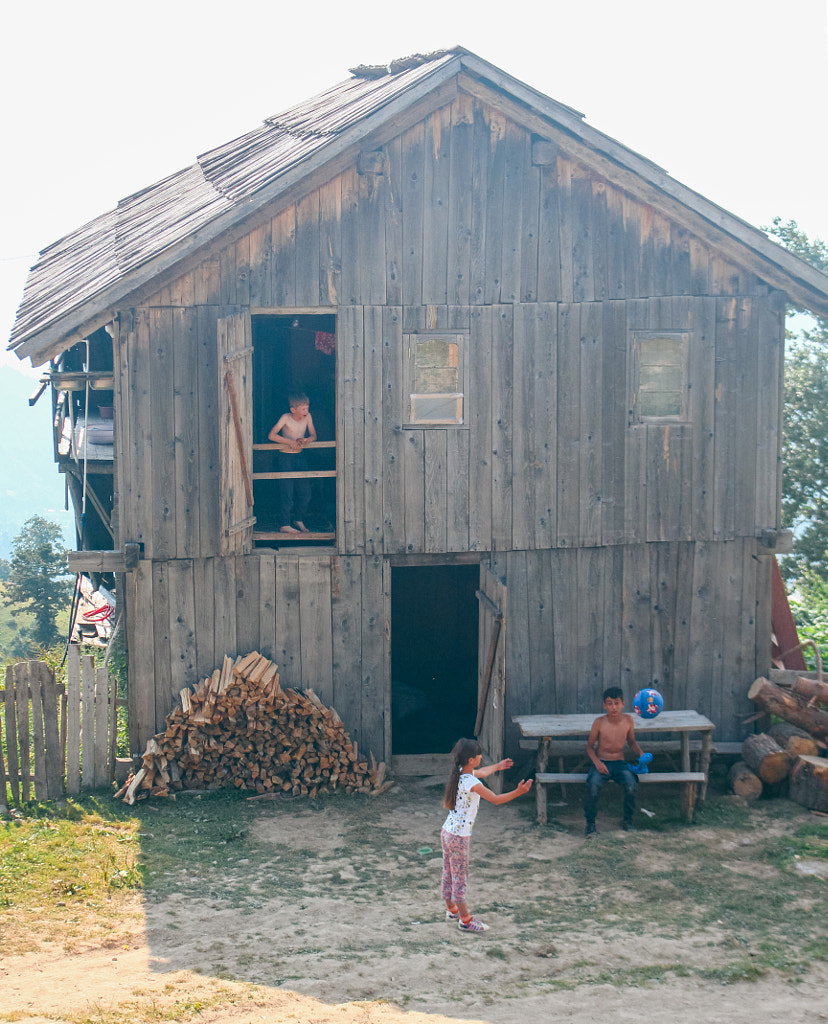
Jimmy Mcintyre is a travel photographer and educator. His photos have been published in local and national magazines, including the BBC. His online courses on digital blending and post-processing can be found in his official website. You can also check out his exclusive tutorials on 500px ISO here. In this tutorial, Jimmy shares his expert tips and videos on post-processing landscape photos. Read on and get inspired!

Post processing - Photograph An Ancient Ghostly Tower by Jimmy Mcintyre on 500px

An Ancient Ghostly Tower by Jimmy Mcintyre on 500px

There is nothing quite like the power of a stunning seascape or landscape photo in transporting us momentarily to a world of wonder, magic, danger, beauty…the list is almost endless. Nature enchants us. As photographers, our imaginations often swirl with ideas when we witness one of its magnificent creations.

How much we choose to infuse our imaginations with nature’s true scene in our photography is a matter of personal enjoyment. In this article, I present to you 8 post-processing techniques for landscape photography, some of which will help to restore the natural scene as you saw it, some will enhance that scene further, and some will push your imagery beyond that of reality.

Post processing -mesa-after

1. Remove lens flare from your landscape photography
Shooting directly into the sun is a tricky process when doing landscape photography, but it can often produce some beautiful results. One of the main challenges we face is lens flare from the sun. Sometimes, lens flare adds to a scene, and other times we’d prefer to be without it.

I created this tutorial to show you how to control lens flare in the field and in post-processing. And, as a bonus, I went through the full digital blending workflow, which will hopefully give you a few other handy tips.

2. Paint colors into a sunset with your landscape photos
We are literally going to paint extra color into the sunset and sunrise areas. This technique is most effective when there is already color in the sky, which you can enhance.

This is the example image we’ll be working with:

Puerto Natales, Chile

Post processing -paint-sunset

The two things we’re going to do here is paint more pink into the sky and water, and paint more orange into the area of the sun.

Here’s a “Before” and “After” comparison using the Painting with Warmth technique:

Post processing -before-after-warmth-add1

Below, you’ll see steps 1-6 for creating the first effect. And here is a screenshot, so you can visualize the steps.

Post processing -tutorial-preview

Steps
(1) Create new layer. To create a new layer, simply go to the button left of the trash can in the layers panel and click on it.

(2) Select Paintbrush. With this chosen, change the opacity to 100%, a hardness of 0 so there’s a smooth transition, and create a medium sized brush.

(3) Click on foreground color. Your foreground color is at the bottom of the toolbar to the left. When you click on it a dialogue will appear. Place your cursor over the sunset area where there are golden/orange colors. You will see that the cursor has become an eyedropper tool. Left-click on the golden/orange color to select this as your foreground color.

(4) Paint across sunset. Take your brush and paint across the sunset, trying not to affect other areas. It’s okay if you go across the horizon on this type of image. But we should avoid the sticks to the left.

(5 & 6) Change blend mode to Overlay or Soft Light and change opacity. For the sunset area of this image, I changed the Blend Mode to Overlay, which creates a stronger contrast effect. But I lowered the opacity of this layer to 30%. You’ll instantly see stronger colors coming from the sunset.

Mask out any areas that you don’t want to affect. In this image, I accidentally went over the sticks, so I created a black foreground color and just masked that area of the adjustment out.

Now do the same to enhance the pinks (selecting a pink foreground color), this time painting around the sunset and in the sky and water. I used do the Soft Light Blend Mode and an opacity of 25% on this layer.

3. Add sky replacement to your landscape photos using a gradient mask
Whether we want to extend the dynamic range of light of our image, or replace the sky with a completely different sky, using a gradient mask can allow us to make a very natural transition between the layers we are blending.

In the image below, I blended two exposures; one for the sky and blown out parts of the water, and one for the foreground sticks and sand. This allowed me to create a balanced image with a greater range of light.

Post processing - seascape-photo

This post processing tutorial will show you how to use a gradient mask to quickly blend these two exposures.

4. Create a magical feel using the Orton Effect in your landscape photography
We’ve all seen magical landscapes that would look fitting in a Lord of The Rings movie. Often this dreamy feel is created using the Orton effect. The following images will show you the impact the Orton effect can have on your landscape photos. Below the images, you will learn how to create the Orton effect in Photoshop yourself.

Feel free to download my free Photoshop Action pack, which includes the Orton effect and luminosity masks: Photoshop Powerpack actions.

Hadrian’s Hall – Image straight out of camera

before-processing

Image after luminosity mask exposure blending, contras adjustment, and lighting adjustments

Post processing - before-orton1

Image with a heavy Orton effect applied

Post processing -full-orton

Image with a more subtle Orton Effect added

Post processing -after-orton1

Steps for creating the Orton Effect

(1) Duplicate your Background Layer. Right-click on it and choose Duplicate Layer. This should be called Background Copy.

(2) Apply Image. Now go to Image>Apply Image. A dialogue box will appear. Make sure to change the Layer to Background. The Channel should already be on RGB, and where it says Normal, next to Blending, change that to Screen and press OK.

(3) Duplicate the Background Copy layer. Now we need to blur this new, top layer, which should be called Background Copy 2. Go to Filter>Blur>Gaussian Blur. The Radius you choose here is dependent on the size of the file you are working on. For this image, which is 5,184px wide, the Radius was set to 22.

(4). Change The Blend Mode. Select both of the Duplicate layers, go to Layers>Merge Layers, to collapse these into 1 layer. Now go to the Blend Mode of this layer and change it to Multiply. This will create the Orton Effect.

(5) Reduce the Opacity of this layer as you like it.

Tip 1: Try to be selective in how you apply the Orton Effect. It can soften important textures and fine detail which adds to the image. In this case, mask it out of the areas you don’t want it to be applied. For the image in this tutorial, the effect was not applied to the wall on the left, the sky, or the hills and trees in the distance.

Tip 2: Control your colors! After you apply this effect, you tend to find that your colors have become strongly saturated, like the greens in the image above. Be aware of whether or not that is enhancing or degrading your image.

5. Consider cutting through haze
In humid conditions, one of the biggest challenges in creating an impacting image is haze. It can soften details and leave our images with a blue cast. Aaron Nace of Phlearn.com has created a great tutorial that will show you how to remove that blue cast and create a nicely contrasting scene.

6. Use detail enhancer in your landscape photography to create greater impact
One wonderful way of giving your landscape photos greater impact is through detail enhancement. By applying local contrast changes within Photoshop, we can draw out beautiful textures and patterns that compliment the rest of the scene.

 Petra, Jordan

Post processing -after-detail-enhancerl

Strong Detail Enhancement here to demonstrate the effect.

Post processing -before-after-detail-enhancer

If you do choose to enhance the details in your image, I strongly advise that you do it selectively and subtly, unlike the Before/After comparison above. For example, in the image of Puerto Natales, Chile that we saw earlier, only the wooden sticks experienced detail enhancement.

Make sure to mask out any white edging that will often appear during strong detail enhancement. You can see a tutorial for detail enhancement here: Enhance Details in Photoshop

7. Remove strong color casts in your photos
Color casts are an inevitable part of photography. Sometimes, we misjudge the white balance, or use a filter which creates a strong cast over our scene. As with everything in Photoshop, there are multiple ways to remove color casts, but I find this one to be the most consistent.

Essentially, we are showing Photoshop what our white, 50% grey and black points are. Photoshop then adjusts the rest of the colors accordingly.

The image below is a composite—the sky was taken from a different image. But for the main long exposure shot I used a 10-stop ND which left a strong cast. The video below will show you how I removed the cast at the beginning of the workflow, and restored some of the natural coloring.

Post processing - colour-cast-removal

8. Change Light Balance – Nik Color Efex
One very common way for photographers to both increase mood and guide the viewer’s eye is through a vignette. One of the best tools for creating vignettes is Nik Color Efex’s Darken/Lighten Center filter.

Not only can you create a seamless, darker border, you can also shift the entire balance of light in your image onto an area of more prominence. With this filter, you can choose an area which you deem the center. From there you can brighten that area while smoothly and naturally darkening the rest of the image.

For example, this technique was used on 3 images in this article: Puerto Natales, Petra, and Hadrian’s wall. Notice how all three of these images have a vignette that smoothly fits in with the rest of the scene.

I’ve created a very subtle vignette in the images below (left=without vignette, right=with vignette). I’ve darkened the borders without under-exposing them, while slightly illuminating the rocks and water in the foreground.

before-vignetteafter-vigetteDarken/Lighten Center Explained
color-efex-pro

(1) Being in alphabetical order, you will find Darken/Lighten Center just after Dark Contrasts.

(2) Center Luminosity doesn’t change the brightness of the actual center of the image. This alters the luminosity of the area you deem to be the center.

(3) Border Luminosity determines the darkness/brightness of the area around the center. The effect is feathered so the transition from bright to dark is very smooth and natural.

(4) Center size will affect how large center of your image will be. The larger the center size, the smaller the vignette.

(5) Finally, click on Place Center once. Then click where in your image you wish to be the focus of light.

Resource hub

Conclusion
I hope the post processing techniques in this article have been useful to you. As always, if you have any questions, please feel free to write them in the comment box and I will be happy to respond.

Photograph Mount Fitzroy at sunset by Jimmy Mcintyre on 500px

Mount Fitzroy at sunset by Jimmy Mcintyre on 500px

You can also follow my work at the following links:
My website
My Facebook page
My photography newsletter

You Might Also Like These Articles:

  • The Importance of Post Processing, Part 3
  • Back to Basics: A Long Exposure Photo and Processing Tutorial for Beginners
  • Meet Photolemur: Artificial intelligence that automates your post-processing
  • 23 Landscape Photography Tips From A Pro

The post 8 Post Processing Tips for Creating Beautiful Landscape Photos appeared first on 500px.

[NDN/ccn/comedia Links]