[NDN/ccn/comedia Links]
According to the 2021 Vrbo Trend Report, 61% of families are more likely to visit an outdoorsy destination than an urban one, and lakeside destinations offering camping and hiking opportunities experienced a boom in popularity.
It’s been decades since Galen Rowell famously chased a rainbow while trekking in Tibet, ditching his camera bag in a bush along the way, but photographers continue to push themselves to their limits in search of those sublime moments that can only happen in nature. With interest in the outdoors on the rise, now is the perfect time for landscape photographers to venture out of their comfort zones and share the beauty of our planet. For those just getting started, here are our tips for hiking and camping with your camera.
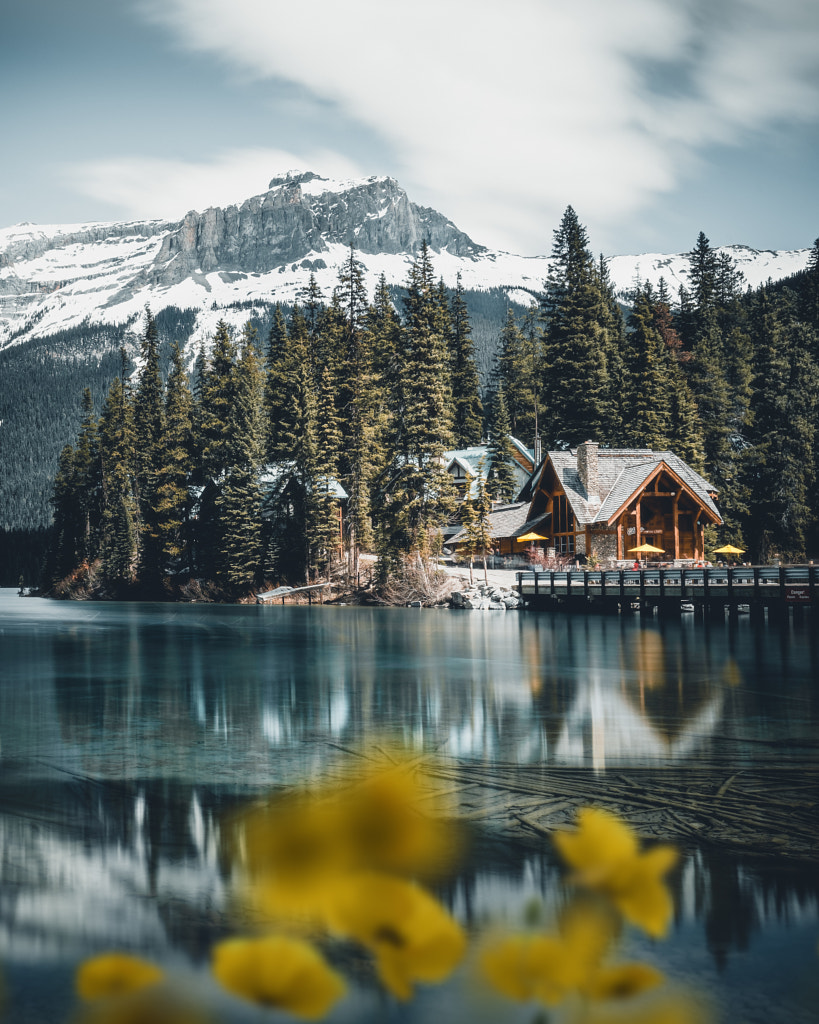
If you’re new to the outdoors, start locally. Search nearby parks for scenic trails; AllTrails and Trail Finder are two popular databases. If you’re interested in camping in the US or parts of Canada, Campspot offers a database of campgrounds, RV parks, cabins, and more. Ask more experienced hikers for recommendations based on your skill level; the outdoor photo community is tight-knit, so feel free to reach out to someone you admire.
Learn the ropes and gain hands-on experience in the field by taking day-hikes before graduating to short overnight trips. Build up slowly, and avoid rushing yourself; train your body by going from beginner trails to moderate ones. Consider bringing a friend, or choose a spot that’s well-traveled in case you have any issues. Finally, learn the rules that govern your location, including any permits you need.
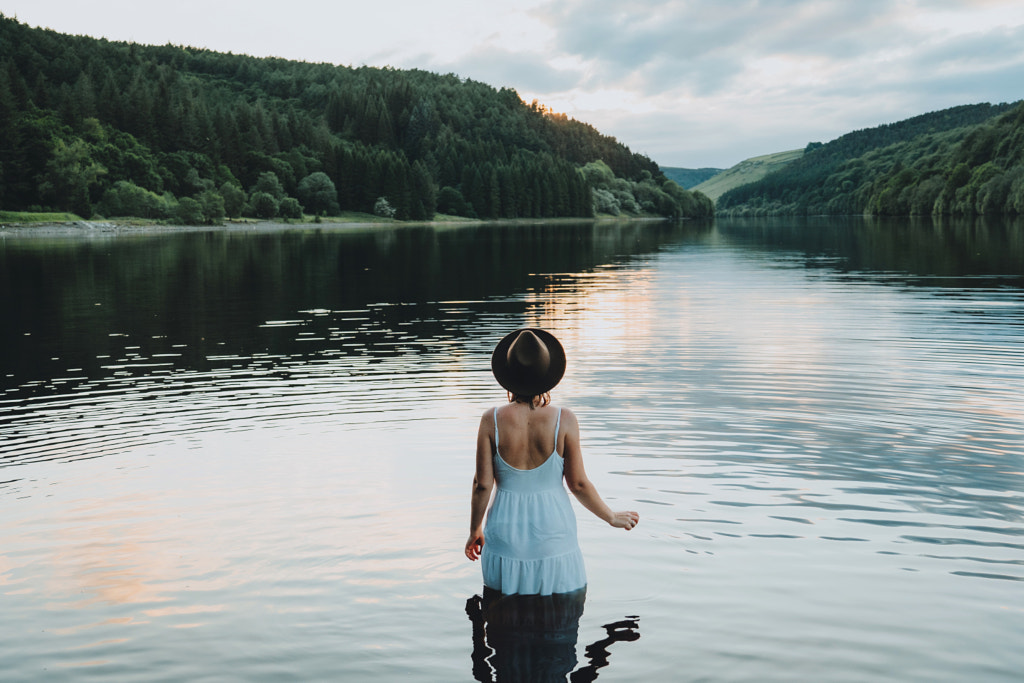
Campers and hikers know to pack the ten essentials: navigation (e.g., compass, topo map, GPS, personal locator beacon), light (e.g., a headlamp), sun protection (e.g., sunscreen, glasses), first aid, a camping knife, firestarter (e.g., matches, stove), shelter, plus extra food, water, and clothes. Photographers, of course, have this vital list as well as their gear.
Include only the most essential lenses and accessories in your gear list to save yourself the weight of unnecessary equipment. A single zoom lens can offer more flexibility than multiple primes, but primes are sharper, so tailor your pack to your goals. Remember to bring extra batteries (especially in the cold), memory cards, and any filters you use for landscapes (e.g., ND filters for long exposures or polarizers for bodies of water). You can keep your batteries in your sleeping bag overnight, so they stay nice and warm.
A lightweight but sturdy tripod like the Peak Design Travel Tripod is your best bet for the outdoors; these can be pricey, but many outfitters offer rentals. Novoflex even makes walking sticks that work overtime as monopods. Practice using all your camping and photography gear, from tents and stoves to filters and tripods, before you go so you’re prepared.
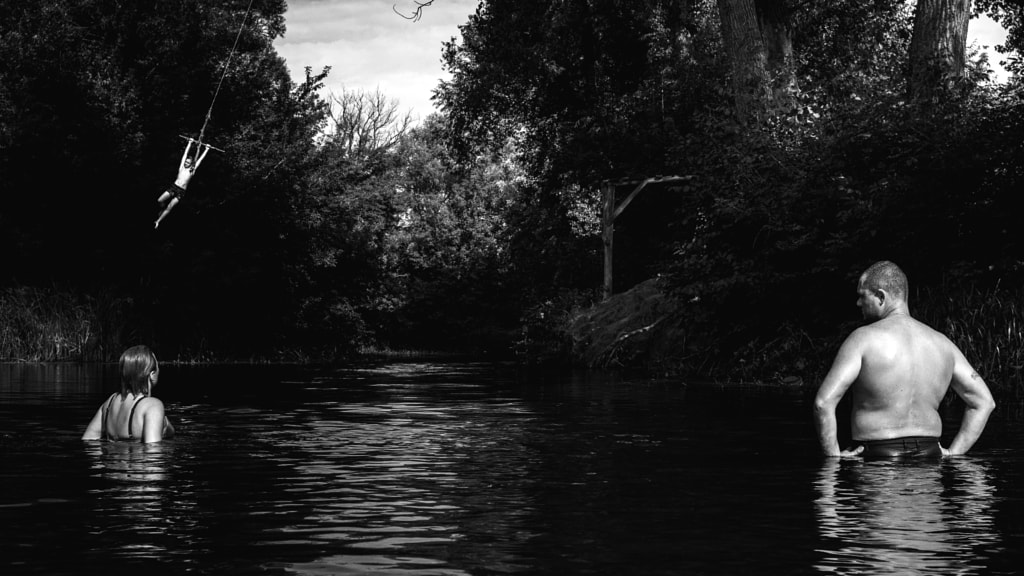
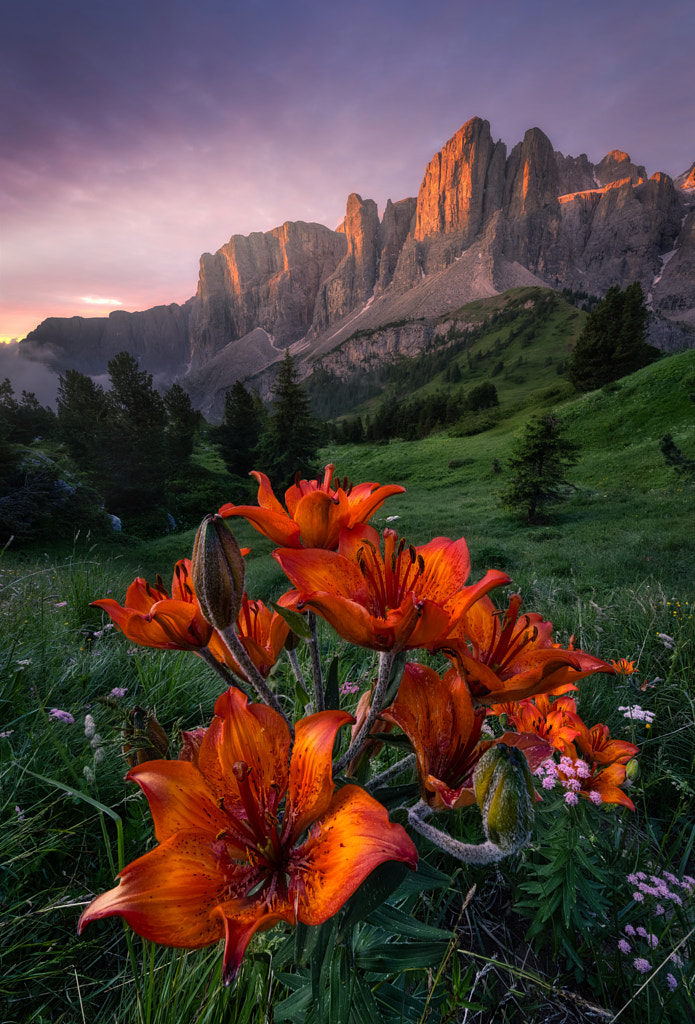
When exploring the outdoors, you want to keep your gear safe and easily accessible. If you’re keeping everything in your backpack, you can opt for a camera bag insert, like these made by F-Stop Gear, to stay organized. Pack it last so it’s at the top of your backpack. Alternatively, if you’re looking for a backpack that can hold your camera gear as well as your camping equipment, you might look into something like the Whistler Backpack 450 AW II from Lowepro.
A regular camera strap can cause neck and back pain while hiking, so instead, choose a holster or clip. The Capture Camera Clip by Peak Design, the SpiderX Backpacker Kit, camera harnesses from Cotton Carrier, or the Digital Holster Harness V2.0 from Think Tank, are a few popular options. You might have to experiment with different setups to see what works best for you. Additionally, beware of dust. Avoid changing your lens when you’re out hiking, and carry a blower or microfiber cloth in case.
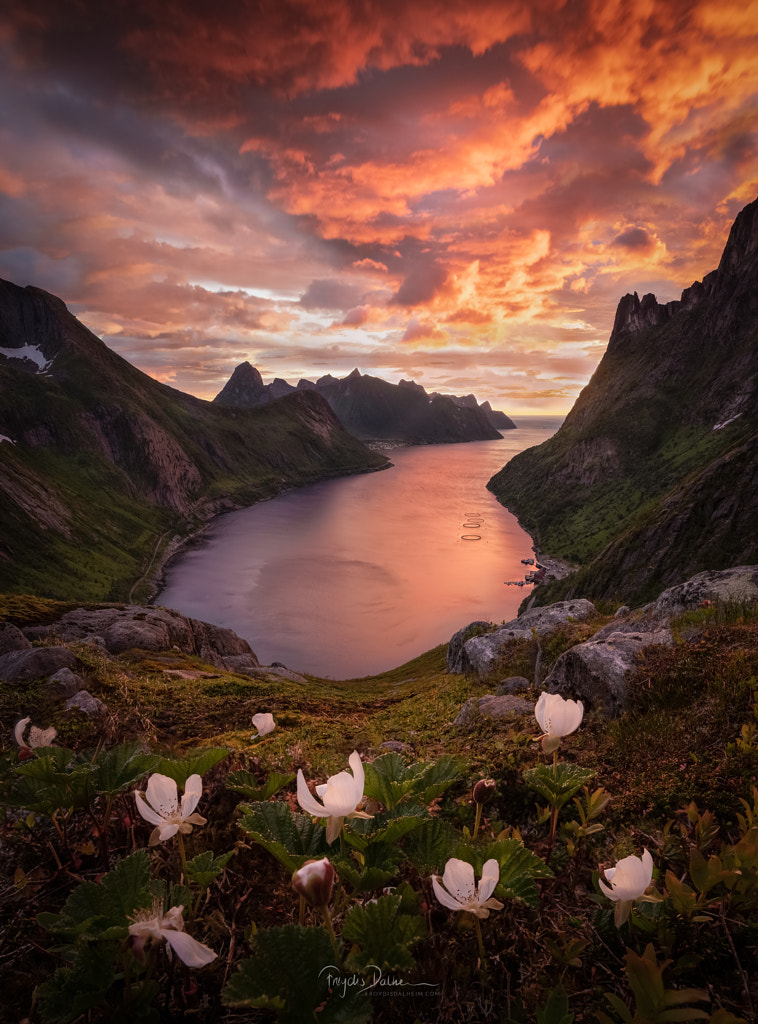
Every spot offers unique challenges, so do your research, consult more experienced hikers, and prepare for any potential safety hazards. Some places are vulnerable to flash flooding, for example, and other spots are home to curious (and hungry) bears. Studying the terrain is essential for safety, and it can also help you capture the landscape at its best.
If, for instance, you plan to hike Kebler Pass in Colorado, you might choose to schedule your trip for the fall to catch the aspen trees at just the right moment. On the other hand, if you’re headed for Point Reyes National Seashore, your best bet would be to go during wildflower season.
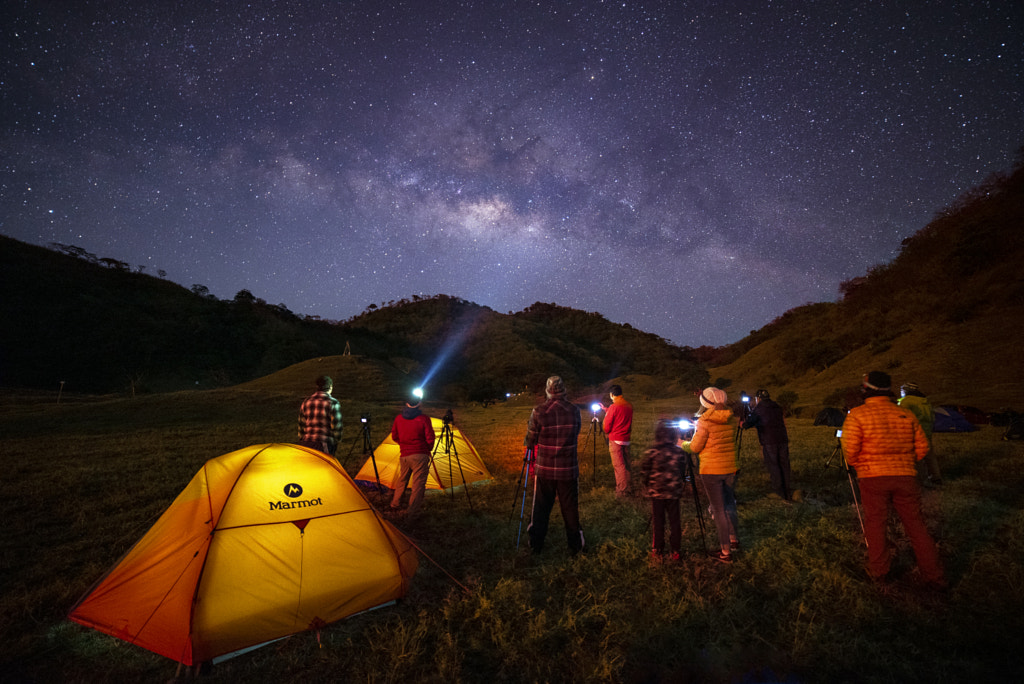
Before you head outside, study up on leave-no-trace principles: make sure you take everything you brought back with you (including food and toiletries), and keep water sources fresh and clear (do your washing away from streams!). If you find garbage left on a trail by someone else, pick it up.
If you must light a fire, do so in established fire rings. Another thing to keep in mind is tagging your exact location; if it’s a vulnerable spot, you might prefer to keep it private, so it’s not overrun with tourists and photographers. It goes without saying, but don’t disturb the wildlife, and never feed wild animals; you’re in their space, and it’s your job to respect that.
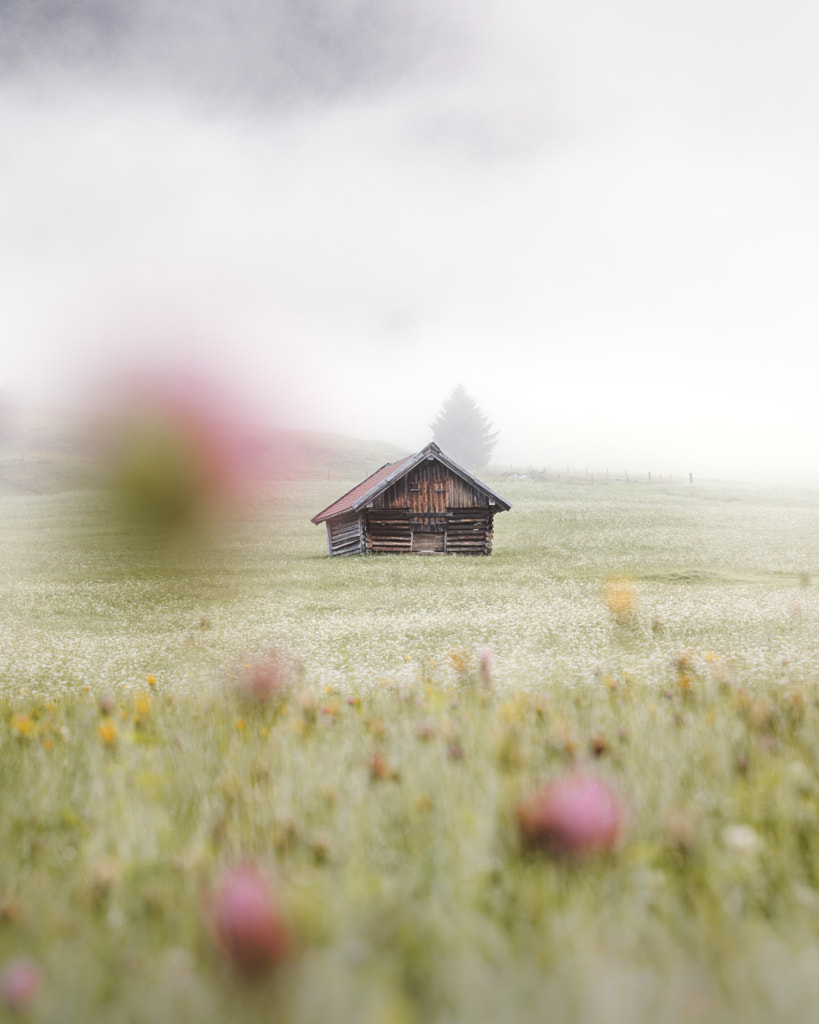
Temperatures can change dramatically overnight, so remember to pack multiple layers, including long underwear, hiking pants, synthetic shirts, a fleece, a light jacket for warmth, and a waterproof jacket and pants. You’ll want to bring socks (liners plus main hiking socks) to wear inside your hiking boots. Hats and gloves are also key; remember to select gloves that won’t hinder your ability to adjust your camera settings. Check the weather forecast to decide what to pack and what you can leave at home.

When planning your day, give yourself plenty of time to get from camp to your shoot location and back before it gets dark. Be realistic, and if you’re allowed, camp closer to your site of choice so that you don’t have to wake up even earlier to catch the sunrise. As always, the golden hours are usually best for landscapes, so set your schedule according to the natural lighting conditions.
One of my favorite camping anecdotes dates back to 1938, when Ansel Adams took Georgia O’Keeffe, David McAlpin, and Helen and Godfrey S. Rockefeller on a trip to Yosemite. Everything revolved around beautiful light: the group woke up early to have coffee and breakfast before setting out to explore, and dinner was always scheduled for after sunset so that everyone could photograph the scenery at dusk.
Not on 500px yet? Sign up here to explore more impactful photography.
The post Seven camping and hiking tips for landscape photographers appeared first on 500px.
[NDN/ccn/comedia Links]Ask any photographer what the most important element of photography is, and they will tell you it comes down to the lighting. Without light, there is no image, too much of it, and the shot is ruined. Mastering the ability to control light is invaluable, and together with iFootage Gear, we’re bringing you the opportunity to showcase your skills in a new Quest!
The Emotive Lighting Quest will award four lucky winners a prize bundle valued at $620 US. A bundle of lighting gear will allow the chosen photographers to create the ideal lighting scenario anywhere their heart desires, so the perfect studio shot will be only a click away.
Our sponsor, iFootage Gear, strives to revolutionize camera support equipment through unparalleled design and craftsmanship. At their core, they are always looking to innovate and listen to their customers’ needs to improve their products and the creative experience. They design award-winning camera support equipment, from tripods to sliders, with creativity in mind.
Join the iFootage Facebook User Group

Image cred (from left to right): Mads Thomsen, Babak Fatholahi, Eppie Goytia, Angelina Nychyporuk
This Quest is open to photographers of all skill levels—we welcome you to submit your photos regardless of camera device. Photography doesn’t need to be limited by your tools, and we want to make the practice as accessible as possible. However, the images you submit must focus on the light and the emotions you can convey within the frame.
Every submission must demonstrate the theme of using lighting to capture and enhance emotions in people. Photographs should depict a clear emotional narrative influenced by the lighting.
The use of natural or artificial lighting should be central to the composition and mood of the photograph. Light should play a key role in highlighting emotions and creating shadows, contrasts, and textures.
Enter now!
Each winner will be awarded an iFootage prize package valued at $620 US, featuring top-tier lighting equipment that’s perfect for both indoor and outdoor projects.
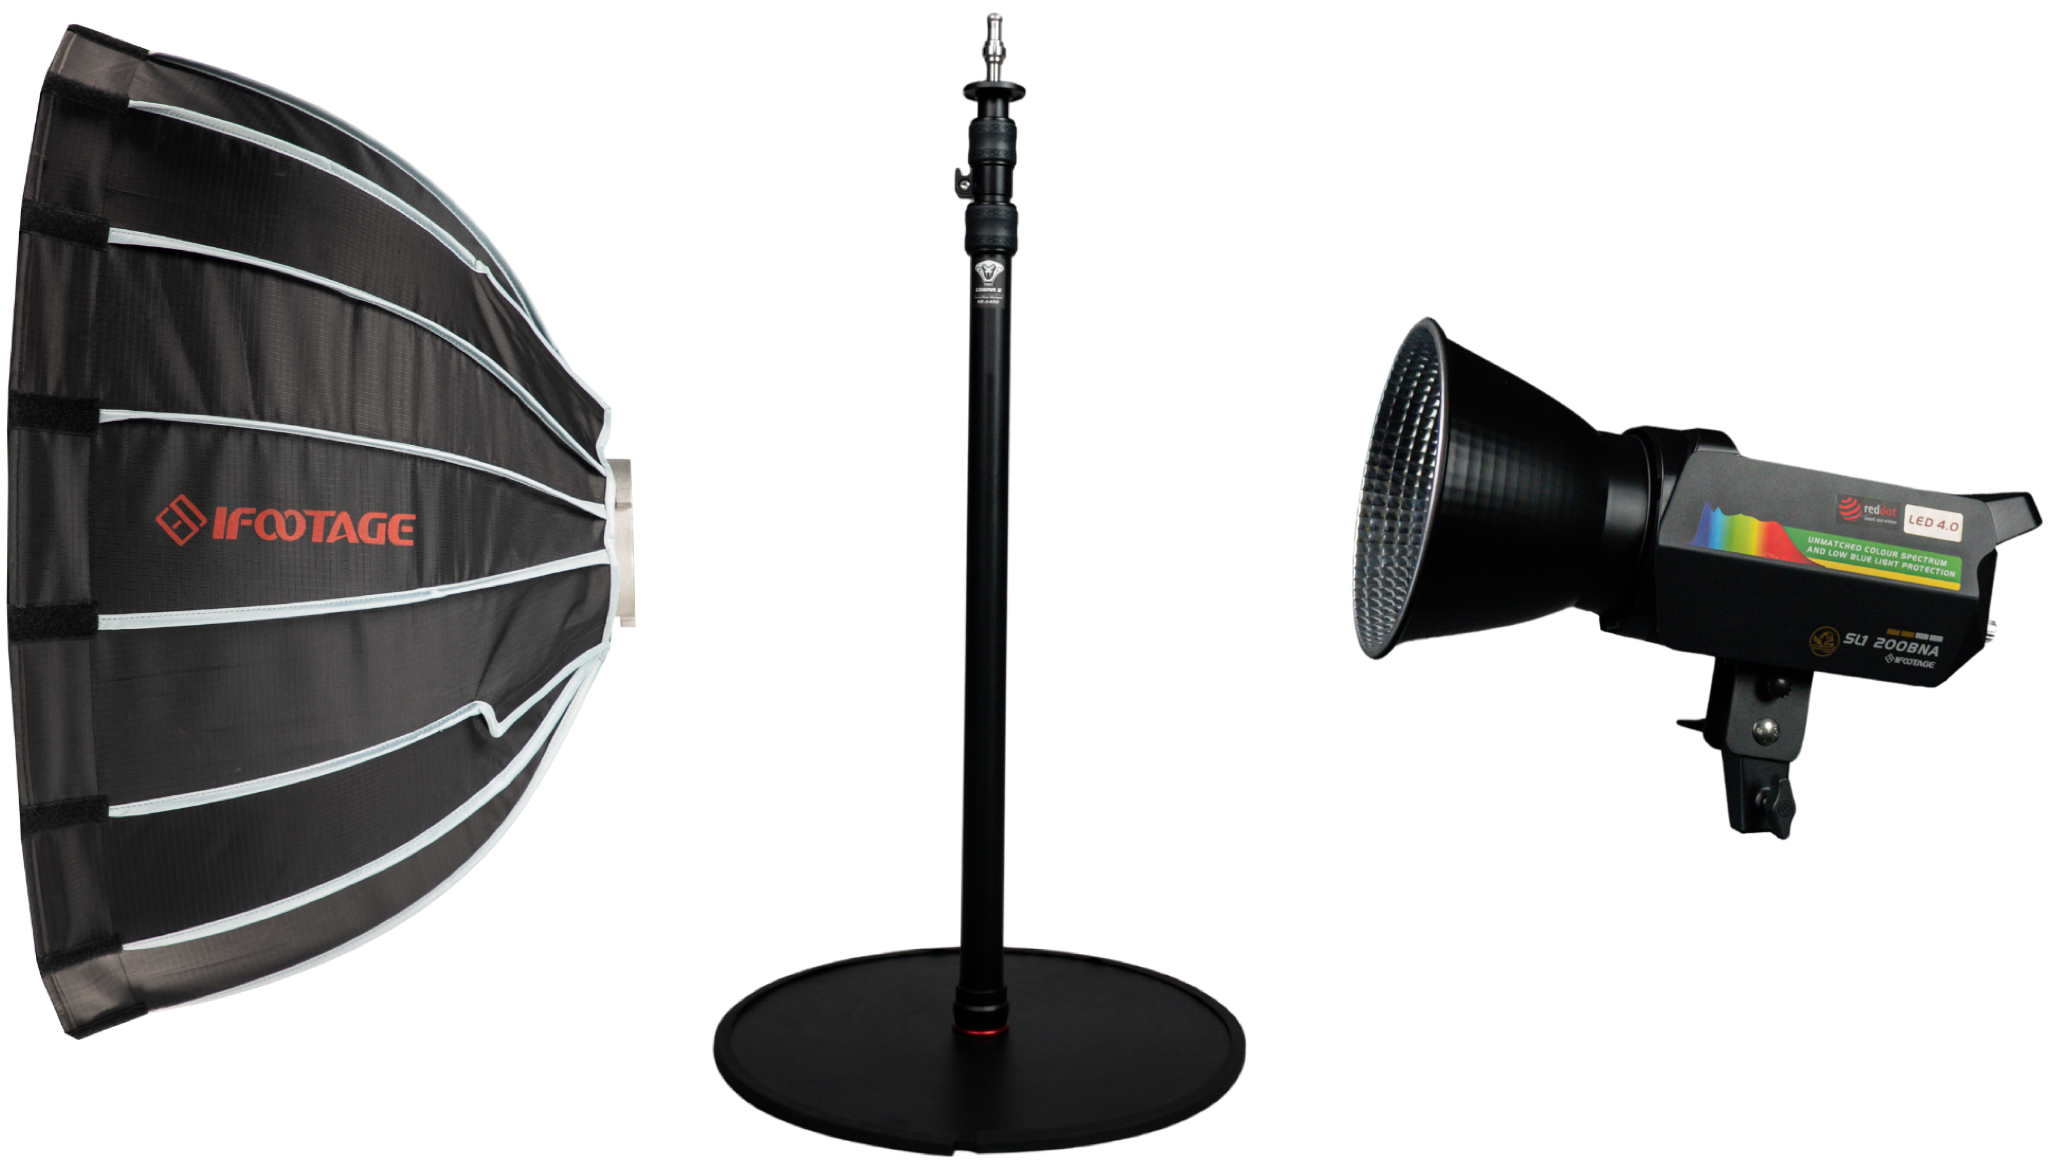
This bundle includes:
To increase your chances of winning:
Check out the Quest brief for more tips to up your odds of being one of four lucky winners.
Now that you’re all caught up on the details, don’t miss your chance to win this amazing prize bundle from our friends at iFootage Gear. The contest runs from April 10, 2024 to May 8, 2024, so get your submissions in to be considered.
Participating in the Emotive Lighting Quest brings you closer to owning incomparable lighting gear—we love that for you.
Submit your photos here.
Keep up with iFootage Gear on social:
Tiktok: @ifootagegear
Instagram: @ifootagegear
Youtube: @ifootageinternational
Facebook: iFootage International
Not on 500px yet? Click here to learn about Licensing with 500px.
The post Presenting the pinnacle of lighting Quest with iFootage appeared first on 500px.
[NDN/ccn/comedia Links]On July 18, 1860, when the British astronomer Warren De la Rue set out to photograph the total solar eclipse at Rivabellosa, Spain, he brought with him hundreds of pounds of equipment, including 113 pounds of engineer’s and carpenter’s tools; 139 pounds of water; lamps, lamp-oils, and wine weighing in at around 73 pounds; a small stove; and a kettle.
De la Rue also set up a darkroom laboratory on-site, and according to the astronomer and anthropologist Anthony Aveni, he ultimately came home with forty glass negatives, taken over three minutes of totality. They were the first to picture the sun’s corona encircling the moon.
157 years later, an estimated 4.4 million people tuned into NASA’s live television coverage of the solar eclipse that took place over parts of North America. It was not only the most-viewed but also the most-photographed eclipse in history.
Today, it’s easier than ever to photograph the heavens, and De la Rue’s historic forty pictures of totality have been joined by countless others. Still, all modern photographers carry with them the same sense of awe and wonder that that astronomer felt more than a century ago, and luckily, they don’t need to carry hundreds of pounds of equipment or set up their own darkroom to capture unforgettable images.
Here are our top tips for photographing solar eclipses.
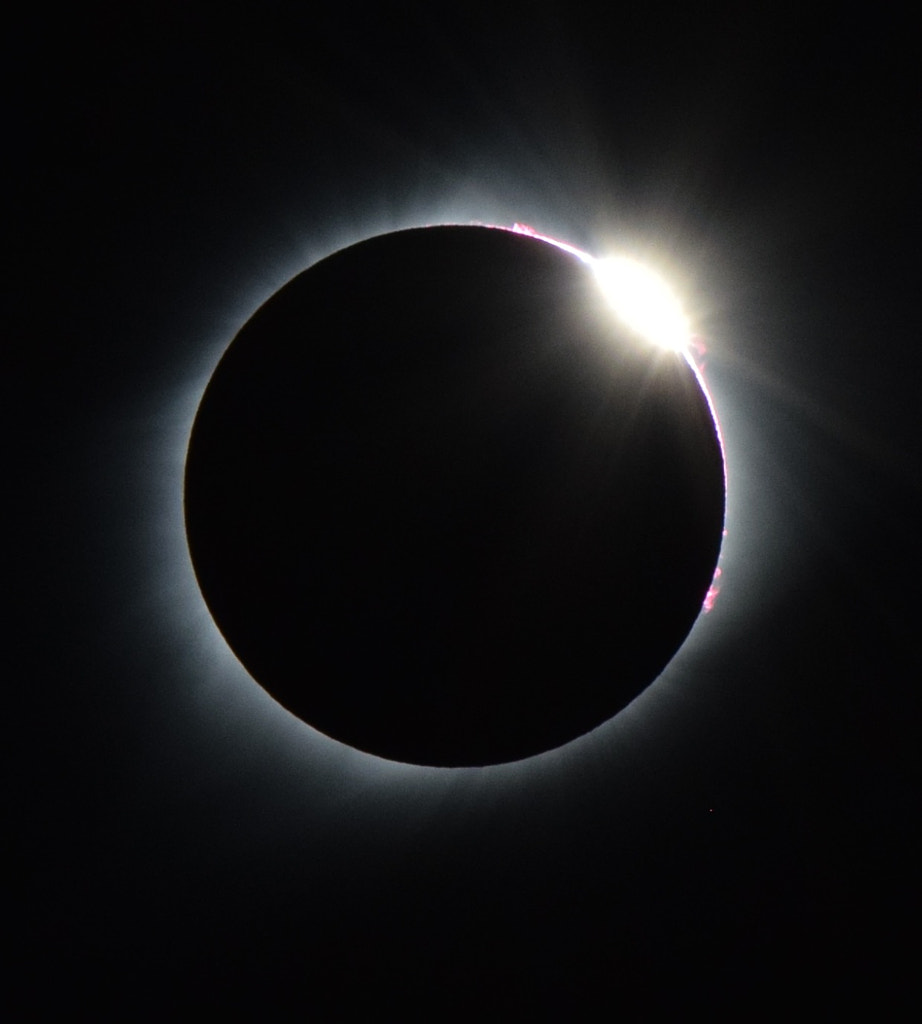
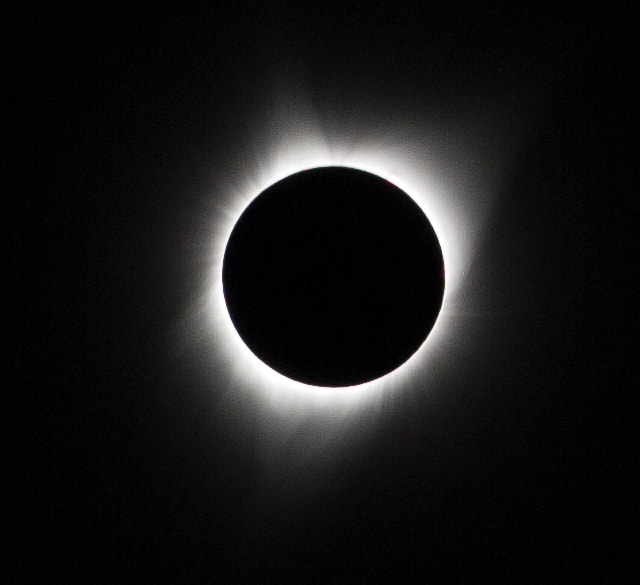
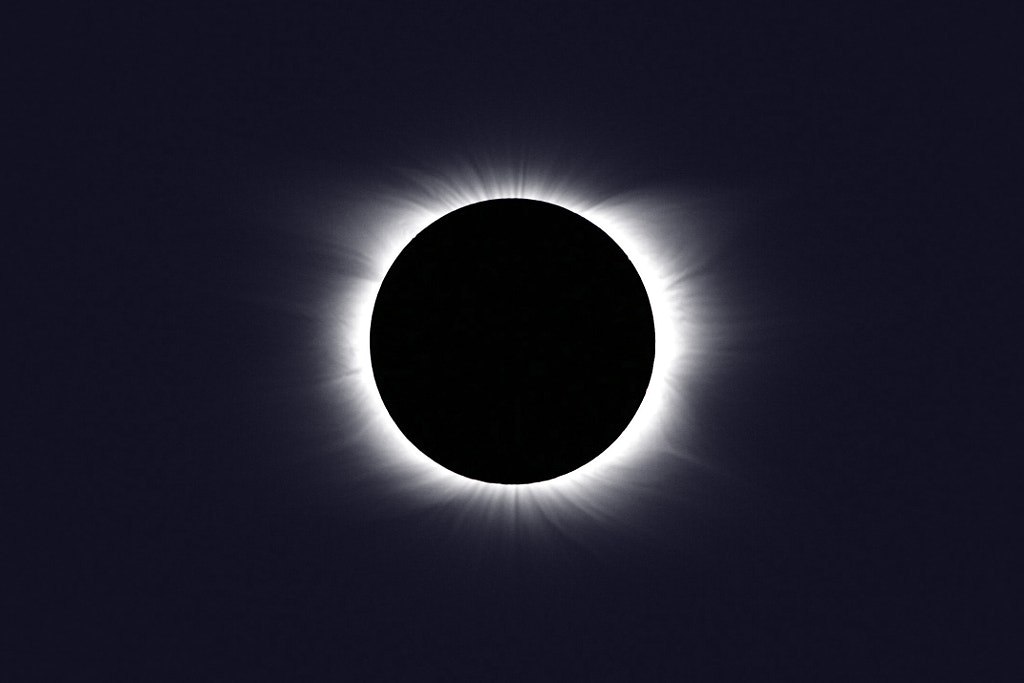
A solar eclipse happens when the moon moves between the Earth and the sun. A total solar eclipse, like the one in parts of North America in August of 2017 or the one in Chile and Argentina in July of 2019, only occurs when the moon appears to completely “block out” the sun, plunging viewers into darkness and revealing the sun’s pearly “corona.”
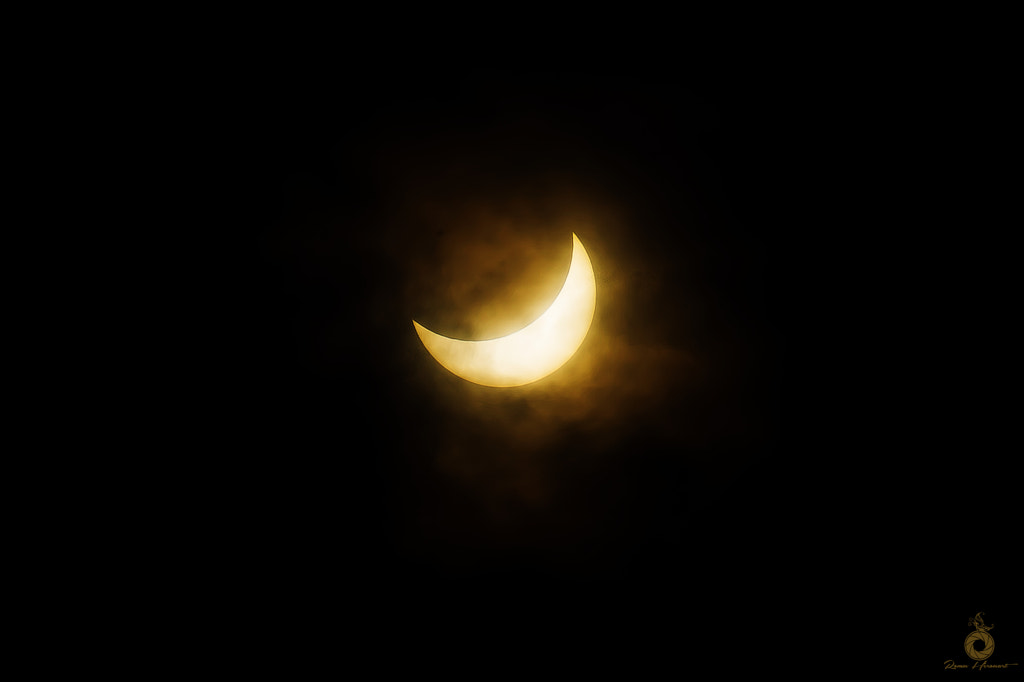
If you’re outside of the path of totality, you might still see a partial eclipse; the moon will pass in front of the sun, but it won’t cover it entirely. Total and partial eclipses happen when the moon’s orbit is close to Earth, making it appear larger than the sun.
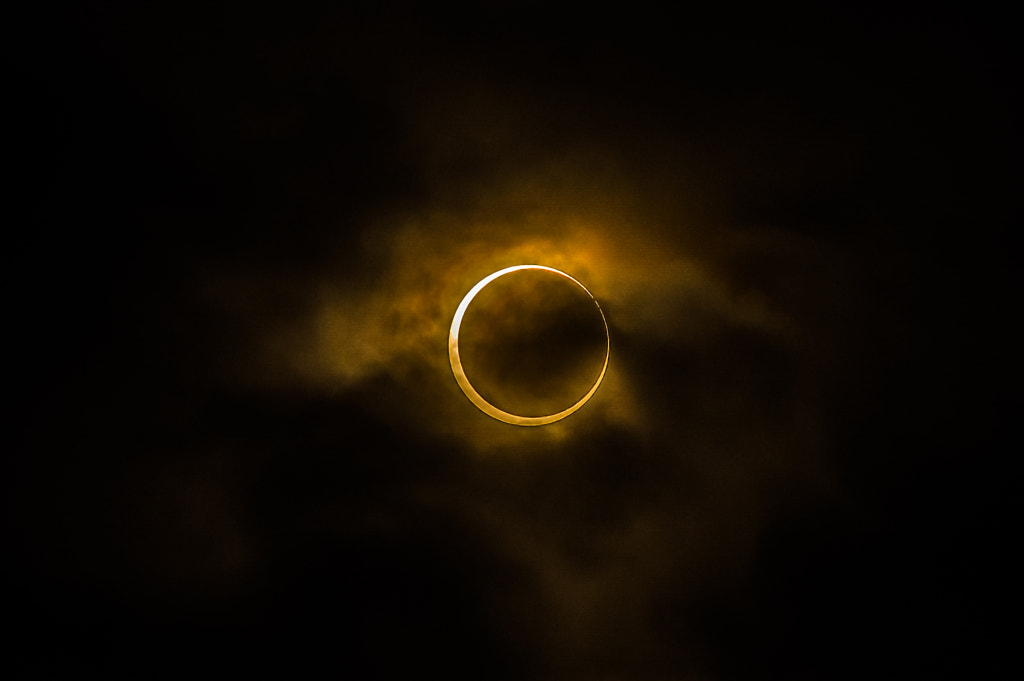
Annular eclipses, on the other hand, occur when the moon is closer to the farthest point on its orbit, making it appear smaller. In this case, a fiery ring of sunlight will appear in the sky when the eclipse reaches its maximum point. Finally, a rare hybrid eclipse features both an annular and total eclipse, with one shifting into the other based on the curvature of the Earth.
Understanding the various types of solar eclipses—and their stages—will form the foundation of any photoshoot you have planned. Keep an eye out for those “iconic” shots that are unique to the specific eclipse you’re viewing, whether it’s the faint white corona or the ring of fire.
You’ll need good, high-quality solar glasses to view any solar eclipse; otherwise, you risk permanently damaging your eyes. Just as you need eclipse glasses to prevent harm to yourself, your camera needs protection from the sun as well. Thousand Oaks Optical makes some great glass solar filters, as does Baader Planetarium.
Keep both your glasses and solar filter on for all the partial phases for your safety and the safety of your camera. Even if you’re wearing your glasses, it’s unsafe to look at the sun through the viewfinder of an unfiltered camera.
If you’re shooting a total solar eclipse, you must remove the filter when it reaches totality and then replace it once the total phase is over. The exact moment when the sun is 100% blocked is also the only time you’ll be able to glimpse the eclipse with the naked eye, but it lasts for just a few instants, so be careful and remember to avert your eyes as soon as it’s over (you can set a timer for this).
You can photograph a solar eclipse with almost any camera, depending on the look you want. If you’re shooting landscapes or people with the sun in the background, even your mobile phone can work, though we recommend installing a plug-in or app that lets you shoot RAW files.
Don’t forget your glasses, and use an additional pair to protect your phone camera. The sun will look small in these images, so if you want it to look bigger, you’ll need to attach your phone to a telescope; zooming will just result in grainy photos.
A simple point-and-shoot can also get some nice images of the partial phases when used in conjunction with a telescope with a solar filter and wide-field eyepiece (here, you’d use your LCD screen to compose your shot). And of course, a DSLR is always ideal if you have the budget for it, especially since you can try out different lenses to get the perspective you want.
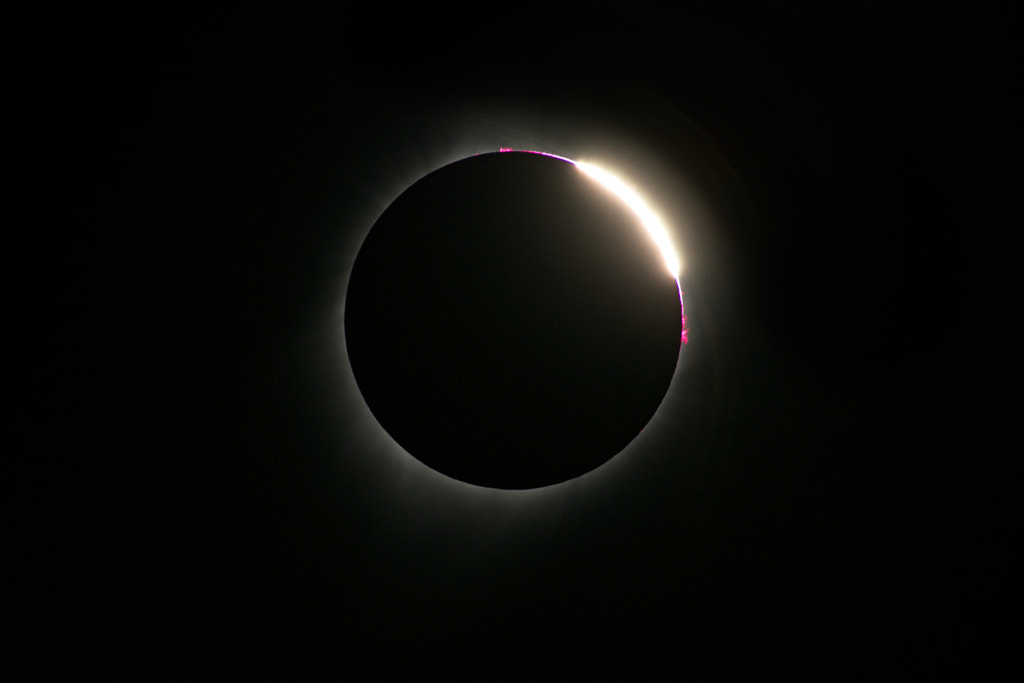
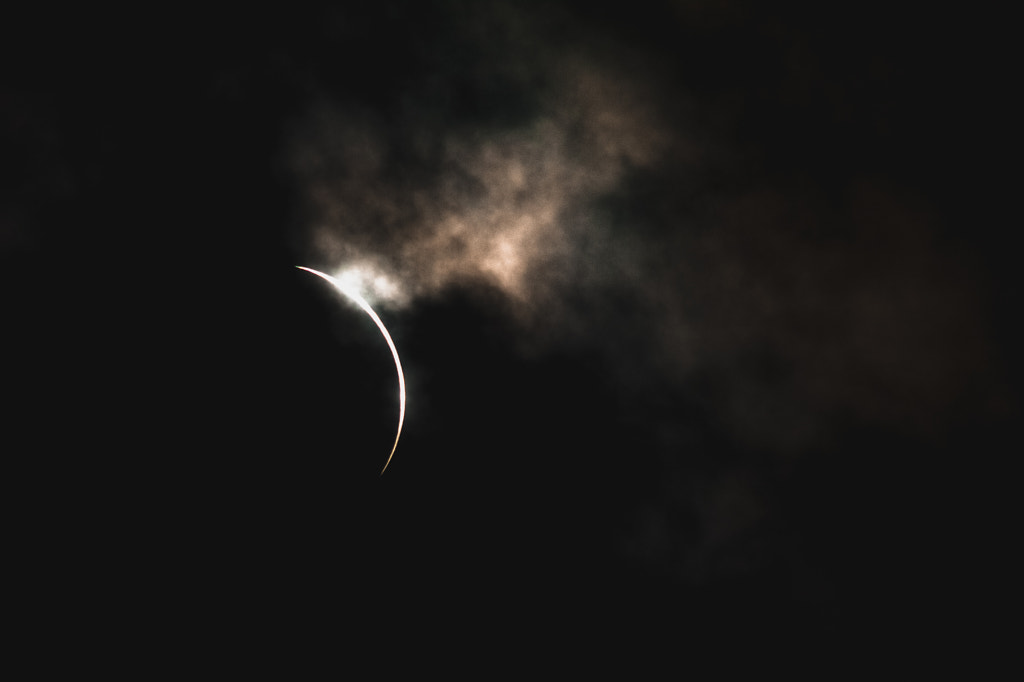
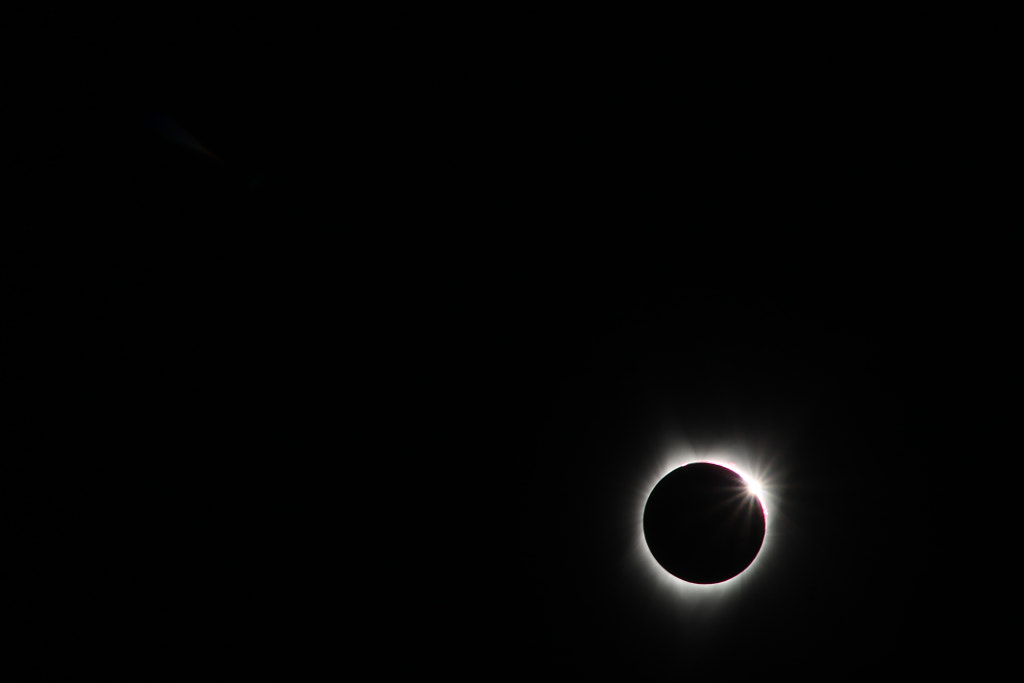
A wide-angle lens (like the one on your phone) will work for environmental shots with a faraway sun, but if you want to get close to the sun, your best bet is using a super-telephoto lens (400mm minimum)—or attaching your camera to a telescope. That’s where you’ll get those detailed images of Baily’s beads, or the diamond ring effect, which happens when sunlight hits the rugged surface of the moon. If you use a super-telephoto, invest in a tracker so you can follow the path of the sun.
Still, you don’t have to shell out a ton of money for a fancy camera; it’s far more important to have a solid and familiar camera that you know well. Look around until you find a camera with a size and shape you like; remember that you’ll have to be quick in adjusting your settings and removing and replacing your solar filter.
Location is everything when it comes to solar eclipse photography, so choose your spot wisely. If you plan to capture a total eclipse, use an app like PhotoPills to pinpoint the “centerline,” or the exact spot on the map where totality will last the longest. Some photographers spend months looking for the perfect location through satellite images.
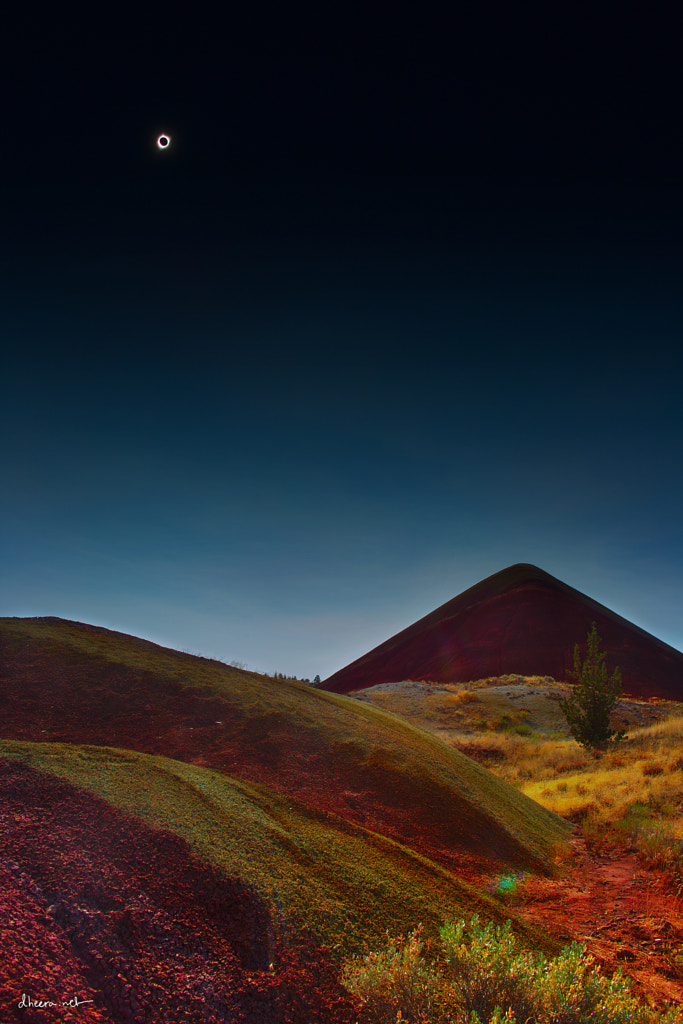
Many solar eclipse photos just feature the sun itself, but including the landscape can have a dramatic effect, especially if it’s a remote area. If you plan on taking a shot that incorporates the landscape, that’s always something to take into account; find a spot where the foreground will complement the eclipse, not obscure it.
Spend some time at your location, and make sure you know how it’ll look on the day of the shoot. You’ll need as much open space as possible to move around and ensure there are no distractions in your frame. If you know it will be crowded, plan to arrive early so you can get everything set up in the best spot possible.
When it comes to solar eclipse photography, you only have one chance to get it right, so it’s best to get any mistakes and mishaps out of the way before the day of the shoot. PhotoPills has detailed information and a calendar of upcoming eclipses so you can track exactly when the eclipse will take place in your location, right down to the second.
Once you have that information, time yourself as you do several test-runs. Ideally, these “rehearsals” should take place on a day when the weather forecast is similar to the actual conditions you’ll experience on the day of the eclipse, and of course, they should take place at the same time, so the sun is at the same elevation. You can use Clear Sky Chart a day or two before the shoot for detailed information.
Remember to bring a solid tripod and shutter release with you on your test days to prevent blurring, and give yourself time to practice removing and replacing your solar filter. Try out several different exposures, and play around with focusing manually (it’ll be too dark to use autofocus during totality).
When you get home, take a look at each photo and see what works and what doesn’t. If possible, spend several weeks photographing both the sun and the moon so that it’s second-nature once the time comes.
Often, you’ll need to bracket several exposures to get a crisp, clear shot of an eclipse—especially during totality, since the light will change rapidly. Be sure to get enough shots at different exposures so that you can refine them later in post, and check your histogram regularly.
Warren De la Rue, the British astronomer who captured the first photos of the corona, went home with one regret. He wrote, “I well remember that I wished I had not encumbered myself with apparatus, and I mentally registered a vow, that, if a future opportunity ever presented itself for my viewing of a total eclipse, I would give up all idea of making astronomical observations, and devote myself to the full enjoyment of the spectacle which can only be obtained by the mere gazer.”
This sentiment is one that’s recurred throughout the decades; photography is important, but remember to take some time to enjoy the eclipse experience for yourself, without worrying about the camera. You might not get another chance to observe the phenomenon.
Some single shots of solar eclipses employ the rule of thirds, a solid composition technique for powerful images—but the options are limitless here.
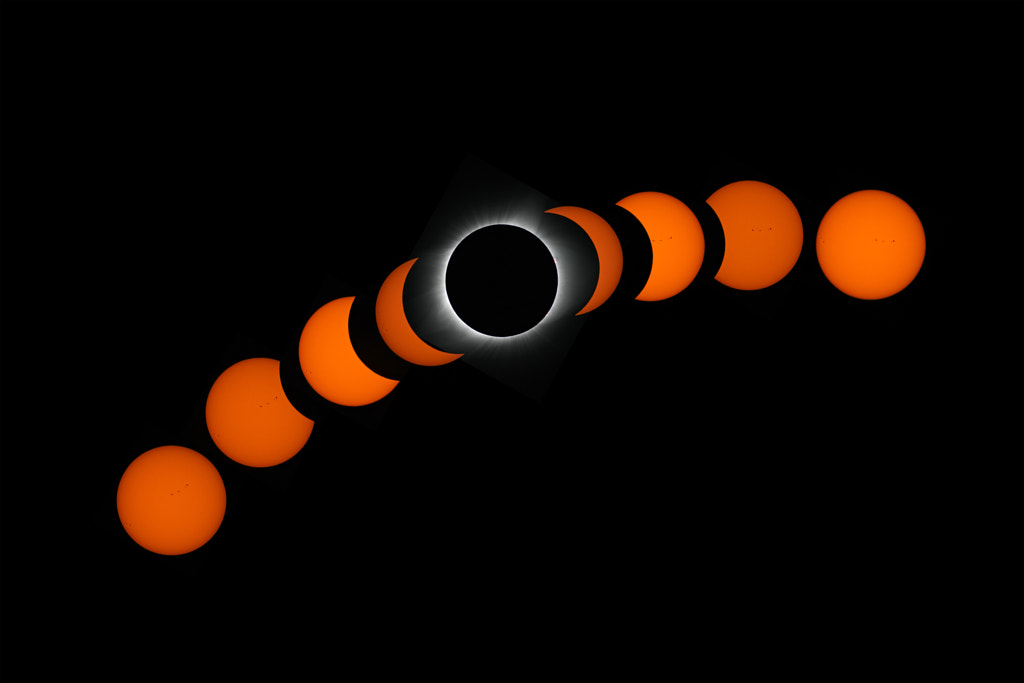
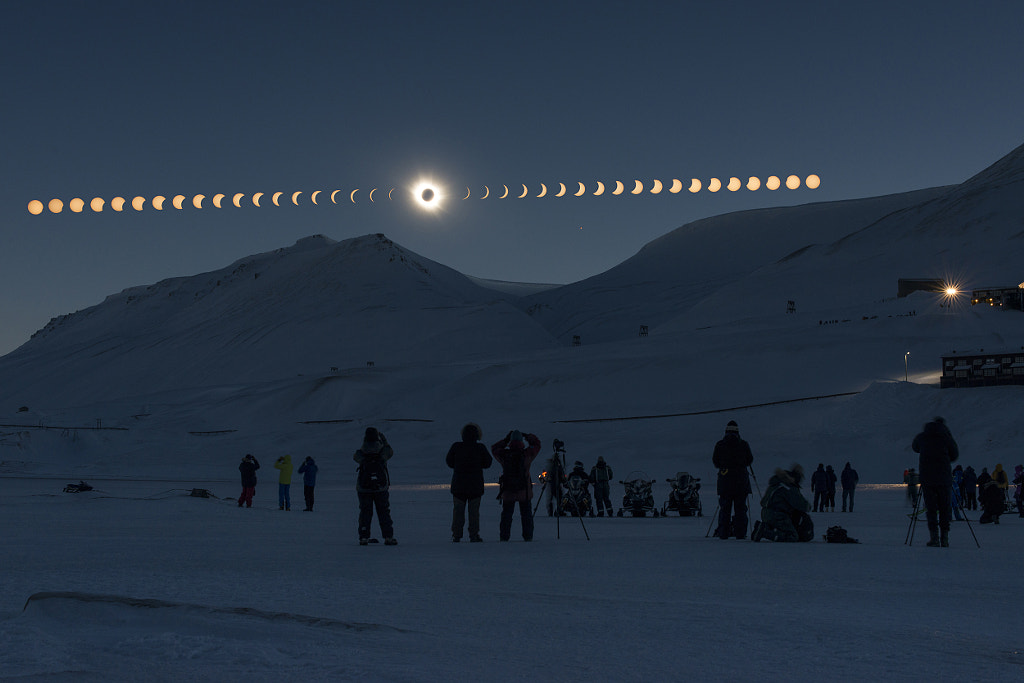
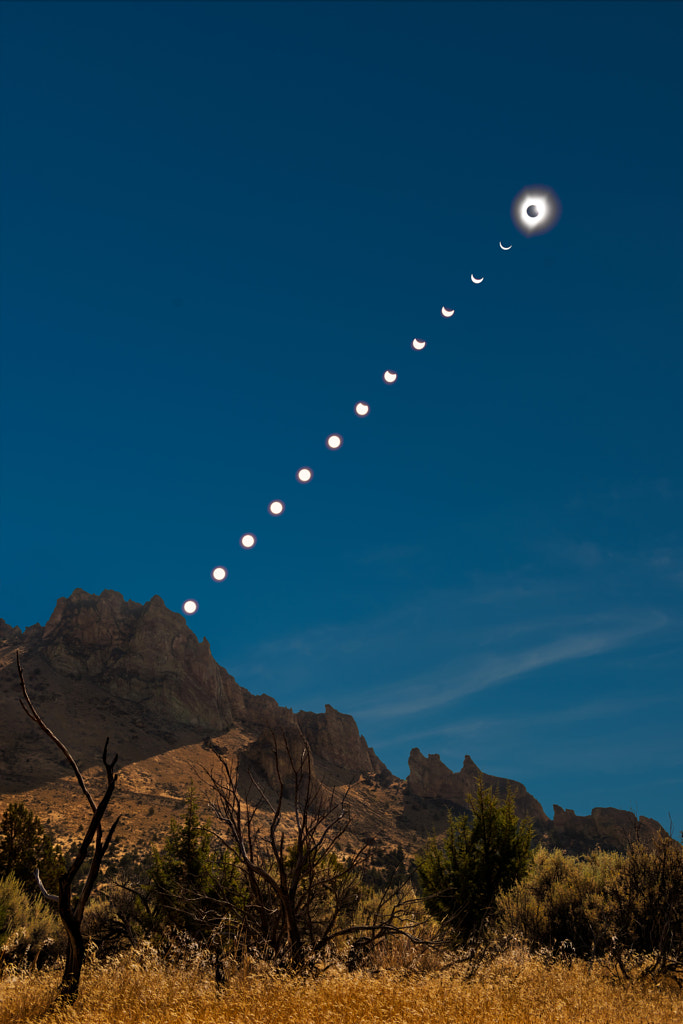
For example, many of the viral eclipse photos we see these days aren’t just a single frame; instead, they capture the different phases through a series of composited images. For these montages, you’ll need a good tripod, as your camera will need to remain fixed in the same spot so that all the phases are aligned.
As long as you clarify that it’s a composite, you can get as creative as you want with composition here; one of the most popular eclipse photos in recent history, created by National Geographic photographer Ken Geiger, is an illustration of the eclipse phases over Grand Teton National Park in Wyoming. By including interesting foreground elements, you can provide a sense of scale and highlight the vastness of the sky.
You might also like these articles:
Everything A Beginner Needs To Know About Astrophotography
Northern Lights Photography | The Essential Guide of Beginners
How To Create A Stunning Holden Hour and Night Cityscapes
5 Videos to Watch Before Photographing The Eclipse
Not on 500px yet? Sign up here to explore more impactful photography.
The post Solar eclipse photography | The essential guide for photographers appeared first on 500px.
[NDN/ccn/comedia Links]


 [NDN/ccn/comedia Links]