Friday, November 3, 2023

Pet photography: Fail-proof strategies to capture our furry friends

In the United States, approximately 23 million households brought an animal into their lives as they navigated the pandemic. It’s no wonder they did—across various studies, having a pet has been linked to decreased loneliness and boosted feelings of well-being. Plus, amid the isolation of 2020-21, many of our pets encouraged us to get outside and reconnect with nature.
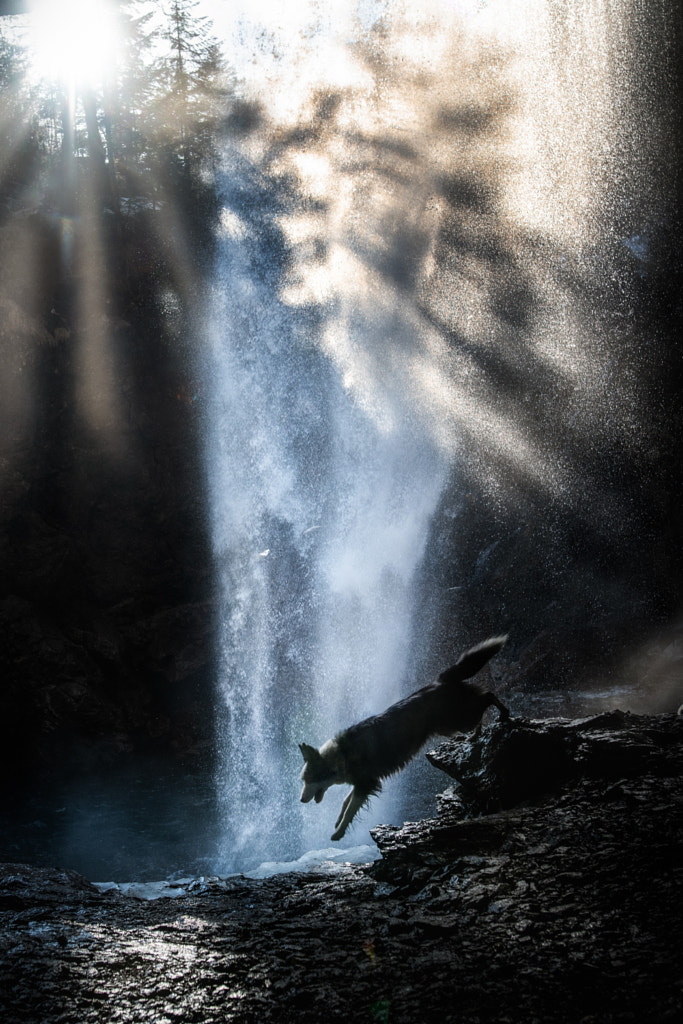
For influential photographers like Iza Lyson and Taya Iv, dogs and cats became ever-present models and collaborators, even if they were stuck indoors. Others followed their lead, elevating the field of pet photography into the realm of fine art. The pictures they made brightened our days and gave us hope for better ones ahead.

Dog photography and cat photography, while wide-ranging, will always be in vogue. On social media, some celebrate by sharing photos tagged #DogsinBlankets and #TongueOutTuesday, while others invest in timeless professional portraits of their furry family members. In tribute to the canine and feline friends who helped us weather the last few years and continue to bring joy to our lives, we put together this quick guide to photographing pets.

Gear basics

A workhorse mirrorless or DSLR camera will offer plenty of flexibility to experiment with different lenses and perspectives. While some animal photographers opt for a wide-angle to capture the surrounding environment, others might play with telephoto lenses to capture animals at a distance. In general, a prime lens like a classic “nifty fifty” will offer better quality, while also allowing you to open up your aperture for portraits. A zoom lens, on the other hand, can offer more versatility, especially for animals in action, and you’ll get a lot of mileage from a 20-70mm.
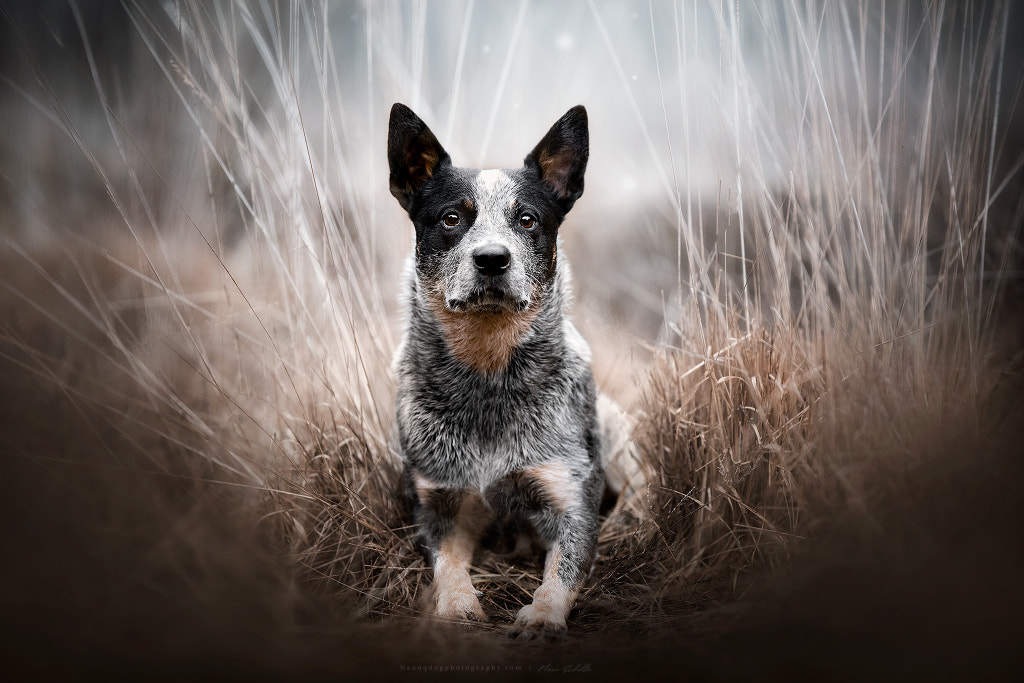
Natural light is ideal for pet photography, especially during the golden hours around sunrise and sunset. Overcast days offer softer and more flattering conditions outdoors, while a window with indirect sunlight can be a game-changer inside. If the animal is comfortable with it, you can introduce studio lighting, but consider continuous lighting at first, as flash can be startling for pets who aren’t accustomed to it. Use a softbox to diffuse the light.
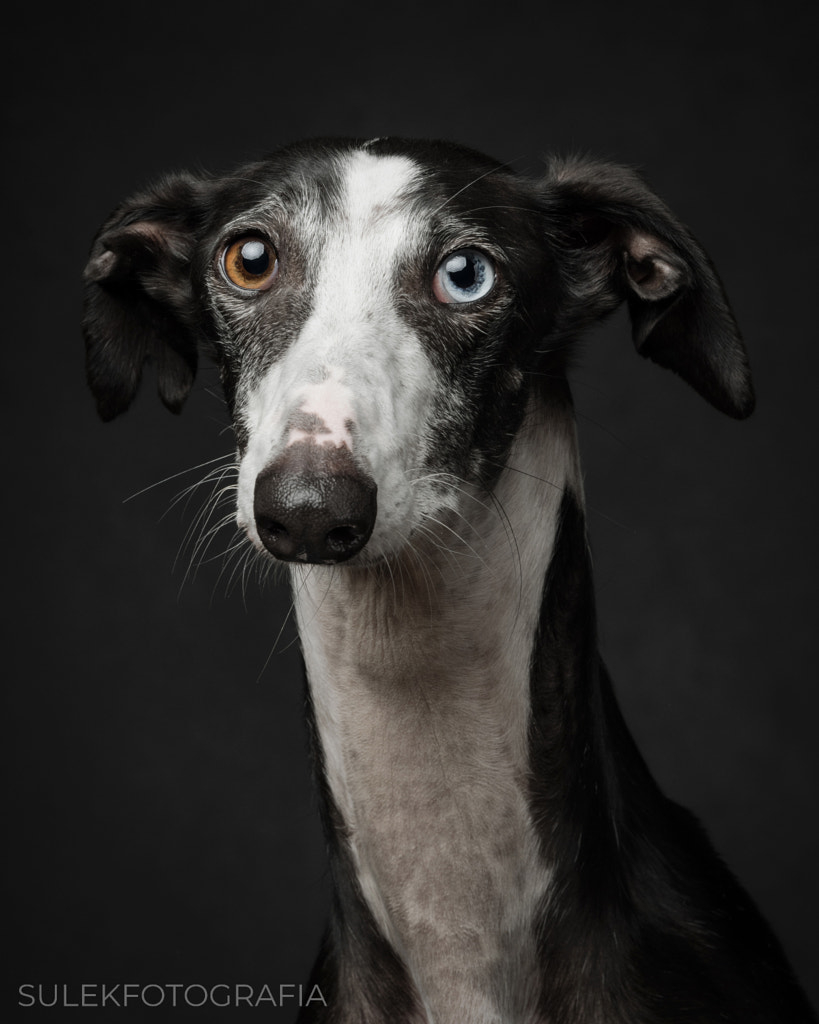
For studio animal portraits, backgrounds can include paper, fabric, or anything else you’d use for human portraits. These are ideal for removing distractions and keeping the focus on the pet. Just keep in mind that animals are messy, so only bring out backgrounds you’re comfortable soiling. If you choose paper, make sure to have some extra yards in case of slobber or paw prints. Vinyl is also a practical option because it’s easy to clean. Smudges are much easier to get rid of on set than in post-production.

Speaking of cleaning, a lens cloth and cleaning kit will also come in handy, especially with shedding dogs. Brushes and towels can also be good for making sure the animal looks his best. Finally, remember treats and toys. If you use treats, remember to check with the pet’s human to make sure that anything you offer is appropriate for the animal’s health and diet (or ask them to bring their own). Some pets might not be able to have treats, but you can still make the session fun by rewarding them with toys and praise. Check in with the owner before the shoot to see what their animal enjoys the most.
Must-have animal photography tips

Stay flexible

If you take one thing away from this guide, make it this one: be patient, and stay positive and calm. Animals don’t take direction like humans, but that’s part of what makes them fun to photograph. While it’s always good to go into a shoot with a plan of action, remember that that plan might change depending on what the pet needs.

“Prepare for the unexpected,” the 500px team urges. If an animal isn’t sitting still, for example, consider some candid pet portraits of her playing outdoors or interacting with her person. If the pet is shy, give him some space or have an assistant there to provide comfort and encouragement.

Take your time

Set aside more time for the session than you think you need, just to give the animal time to sniff, explore the environment, and get comfortable with you. Cats, for example, often take longer to get comfortable than dogs might. If the animal seems nervous, take a break and try again later. Breaks are a great idea, in general, as they allow the pet to unwind.

Do something he enjoys, whether it’s playing tug or taking it slow, and go at his pace. Use words the dog likes (ask the owner about these). Have your camera at your side at all times so you can whip it out at a moment’s notice and capture something magical and fleeting. Keep your shot list in the back of your mind; you might be able to return to what you planned as the session evolves.
Get low

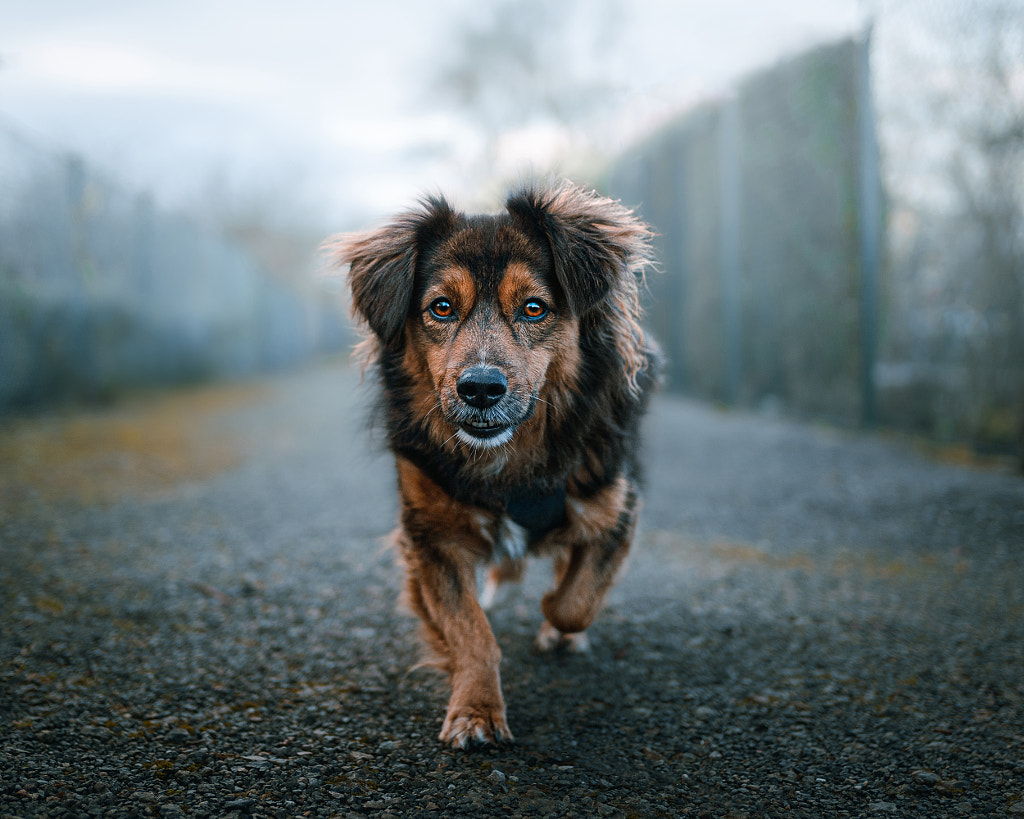
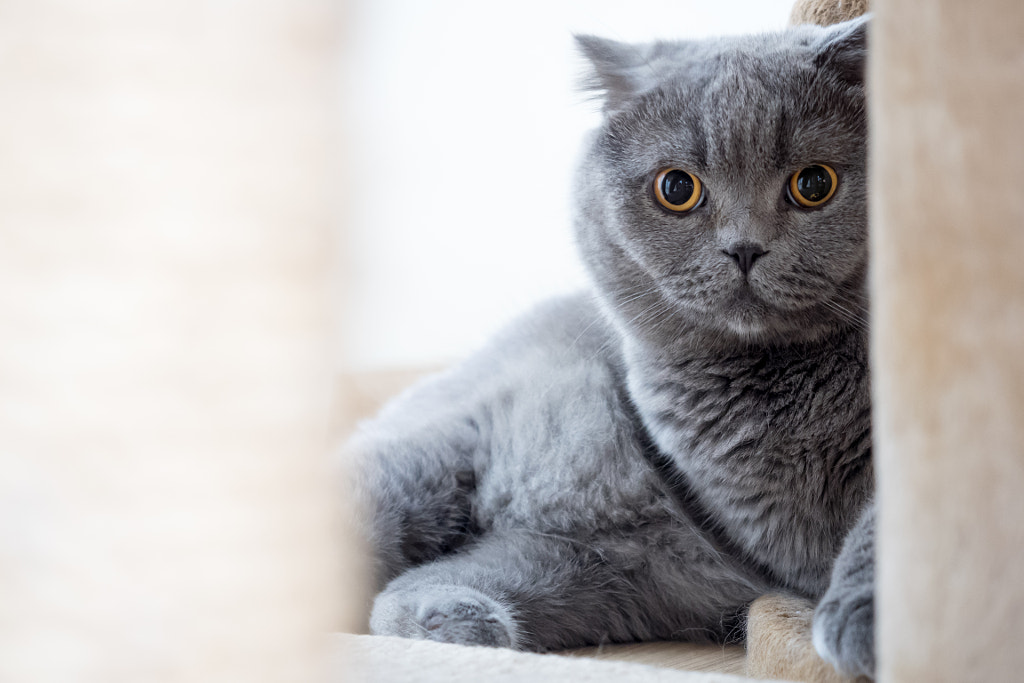
As with portraits of humans, the beauty is in the eyes, so get down to the animal’s level and ensure those eyes are the sharpest part of the image. You can get a dog’s attention with treats or sounds; if you do use a squeaker, just make sure you’re the only person making noises so that the animal’s not confused or distracted.

Getting on your knees or even your belly can also make you more approachable, allowing the pet’s personality to shine through in your photographs. Feel free to get creative with your angles and perspectives; mixing it up can result in unexpected facial expressions. An ultra-wide angle like a 16-35mm can create some hilarious portraits.
Highlight the details

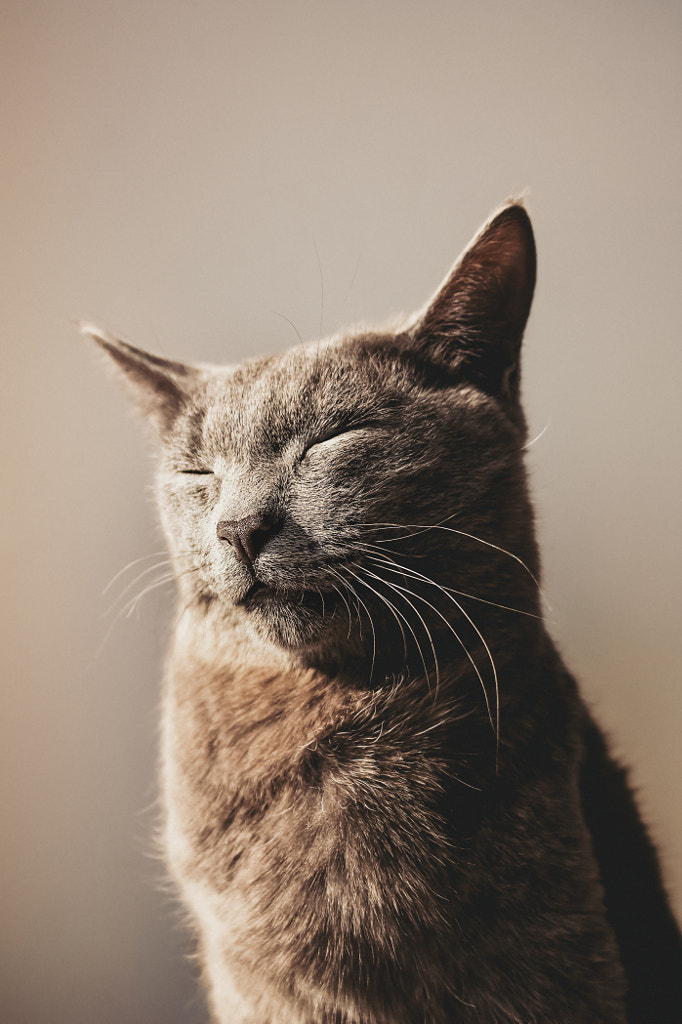
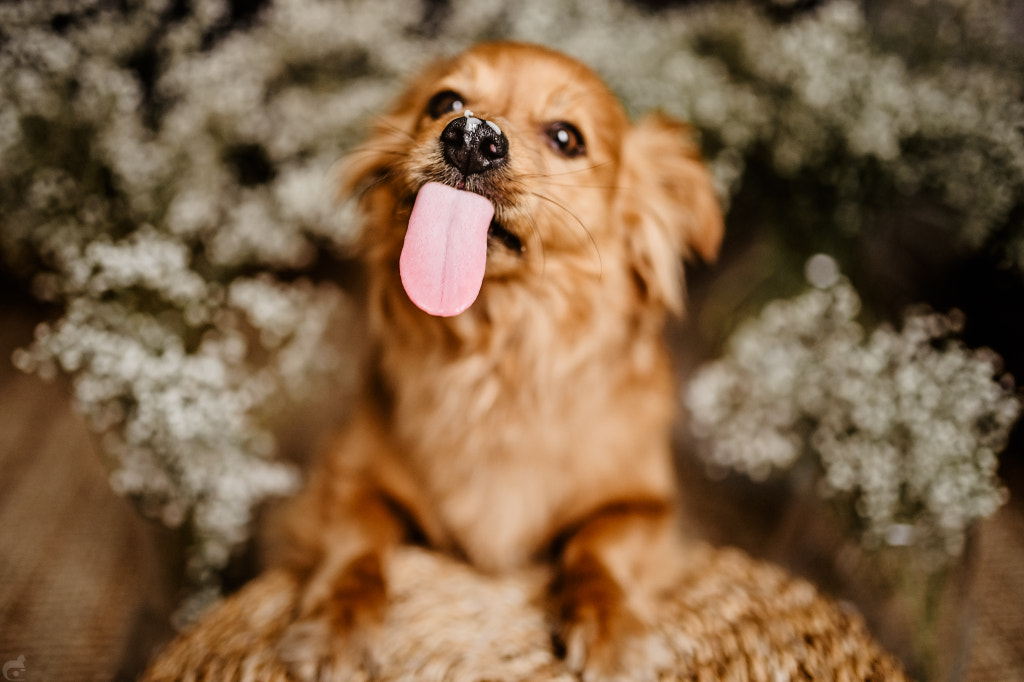
Every pet is different, so lean into what makes this animal unique. Maybe it’s the gray muzzle on a senior dog, or perhaps it’s a cat’s whiskers. It could be the way a cat sprawls out in a patch of sun close to the window or the way a dog soars through the air when catching a frisbee. Or maybe it’s as simple as a dog’s pink tongue after a game of fetch or a cat’s paws “making biscuits.”

You’ll get to know these details over the course of your time with the animal, but it can also help to interview the owner about their pet. What does their cat do that makes them laugh? What’s their dog’s favorite place in the world?
Break the rules

From using a fast shutter speed to freeze a dog in motion to getting that perfect focus on the catchlights in a cat’s eyes, there are countless technical considerations to take into account when photographing pets. In some ways, pet photographers operate like portrait photographers, sports photographers, and documentary photographers all rolled into one. And they have to have the skills of all three.

With that being said, technical proficiency will go a long way in this business, but it isn’t everything. Creative pet photography is also about being in the moment and connecting with your subject. Once you know the rules, you can break them, whether that means photographing your dog in silhouette or capturing “bloopers” of a cat making a funny face. Focus on the animal first and your gear second; you don’t want to miss a great photo because you’re too busy fiddling with your camera.

Not on 500px yet? Sign up here to explore more impactful photography.

The post Pet photography: Fail-proof strategies to capture our furry friends appeared first on 500px.

[NDN/ccn/comedia Links]

8 Post Processing Tips for Creating Beautiful Landscape Photos

Jimmy Mcintyre is a travel photographer and educator. His photos have been published in local and national magazines, including the BBC. His online courses on digital blending and post-processing can be found in his official website. You can also check out his exclusive tutorials on 500px ISO here. In this tutorial, Jimmy shares his expert tips and videos on post-processing landscape photos. Read on and get inspired!

Post processing - Photograph An Ancient Ghostly Tower by Jimmy Mcintyre on 500px

An Ancient Ghostly Tower by Jimmy Mcintyre on 500px

There is nothing quite like the power of a stunning seascape or landscape photo in transporting us momentarily to a world of wonder, magic, danger, beauty…the list is almost endless. Nature enchants us. As photographers, our imaginations often swirl with ideas when we witness one of its magnificent creations.

How much we choose to infuse our imaginations with nature’s true scene in our photography is a matter of personal enjoyment. In this article, I present to you 8 post-processing techniques for landscape photography, some of which will help to restore the natural scene as you saw it, some will enhance that scene further, and some will push your imagery beyond that of reality.

Post processing -mesa-after

1. Remove lens flare from your landscape photography
Shooting directly into the sun is a tricky process when doing landscape photography, but it can often produce some beautiful results. One of the main challenges we face is lens flare from the sun. Sometimes, lens flare adds to a scene, and other times we’d prefer to be without it.

I created this tutorial to show you how to control lens flare in the field and in post-processing. And, as a bonus, I went through the full digital blending workflow, which will hopefully give you a few other handy tips.

2. Paint colors into a sunset with your landscape photos
We are literally going to paint extra color into the sunset and sunrise areas. This technique is most effective when there is already color in the sky, which you can enhance.

This is the example image we’ll be working with:

Puerto Natales, Chile

Post processing -paint-sunset

The two things we’re going to do here is paint more pink into the sky and water, and paint more orange into the area of the sun.

Here’s a “Before” and “After” comparison using the Painting with Warmth technique:

Post processing -before-after-warmth-add1

Below, you’ll see steps 1-6 for creating the first effect. And here is a screenshot, so you can visualize the steps.

Post processing -tutorial-preview

Steps
(1) Create new layer. To create a new layer, simply go to the button left of the trash can in the layers panel and click on it.

(2) Select Paintbrush. With this chosen, change the opacity to 100%, a hardness of 0 so there’s a smooth transition, and create a medium sized brush.

(3) Click on foreground color. Your foreground color is at the bottom of the toolbar to the left. When you click on it a dialogue will appear. Place your cursor over the sunset area where there are golden/orange colors. You will see that the cursor has become an eyedropper tool. Left-click on the golden/orange color to select this as your foreground color.

(4) Paint across sunset. Take your brush and paint across the sunset, trying not to affect other areas. It’s okay if you go across the horizon on this type of image. But we should avoid the sticks to the left.

(5 & 6) Change blend mode to Overlay or Soft Light and change opacity. For the sunset area of this image, I changed the Blend Mode to Overlay, which creates a stronger contrast effect. But I lowered the opacity of this layer to 30%. You’ll instantly see stronger colors coming from the sunset.

Mask out any areas that you don’t want to affect. In this image, I accidentally went over the sticks, so I created a black foreground color and just masked that area of the adjustment out.

Now do the same to enhance the pinks (selecting a pink foreground color), this time painting around the sunset and in the sky and water. I used do the Soft Light Blend Mode and an opacity of 25% on this layer.

3. Add sky replacement to your landscape photos using a gradient mask
Whether we want to extend the dynamic range of light of our image, or replace the sky with a completely different sky, using a gradient mask can allow us to make a very natural transition between the layers we are blending.

In the image below, I blended two exposures; one for the sky and blown out parts of the water, and one for the foreground sticks and sand. This allowed me to create a balanced image with a greater range of light.

Post processing - seascape-photo

This post processing tutorial will show you how to use a gradient mask to quickly blend these two exposures.

4. Create a magical feel using the Orton Effect in your landscape photography
We’ve all seen magical landscapes that would look fitting in a Lord of The Rings movie. Often this dreamy feel is created using the Orton effect. The following images will show you the impact the Orton effect can have on your landscape photos. Below the images, you will learn how to create the Orton effect in Photoshop yourself.

Feel free to download my free Photoshop Action pack, which includes the Orton effect and luminosity masks: Photoshop Powerpack actions.

Hadrian’s Hall – Image straight out of camera

before-processing

Image after luminosity mask exposure blending, contras adjustment, and lighting adjustments

Post processing - before-orton1

Image with a heavy Orton effect applied

Post processing -full-orton

Image with a more subtle Orton Effect added

Post processing -after-orton1

Steps for creating the Orton Effect

(1) Duplicate your Background Layer. Right-click on it and choose Duplicate Layer. This should be called Background Copy.

(2) Apply Image. Now go to Image>Apply Image. A dialogue box will appear. Make sure to change the Layer to Background. The Channel should already be on RGB, and where it says Normal, next to Blending, change that to Screen and press OK.

(3) Duplicate the Background Copy layer. Now we need to blur this new, top layer, which should be called Background Copy 2. Go to Filter>Blur>Gaussian Blur. The Radius you choose here is dependent on the size of the file you are working on. For this image, which is 5,184px wide, the Radius was set to 22.

(4). Change The Blend Mode. Select both of the Duplicate layers, go to Layers>Merge Layers, to collapse these into 1 layer. Now go to the Blend Mode of this layer and change it to Multiply. This will create the Orton Effect.

(5) Reduce the Opacity of this layer as you like it.

Tip 1: Try to be selective in how you apply the Orton Effect. It can soften important textures and fine detail which adds to the image. In this case, mask it out of the areas you don’t want it to be applied. For the image in this tutorial, the effect was not applied to the wall on the left, the sky, or the hills and trees in the distance.

Tip 2: Control your colors! After you apply this effect, you tend to find that your colors have become strongly saturated, like the greens in the image above. Be aware of whether or not that is enhancing or degrading your image.

5. Consider cutting through haze
In humid conditions, one of the biggest challenges in creating an impacting image is haze. It can soften details and leave our images with a blue cast. Aaron Nace of Phlearn.com has created a great tutorial that will show you how to remove that blue cast and create a nicely contrasting scene.

6. Use detail enhancer in your landscape photography to create greater impact
One wonderful way of giving your landscape photos greater impact is through detail enhancement. By applying local contrast changes within Photoshop, we can draw out beautiful textures and patterns that compliment the rest of the scene.

 Petra, Jordan

Post processing -after-detail-enhancerl

Strong Detail Enhancement here to demonstrate the effect.

Post processing -before-after-detail-enhancer

If you do choose to enhance the details in your image, I strongly advise that you do it selectively and subtly, unlike the Before/After comparison above. For example, in the image of Puerto Natales, Chile that we saw earlier, only the wooden sticks experienced detail enhancement.

Make sure to mask out any white edging that will often appear during strong detail enhancement. You can see a tutorial for detail enhancement here: Enhance Details in Photoshop

7. Remove strong color casts in your photos
Color casts are an inevitable part of photography. Sometimes, we misjudge the white balance, or use a filter which creates a strong cast over our scene. As with everything in Photoshop, there are multiple ways to remove color casts, but I find this one to be the most consistent.

Essentially, we are showing Photoshop what our white, 50% grey and black points are. Photoshop then adjusts the rest of the colors accordingly.

The image below is a composite—the sky was taken from a different image. But for the main long exposure shot I used a 10-stop ND which left a strong cast. The video below will show you how I removed the cast at the beginning of the workflow, and restored some of the natural coloring.

Post processing - colour-cast-removal

8. Change Light Balance – Nik Color Efex
One very common way for photographers to both increase mood and guide the viewer’s eye is through a vignette. One of the best tools for creating vignettes is Nik Color Efex’s Darken/Lighten Center filter.

Not only can you create a seamless, darker border, you can also shift the entire balance of light in your image onto an area of more prominence. With this filter, you can choose an area which you deem the center. From there you can brighten that area while smoothly and naturally darkening the rest of the image.

For example, this technique was used on 3 images in this article: Puerto Natales, Petra, and Hadrian’s wall. Notice how all three of these images have a vignette that smoothly fits in with the rest of the scene.

I’ve created a very subtle vignette in the images below (left=without vignette, right=with vignette). I’ve darkened the borders without under-exposing them, while slightly illuminating the rocks and water in the foreground.

before-vignetteafter-vigetteDarken/Lighten Center Explained
color-efex-pro

(1) Being in alphabetical order, you will find Darken/Lighten Center just after Dark Contrasts.

(2) Center Luminosity doesn’t change the brightness of the actual center of the image. This alters the luminosity of the area you deem to be the center.

(3) Border Luminosity determines the darkness/brightness of the area around the center. The effect is feathered so the transition from bright to dark is very smooth and natural.

(4) Center size will affect how large center of your image will be. The larger the center size, the smaller the vignette.

(5) Finally, click on Place Center once. Then click where in your image you wish to be the focus of light.

Resource hub

Conclusion
I hope the post processing techniques in this article have been useful to you. As always, if you have any questions, please feel free to write them in the comment box and I will be happy to respond.

Photograph Mount Fitzroy at sunset by Jimmy Mcintyre on 500px

Mount Fitzroy at sunset by Jimmy Mcintyre on 500px

You can also follow my work at the following links:
My website
My Facebook page
My photography newsletter

You Might Also Like These Articles:

  • The Importance of Post Processing, Part 3
  • Back to Basics: A Long Exposure Photo and Processing Tutorial for Beginners
  • Meet Photolemur: Artificial intelligence that automates your post-processing
  • 23 Landscape Photography Tips From A Pro

The post 8 Post Processing Tips for Creating Beautiful Landscape Photos appeared first on 500px.

[NDN/ccn/comedia Links]

Thursday, October 12, 2023

Prevent your photos from looking soft and ensure they are sharp

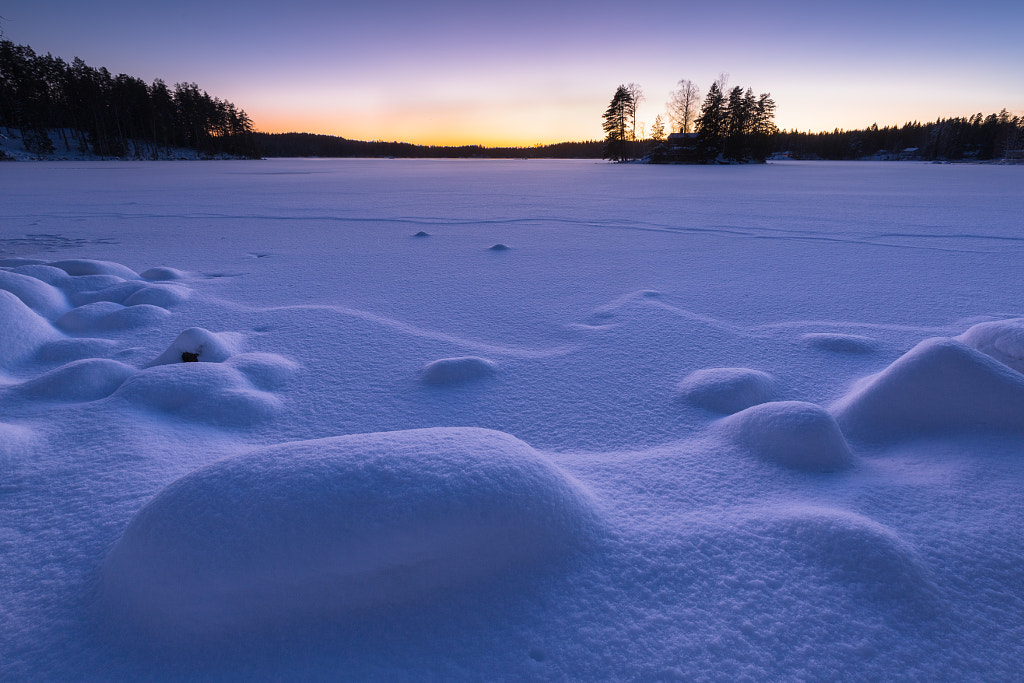
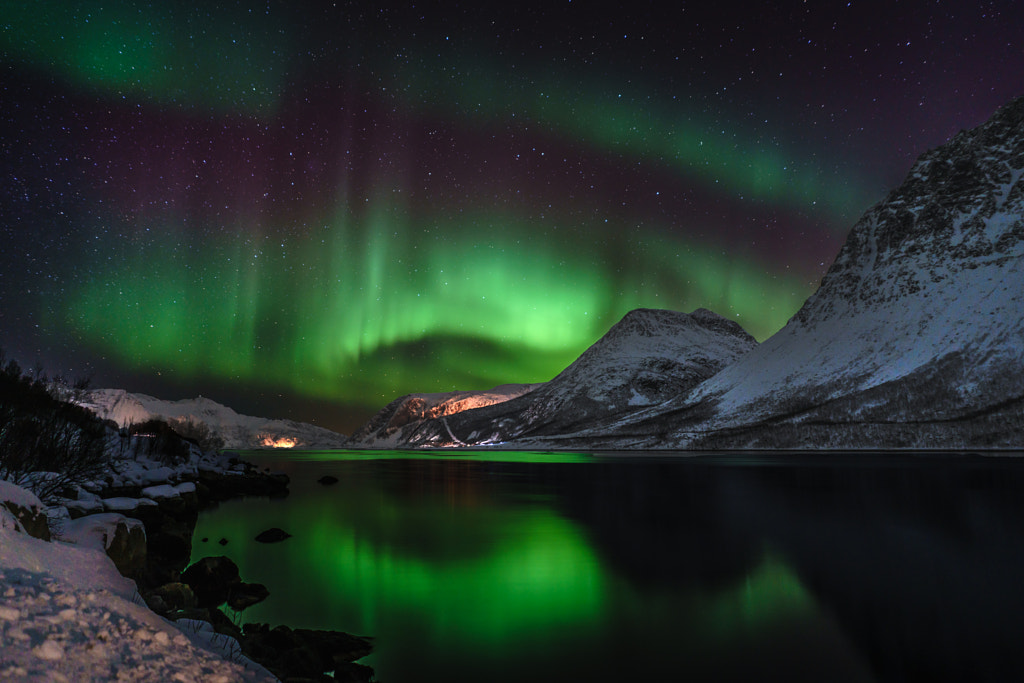
While photographing snowy Sweden, Robert Andersson braved temperatures of -20 degrees Celsius. The most challenging part, he says, wasn’t the cold itself. It was keeping stock still as the temperature dropped. To minimize blurry pictures, he needed to hold his breath while pressing the shutter button.

One of the most common mistakes made across all genres of photography is unwanted blur. Regardless of whether you’re shooting a landscape or a portrait, an out-of-focus subject or excessive “softness” can be an instant deal-breaker. Other problems, such as too much noise caused by high ISOs, or diffraction caused by very narrow apertures, can result in photos that are less-than-tack-sharp.

Fortunately, most of the issues are easy to solve using the right gear, camera settings, and technique. In this guide, we’re sharing essential tips for maximizing sharpness and reducing blur. Along the way, you’ll find examples from the 500px community and behind-the-scenes stories from photographers working in all sorts of conditions, from the windy California coast to the frigid landscapes of Finland.

Know your “sweet spot”

Choose an affordable camera body and a great lens, rather than investing in a fancy body and a subpar lens. From there, it might take some experimenting to determine the aperture setting at which your specific lens is at its sharpest—this is known as your “sweet spot.” A good starting point is around two stops down from your lens’ widest setting.

Finally, clean your lens before every session, as fine layers of dust or mist can easily ruin the sharpness of an image.

Invest in a solid tripod…

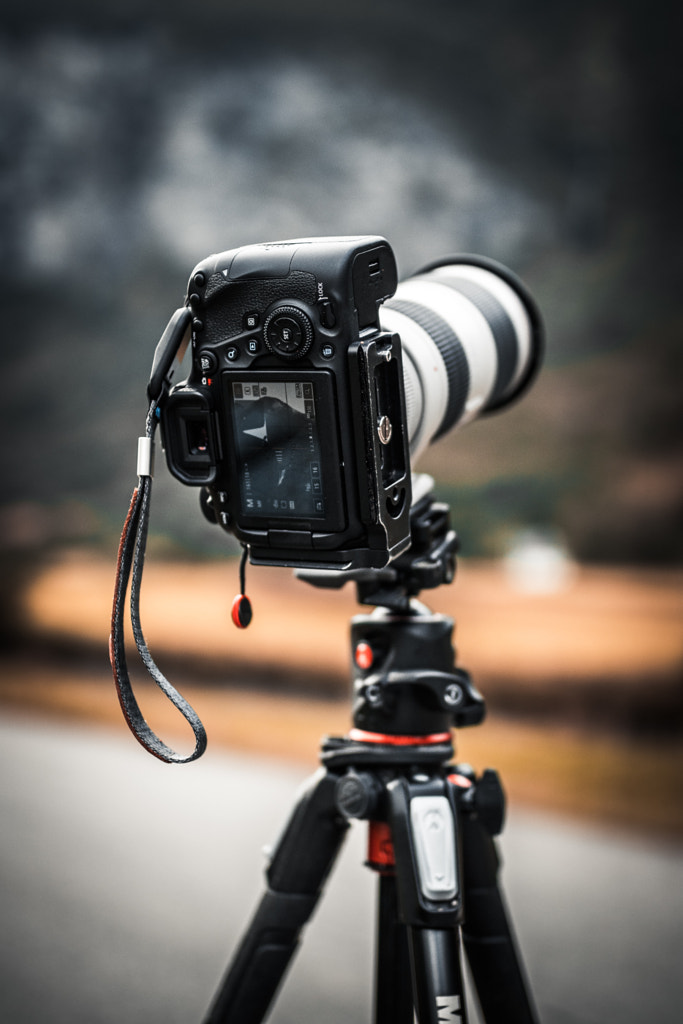
For landscape photography, a quality tripod is non-negotiable, allowing you to shoot at slower shutter speeds without introducing motion blur. Pair it with a remote shutter release for the sharpest results. (Remember to turn your image stabilization off when using a tripod, and weigh the tripod down with sandbags if needed in tricky weather conditions.)

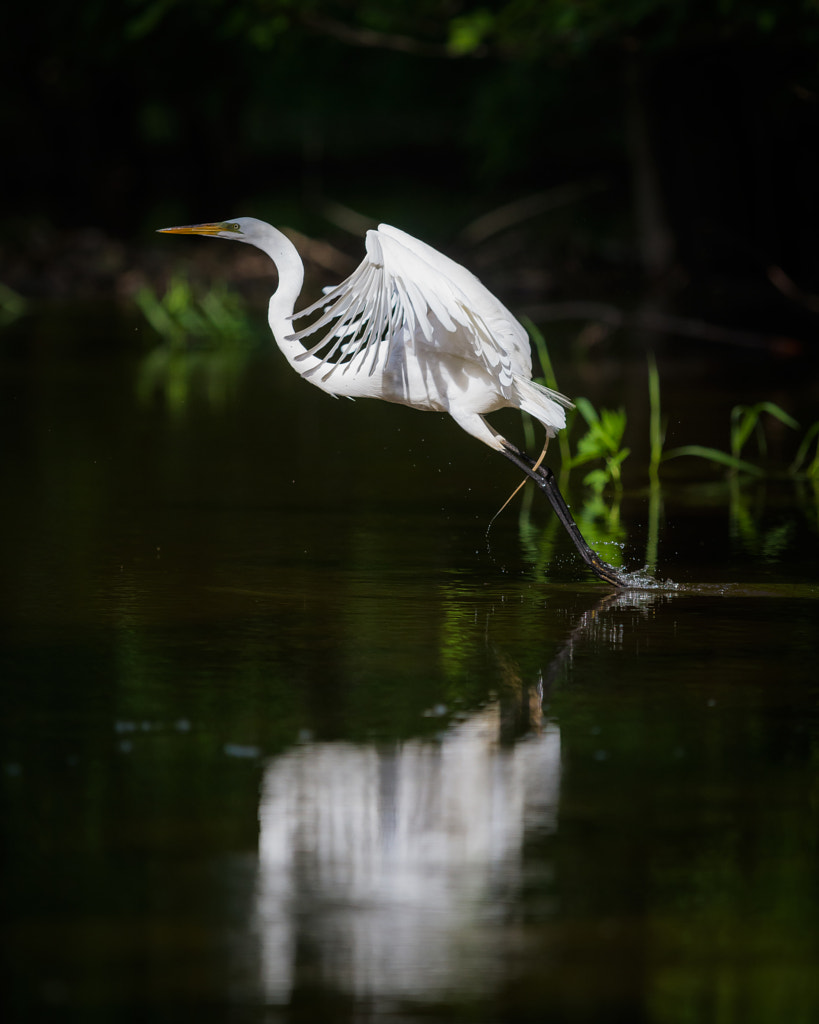
“I use a gimbal head with my tripod, which allows for very smooth movement in almost any direction, while keeping my heavy camera and lens still enough to capture sharp images,” the wildlife photographer Chris Hurst shared along with the egret portrait above. “Although I did not expect this bird to fly away, my gimbal was already set up for unrestricted movement, which made following the flying bird very easy.”

…Or use a fast shutter speed

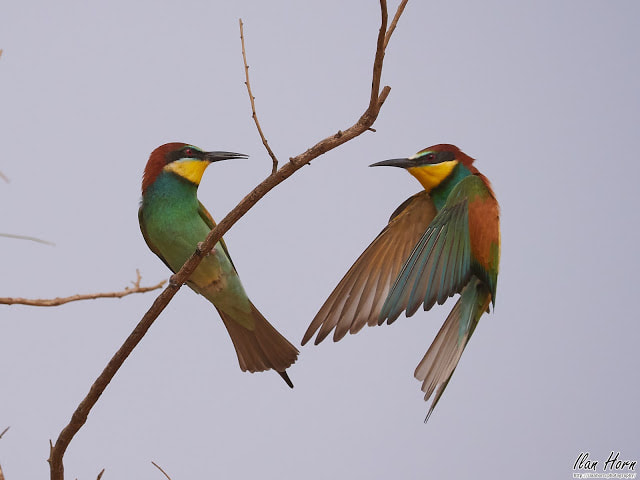
If you’re shooting moving subjects—e.g., street photography or sports—you need a shorter shutter speed to freeze that motion. To catch these magnificent European Bee-Eaters—one suspended in mid-air—the wildlife photographer Ilan Horn used a shutter speed of 1/2500 of a second.

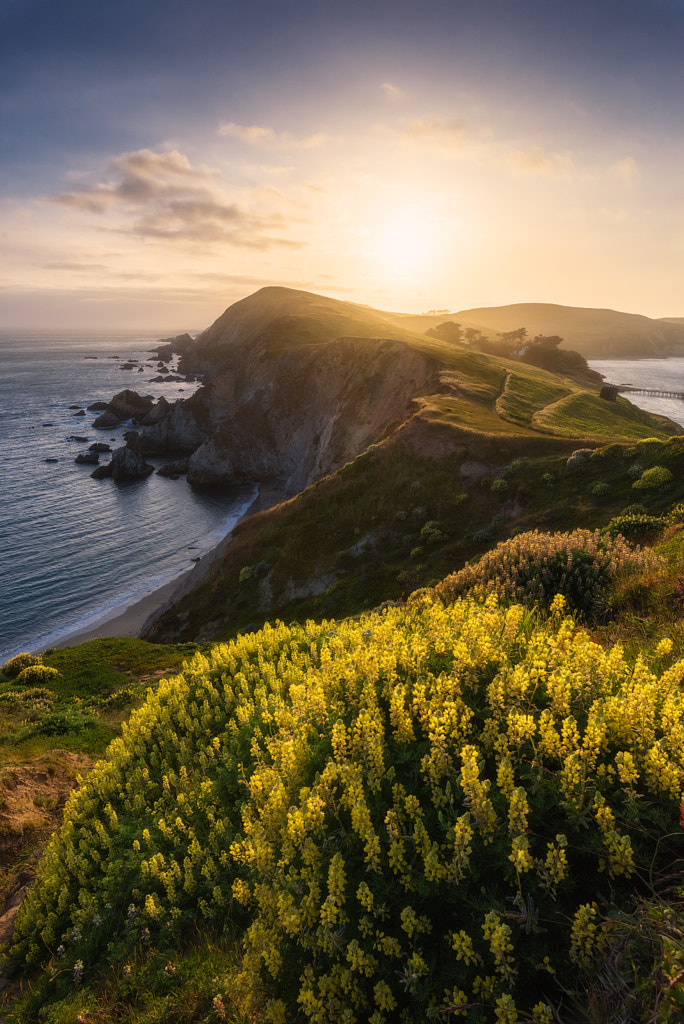
Windy conditions will also require a faster shutter speed. When navigating the California coast in springtime, Max Foster compensated for 40mph winds with an exposure time of around 1/400 of a second.

Get closer

On very hot days, heat waves can lead to soft and blurry images. Foggy, overcast days carry similar risks. Clear days are always best for sharp photos, but if you have to shoot in other conditions, you can solve the problem by getting closer to your subject. The shorter the distance between you and the object you’re photographing, the less noticeable the distortion will be.

Nail that focus

Remember to set your autofocus point manually for full control over the final image. If it’s a portrait, you want it to be right on the subject’s eye. Of course, the more autofocus points your camera has, the easier this will be, so take that into consideration if you’re shopping for something new.

As always, use single focus mode for subjects that don’t move and continuous focus mode for objects in motion. You can use more than one autofocus point for moving subjects.

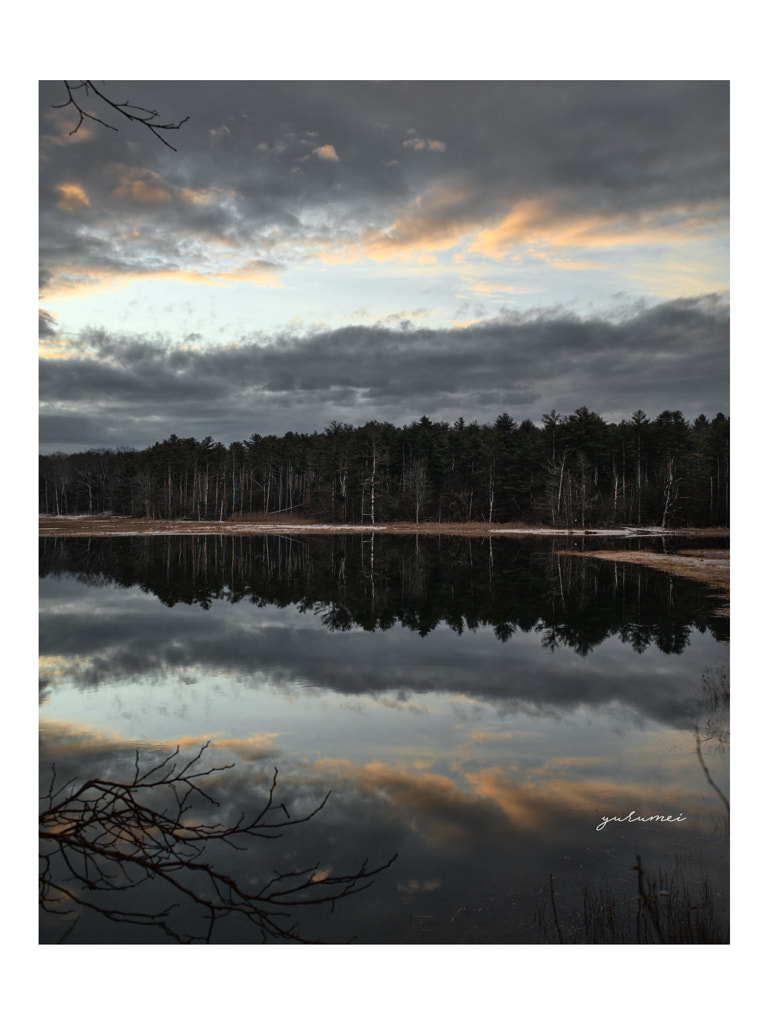
In some cases, such as when you’re shooting in low light, autofocus might not cut it. In those cases, switch to manual focus to make sure everything is spot-on. “I could not resist getting the tripod out, setting up, and braving the freezing cold air by getting my bare fingers on the focus ring to get this as tack sharp as possible,” the fine art photographer C. Stanley K. John recalls, referencing the landscape below.

(In manual focus, it can also help to use the magnify tool to make sure your subject is in perfect focus.)

Keep your ISO as low as possible

In recent years, cameras have gotten much better at handling higher ISO settings, but it’s still good practice to use the lowest possible setting you can. Set your aperture or shutter speed first—choose a narrow aperture if you care most about getting a wide depth of field or a fast shutter speed if you care most about avoiding motion blur—and then set your ISO last.

Take as many photos as you can

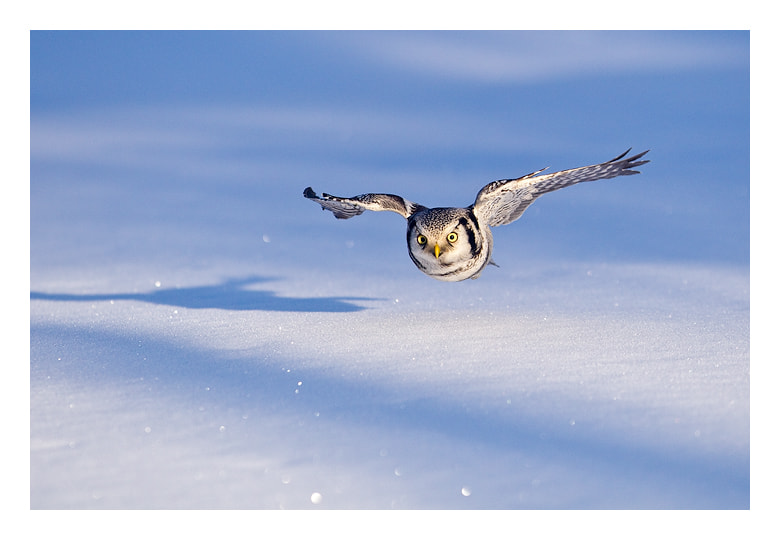
If you’re working with subjects in motion, shoot as much as possible to maximize your chances of success. While photographing hawk owls in the snow-covered town of Kuusamo, Finland, more than ten years ago, Jules Cox discovered that the birds are three times as fast as puffins. She created as many photos as she could and ended up with two sharp ones, proving that, in many cases, getting the perfect shot is a numbers game.

Another option is to shoot in burst mode: if your camera’s shooting continuously, you might boost your chances of securing a keeper. Select a camera with a high frame rate for the best results.

Skip cheap filters

Some lens filters—usually, low-quality filters—can create softness. If you have to use filters, choose high-quality brands.

Double-check

While on location, zoom in on your photos after you take them to make sure your subject is sharp. That way, you can adjust your focus points and exposure settings in real-time to correct any issues in-camera rather than trying to save an image in post-production, which rarely works.

Apply some sharpening in post

Right out of the camera, RAW files will need editing, including some sharpening. Use a light touch here, as a little goes a long way. Too much sharpening will result in an unattractive “crispy” look.

Parting thoughts

While blurry photos are a common mistake, there are a multitude of reasons why this might happen. Sometimes, it boils down to your camera settings: your shutter speed is too low, or your ISO is too high. Other times, however, it might be something outside of your control, such as foggy weather or a subpar lens.

Even in those situations, you can make the most of what you have by finessing your camera settings, getting closer to your subject, and paying close attention to your focus. Not every image will be tack-sharp, but with practice, you can navigate even tricky conditions and come out the other side with an acceptably sharp photograph.

Not on 500px yet? Sign up here to explore more impactful photography.

The post Prevent your photos from looking soft and ensure they are sharp appeared first on 500px.

[NDN/ccn/comedia Links]

Saturday, October 7, 2023

7 unexpected images that would require a property release and why

In the last few years, companies ranging from supermarket chains to real estate developers have come under fire after featuring copyrighted material—and other protected properties—in their print ads and television commercials. In today’s climate, brands around the world are increasingly aware of how they use images—and what kinds of photos could potentially pose problems down the road.

As a result, stock photography platforms, including 500px and its distributors, are protecting their Contributors and their clients by taking additional steps to ensure they provide property releases in appropriate situations. The guidelines and restrictions on where and when you need a property release are becoming more stringent, and these days, photographers need to pay special attention to potentially ambiguous situations. Here’s a look at just seven unexpected cases where you’d need to secure a property release to license your photos for commercial use.

The blurred background

Front view of young woman with coffee sitting indoors at home. by Jozef Polc on 500px.com

These days, this classic lifestyle image would need a property release to be licensed commercially. Even though the interior is relatively minimal, the homeowner would be able to recognize it, meaning that they’d have to sign a release.

The fact that some of the elements (cabinets, plants, countertop) are in the background and out of focus doesn’t negate the need for the release because the space can still be identified. The same release requirement would apply to almost any wide crop featuring a household or business interior, even if it’s not the main subject of the photo.

The focused exterior

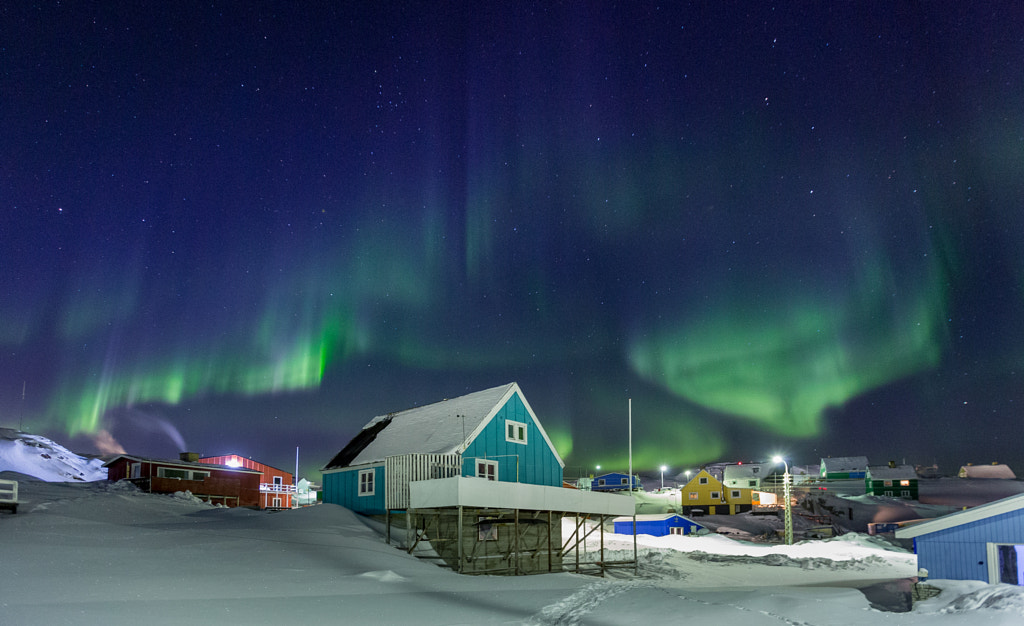
Aurora above the house by KS MOK on 500px.com

As a general rule of thumb, you need a property release if there are less than three buildings in your shot, since your image won’t just be a generic cityscape. Additionally, you’ll also need a release if the emphasis is put on one building more than the others. Whether or not a particular building constitutes the “main focus” of your image can be a judgment call made based on the case at hand, but these are some easy guidelines to follow.

General cityscape or skyline photos can sometimes work without a release, but modern architecture and building exteriors could land you in hot water, especially if they’re distinctive or recognizable.

Protections vary based on the location; for example, it’s okay to photograph the John Hancock Tower in Boston as part of a much larger cityscape, but you can’t make it the main subject of your image. Las Vegas themed hotels, on the other hand, are more strictly controlled and off-limits for commercial use.

In these cases, it doesn’t matter if you were standing on public property when you took the shot; these locations are still protected. Always do your research and make sure you understand what you can and can’t photograph before planning your shoot.

The distinctive garden

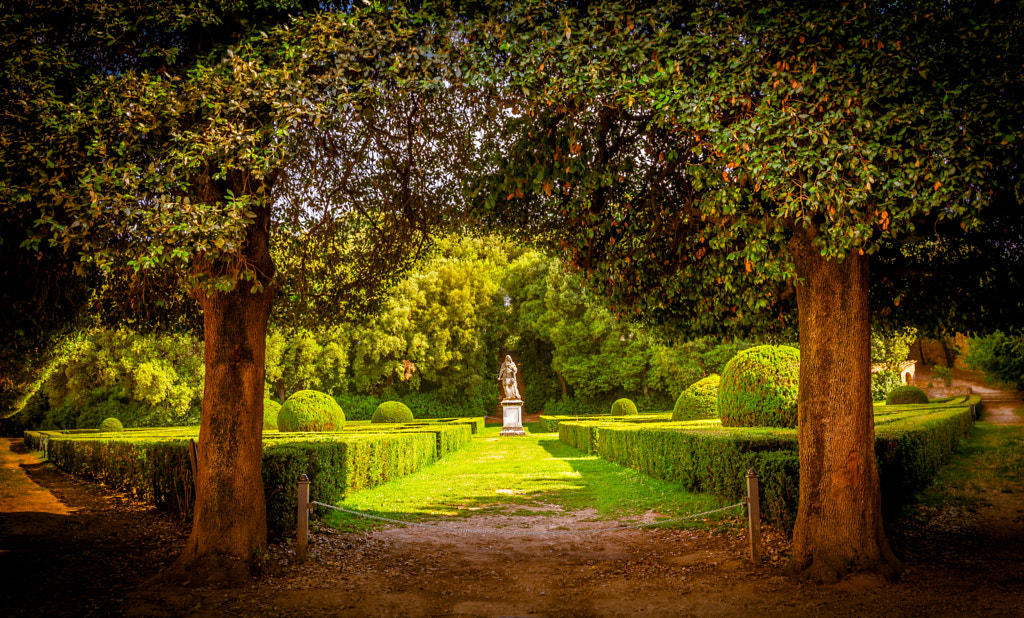
The Leonini Gardens, Tuscany by Maciej Czekajewski on 500px.com

If your friend’s backyard looks like something you’d see in Architectural Digest, chances are you need a property release to include it in your photos. Unlike publicly-owned parks, private gardens have the same protections as building interiors, especially if they’re recognizable. That rule extends to any structure that might be built on privately-owned land, including barns, sheds, or garages.

Even gardens that are accessible to the public could potentially be unacceptable for commercial stock photography. For example, pictures of the Lurie Gardens in Chicago or the Jardim Botânico in Brazil won’t be able to be licensed commercially because these spots are protected.

The identifiable tattoo

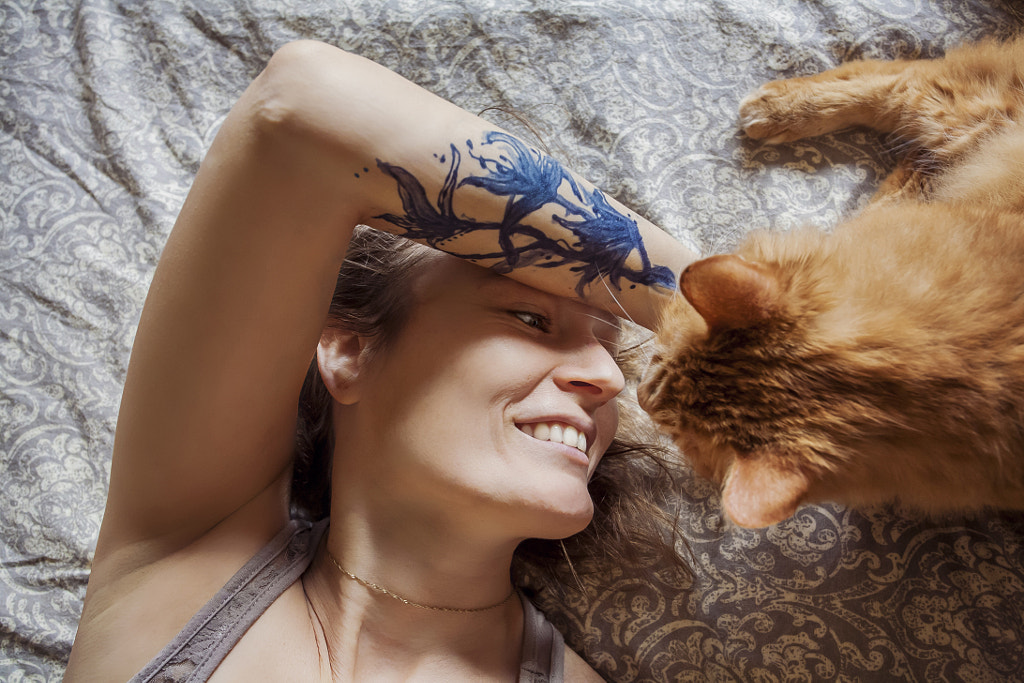
Selfie with Kenzo by Mar Ben on 500px.com

Tattoos are a bit of a copyright minefield for a few reasons. Most obviously, if the person in the photo can identify themselves from the picture, you need a model release—but you could also require a property release from the tattoo artist, since the artwork is his, her, or their intellectual property. For that reason, when licensing your photos for commercial use, it’s best to avoid situations where a tattoo is a primary subject of your images.

In a well-known 2005 case, an artist named Matthew Reed brought a lawsuit after the tattoo he created for NBA player Rasheed Wallace was featured prominently in a Nike ad. That claim was settled out of court, but it does give us a look into the potential consequences of using tattoos in commercial images—brands and stock platforms prefer to stay away from situations like this one.

Even if the tattoo is an incidental element in your picture (for example, a portrait or lifestyle photo where someone just happens to have ink), it’s best to exercise caution. See if you can pose or dress your model in a way that obscures or hides the tattoo, or simply edit it out in post-processing.

Note: Tattoos of brand logos or celebrities are even more tricky. Not only could they be protected by the artist’s copyright, but they could also infringe on the property of the celebrity or company. If you find yourself in this situation, remember to cover it up or edit it out.

The piece of artwork

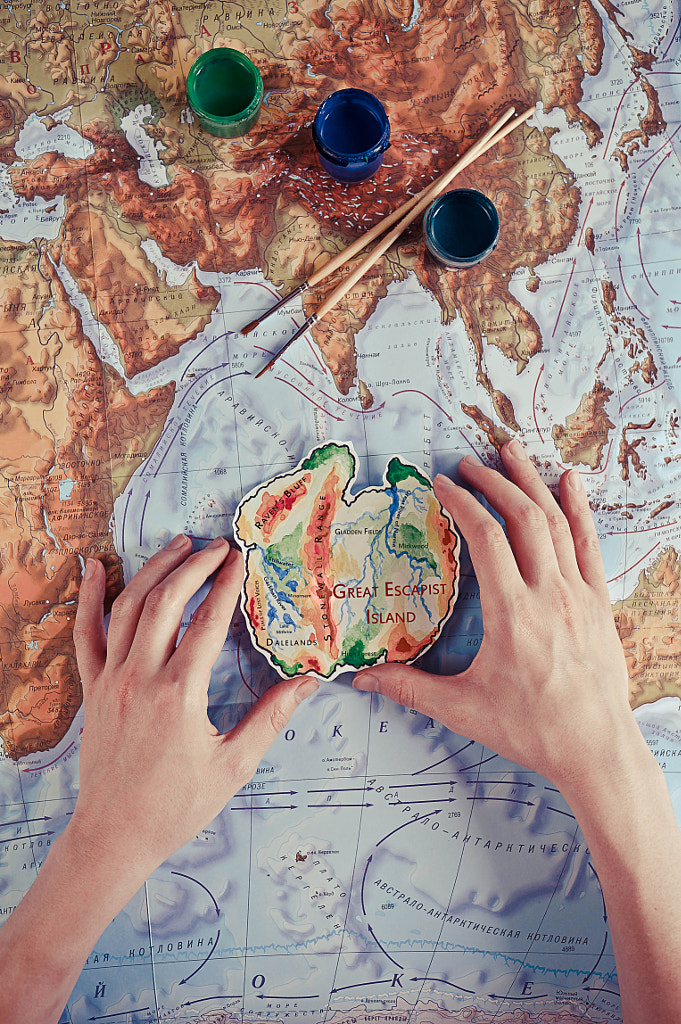
Great Escapist Island by Dina Belenko on 500px.com

As with tattoos, all works of art that serve as a primary subject of your photos will need a property release; even if you own the object itself, the artist most likely owns the copyright. This includes interior elements like paintings on the wall and sculptures on the mantle.

Image buyers—and stock photo agencies—prefer images with a signed release because it protects them from potential litigation from the artists in question, so even if you’ve photographed a doodle or a page in your own sketchbook, remember to cover your bases and sign a property release. Similarly, if you’ve printed some of your own photos, hung them up, and included them in your interior shots, don’t forget that release.

It also bears repeating that just because you’ve photographed something in a public place doesn’t mean you can license it for commercial use. This rule applies to graffiti and street art, as well as modern architecture. A few years ago, a Swiss graffiti artist made headlines when he sued General Motors for showing one of his murals in a series of commercial photographs. If you must include street art in your images, track down the artist and get that release signed; otherwise, find ways to avoid including it in your frame.

The decorative pattern

Senior male physiotherapist and young woman with tablet sitting. by Jozef Polc on 500px.com

Designs, like artwork, are the intellectual property of their creator, and brands are increasingly cautious about potential infringements (remember when Burberry sued Target for allegedly copying its checked pattern?).

When we buy wallpaper and other decorative pieces for our homes (including distinguishable furniture, knitted blankets with unique patterns, etc.), we’re usually purchasing them for private, personal use, and that doesn’t mean you can include them in photos you plan to sell for commercial purposes. When in doubt, contact the artist and ask for a signed property release; if you can’t get ahold of the artist or it isn’t worth the trouble, simply exclude the design from your shot or edit it out in post.

When it comes to shooting lifestyle photography in an interior setting, your best bet is to keep everything as generic as possible. If an artist or designer can recognize his, her, or their work in the background, you’ll need a signature to license the photos for commercial use. That includes designs and works of art that are only partially visible in the frame.

The privately-owned public place

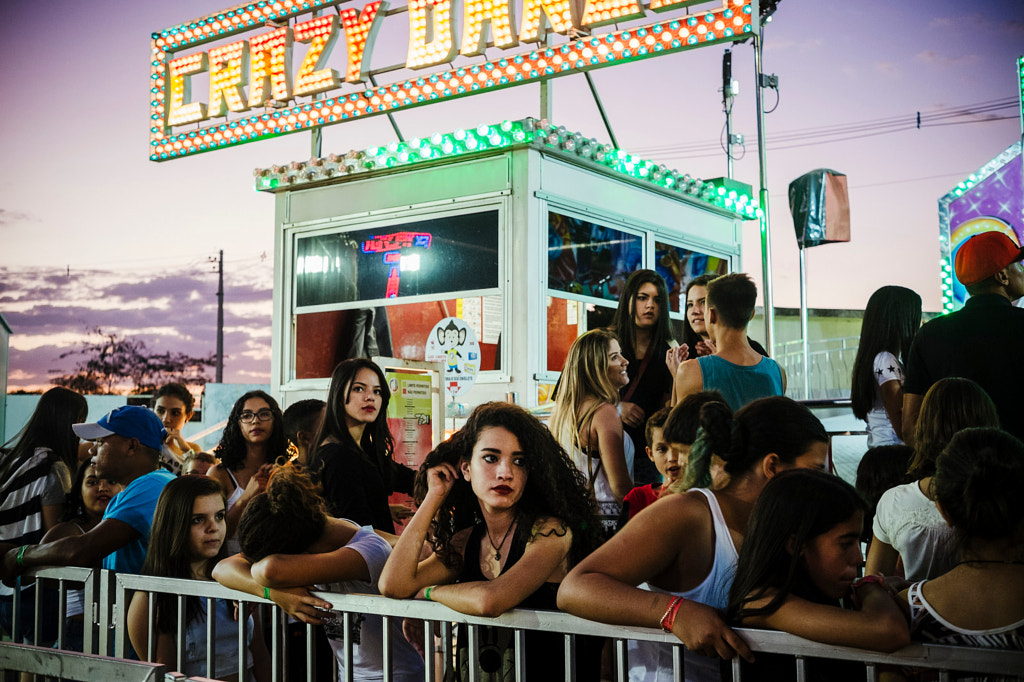
 by Gustavo Minas on 500px.com

Many of the places we consider public—in the sense that they’re open and available for use by the public—are actually privately-owned. That includes shopping malls, and some parks, centers, and squares, so always double-check if you’re unsure of the rules and regulations for a specific spot.

Some specific examples of areas that aren’t acceptable for commercial stock photography include Piccadilly Circus in London, the Chicago Board of Trade, and the Boston Public Library. The clock in Grand Central Concourse in NYC, the Swan Boats at Boston Public Garden, and the BP Pedestrian Bridge in Chicago. All are off-limits for commercial use.

Not on 500px yet? Click here to learn about Licensing with 500px.

The post 7 unexpected images that would require a property release and why appeared first on 500px.

[NDN/ccn/comedia Links]

Wednesday, October 4, 2023

50+ Adorable Couple Poses for Beautiful Portrait Photography

Avoid disappointment and get the couple poses photos your couple will want and what they are hoping to see in your couple photography photographs.

In the world of couples photography, business is booming. From the Target-themed engagement photoshoot that went viral this summer to the growing popularity of hiring honeymoon photographers, the last year has been full of headlines about fun new trends taking over the industry.
For couples young and old, photoshoots offer the chance to express their individuality and share their stories with the people they love. According to a 2017 survey conducted by The Knot, 38% of couples share photos of their engagement within minutes or hours of popping the question.
At a time where most of our photos end up lost in the cloud or on our phones, a professional photoshoot serves as a timeless, enduring reminder of cherished memories. It’s hardly any wonder that the couples photography genre is thriving. To get the most out of your next photoshoot, the 500px team has put together this guide full of cute couple poses for you to use for your couples or wedding photography. There’s something in here for everyone—from the classic to the cutting-edge.

Preparing for your couples photoshoot poses

One of the key things to do to prepare when doing couples photography, is to create a gallery of photos to serve as a moodboard and to track inspirations and references. This is a helpful tool to communicate the look and style you’re going for with your clients and crew, like hair and makeup artists.

Before the shoot, go over locations and wardrobe with the couple. Have a conversation without your camera first, and show them examples of photos you love, and ask for their feedback. Let their personalities dictate which poses you choose. If they have their own ideas, add them to your shot list.

Get to know your couple and their dynamic before your shoot. Listen for details about how they communicate with each other and what they’re passionate about.

Poses and Inspiration for Couples Photography

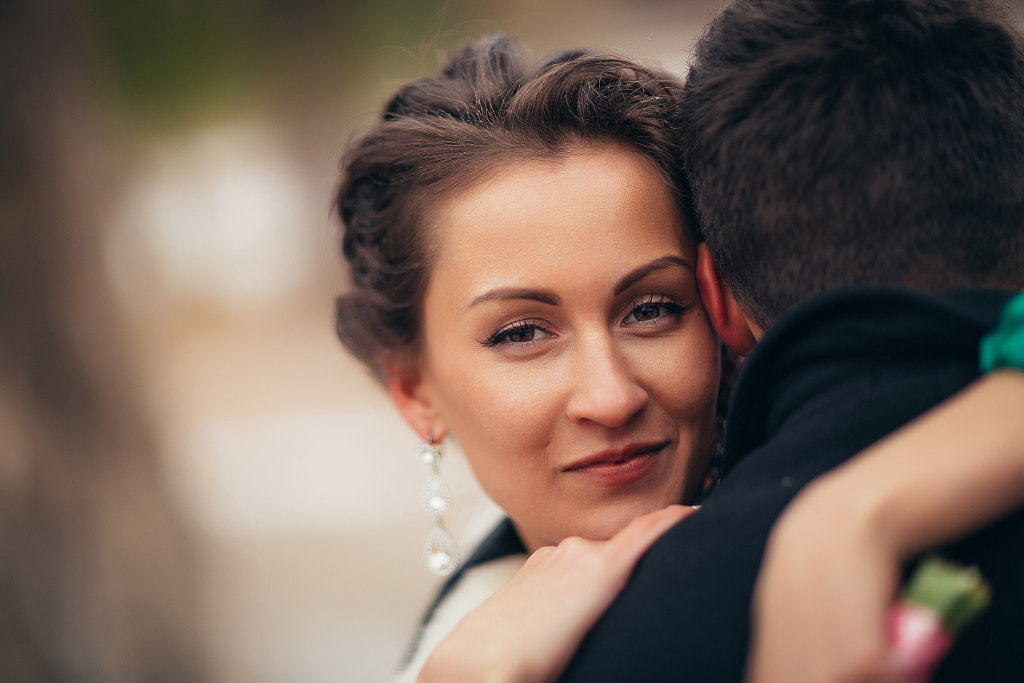
Hugging and looking at the camera

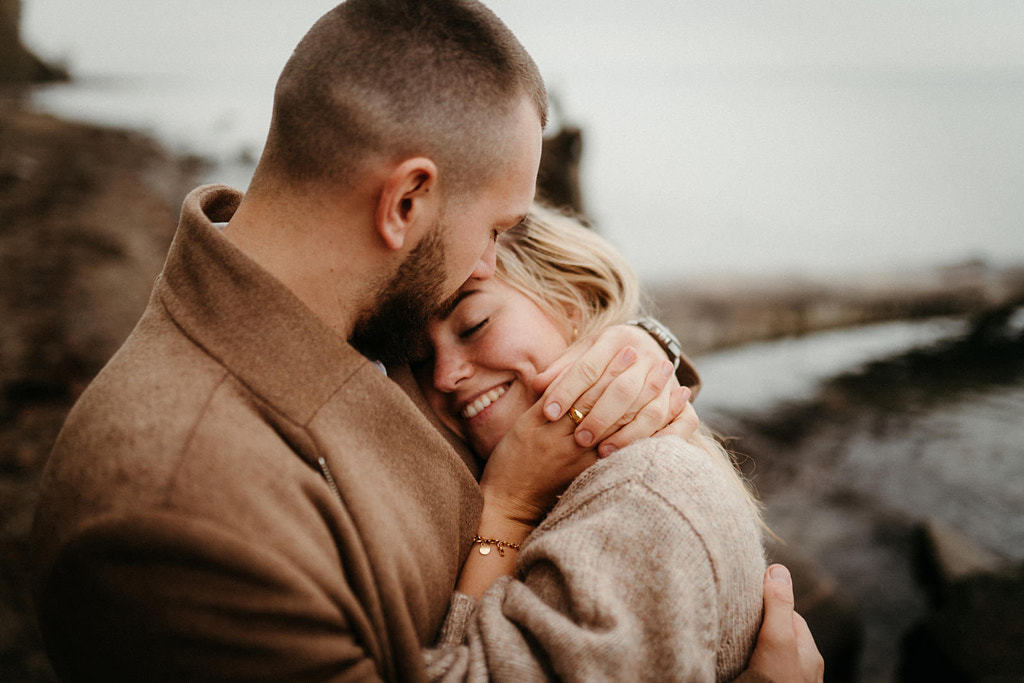
This pose is a perfect starting point for any couple’s shoot because it’s both intimate and comfortable. Just ask your models to hug as they normally would, with their faces close together.

Hugging and looking at each other

For this shot, have the couple hug and make eye contact with one another.

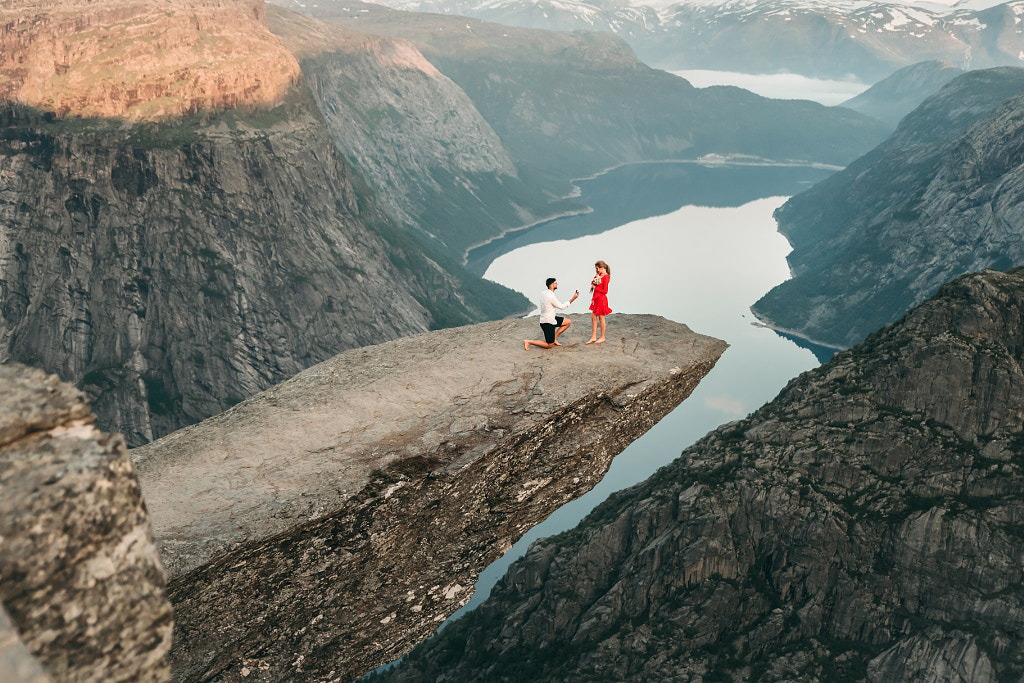
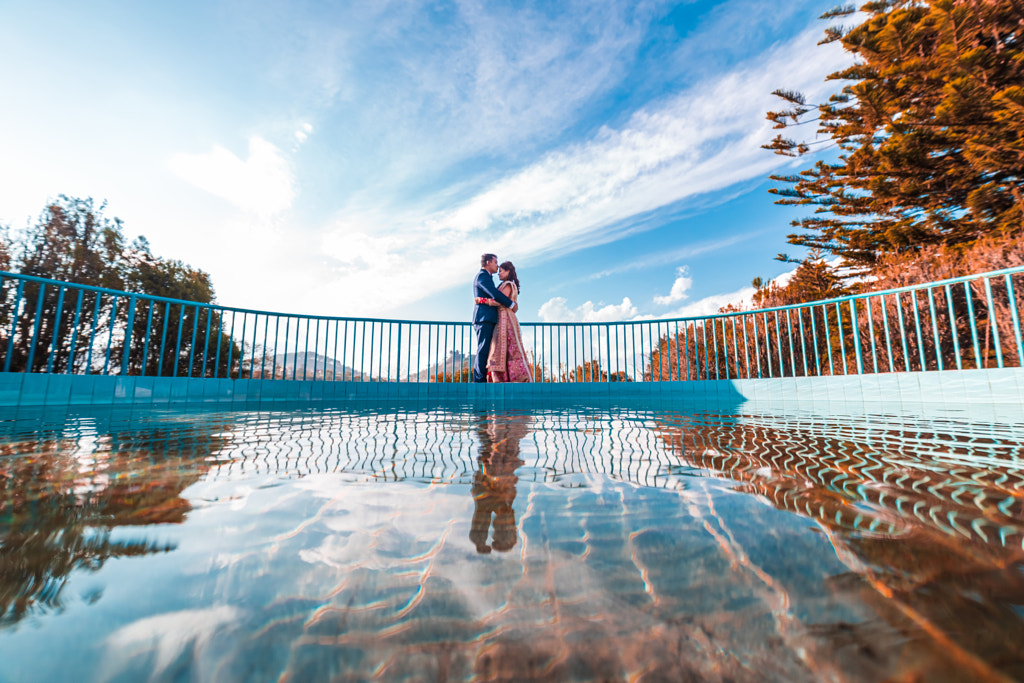
Wide-angle

She said

If you’re working with a couple for the first time, it can help to start from a distance before gradually moving closer. Wide-angle shots tap into the “tiny person, big landscape” trend, showcasing both the beauty of the location and the relationship between partners.

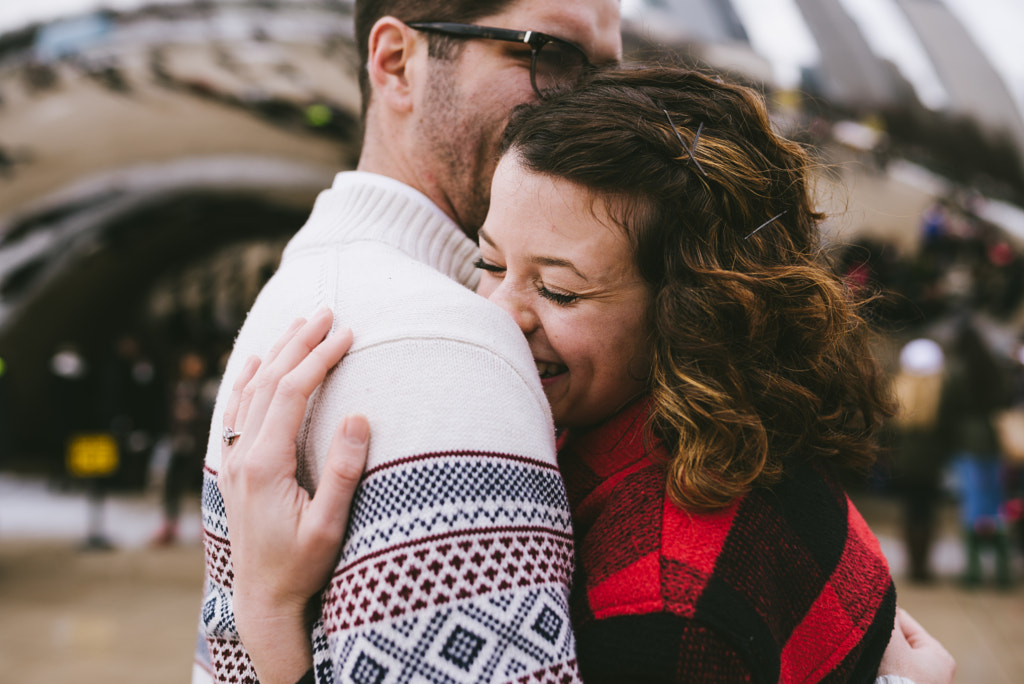
Hug close-up

Hugging is a versatile pose, so zoom in to capture all those little details. You don’t even have to include the faces—the embrace alone will help tell the story.

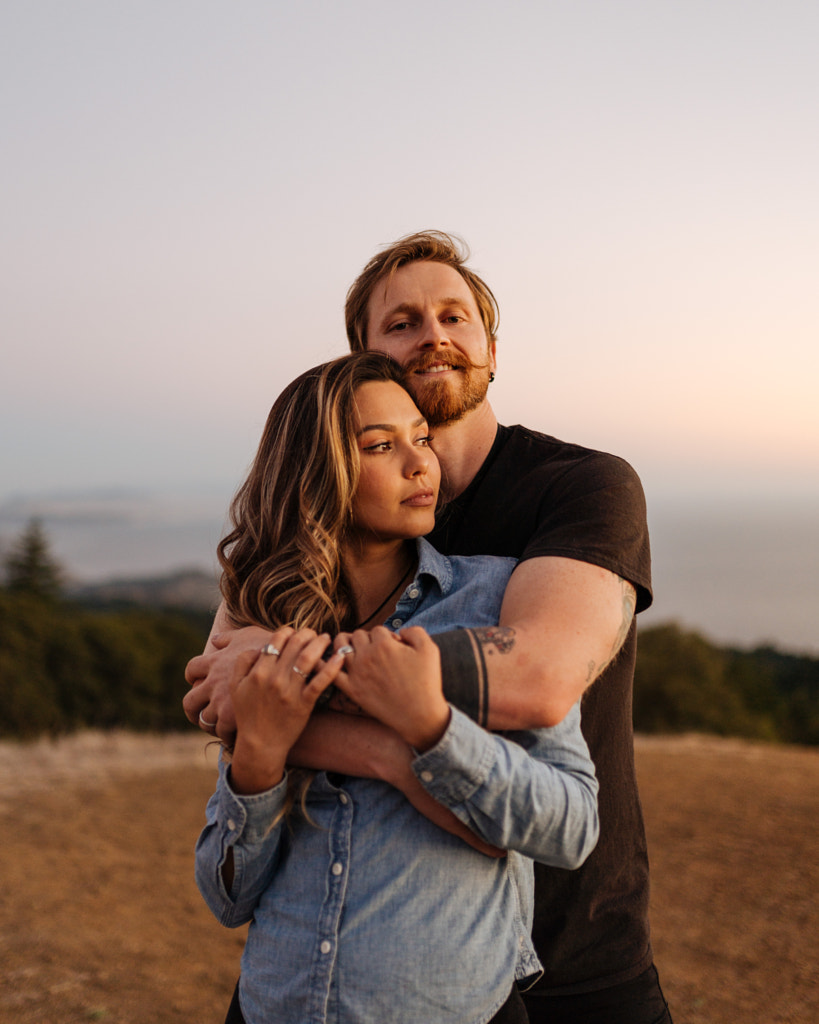
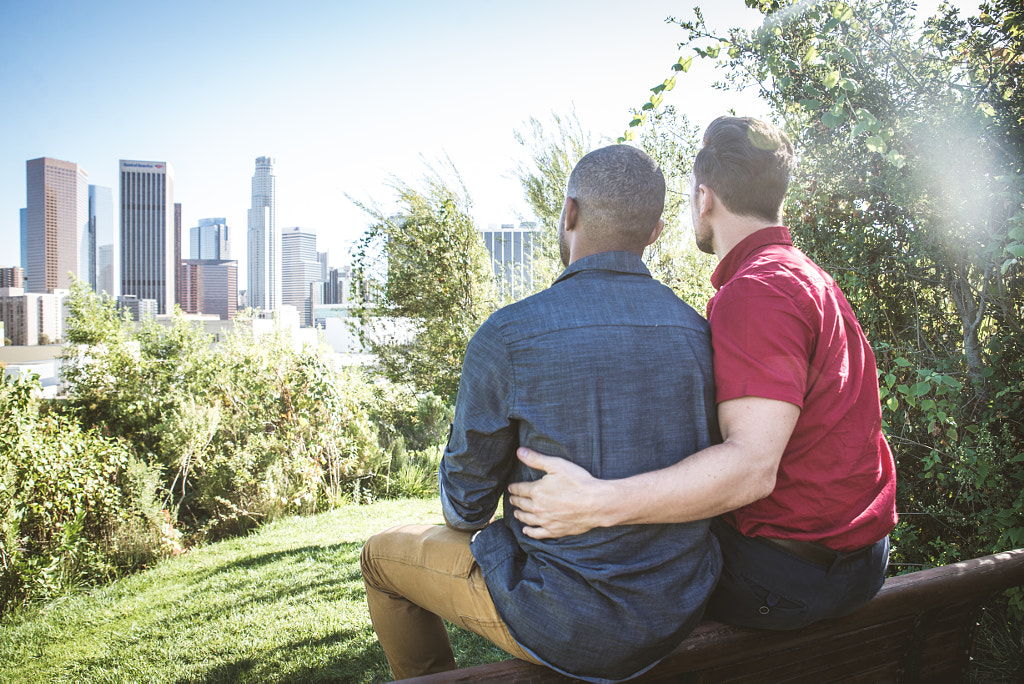
Hug from behind

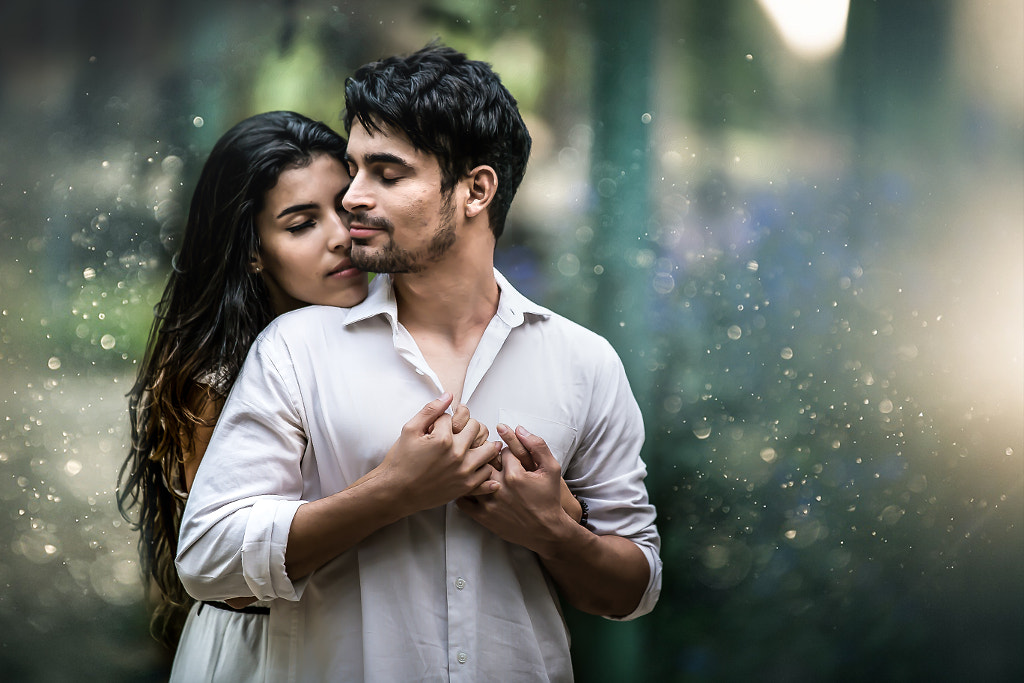
This classic pose brings the couple closer together, while also providing an opportunity for romance and introspection. It can help to direct the couple a bit here—; maybe they’re looking in the same direction at a beautiful landscape, or one of them is turning back for a kiss.

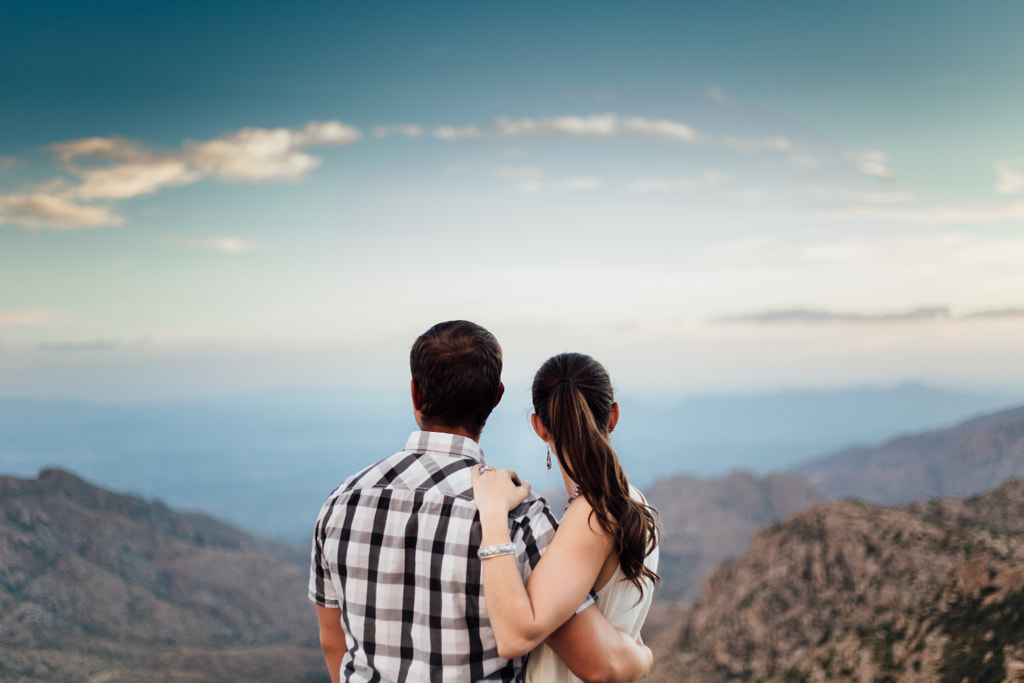
Looking into the distance

This pose can serve as a powerful metaphor for the couple’s dreams and future together.

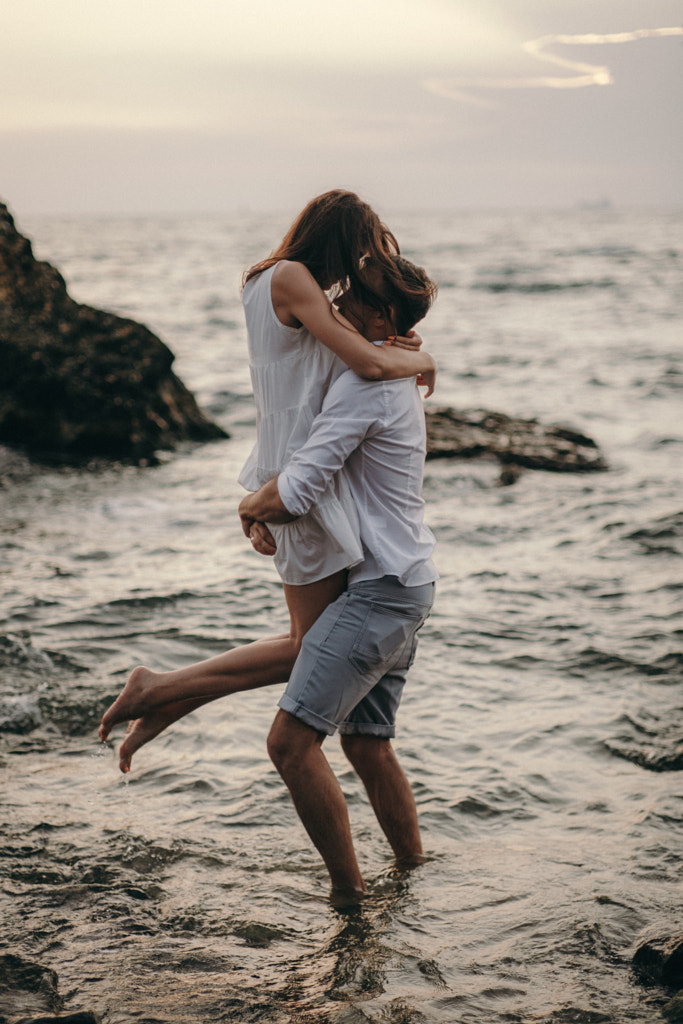
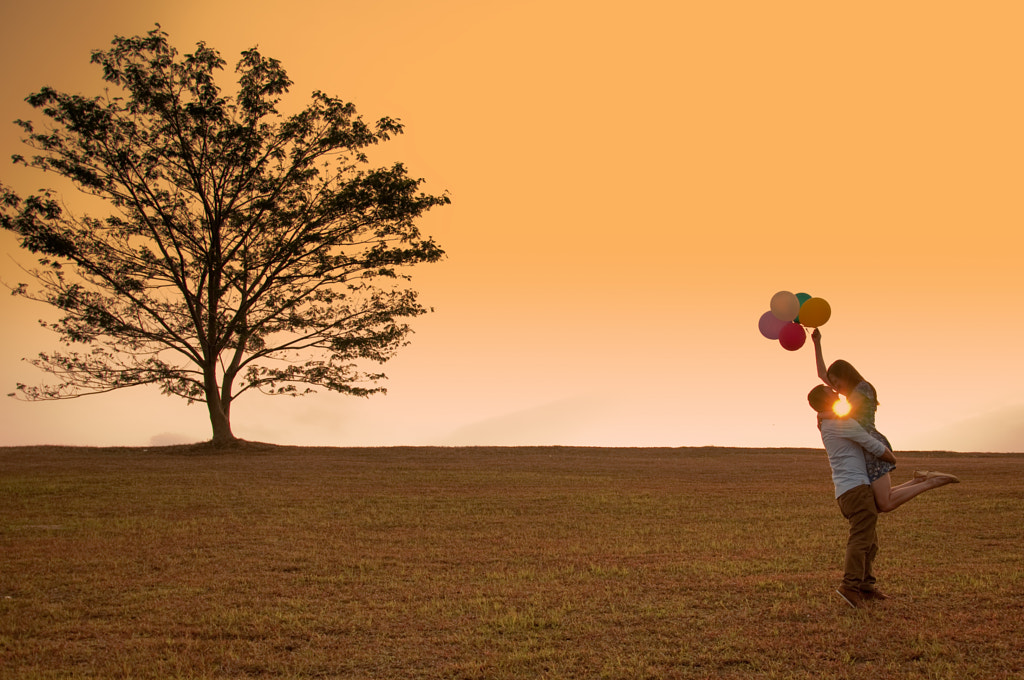
Lift-off


Lifts are one of the more versatile couple poses, so let your models have fun with it. Maybe they prefer a Dirty Dancing-style lift, or they go for an ‘over-the-threshold’ moment following a wedding.

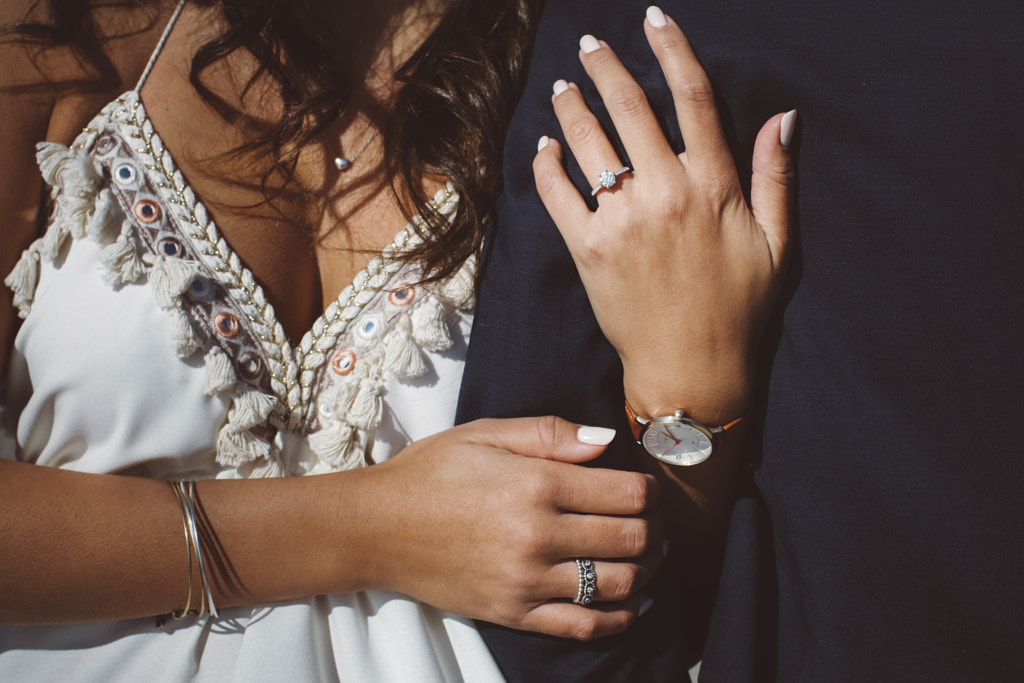
Ring shot

If your couple is married or engaged, use their hands and jewelry to share their journey.

From above

Grab a stool or a ladder to photograph an embrace from an unexpected vantage point.

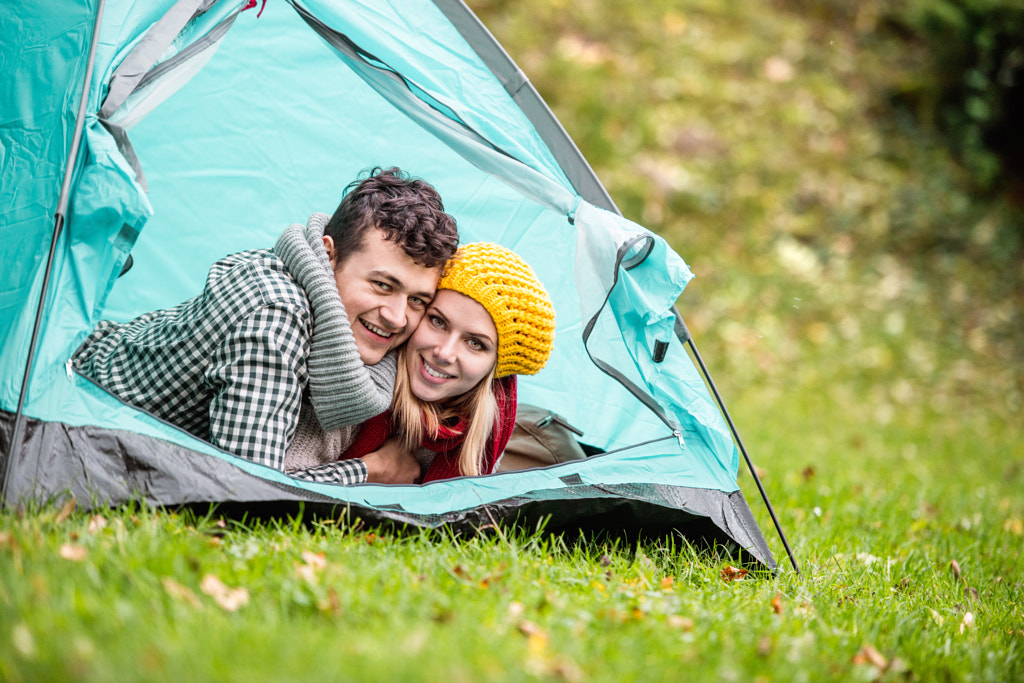
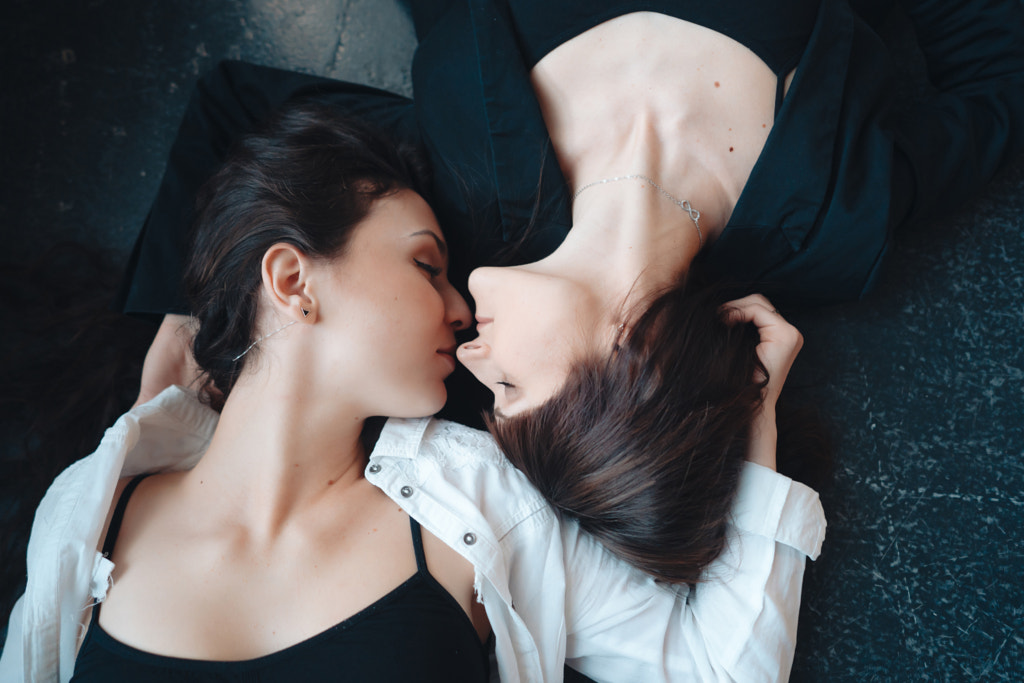
Lying down and facing the camera


You can do this pose at home or in the great outdoors, as long as the couple is comfortable.

Lying down and facing each other


For this pose, your models can lie flat on the floor with their heads turned, or they can prop themselves on their elbows to look into each other’s eyes.

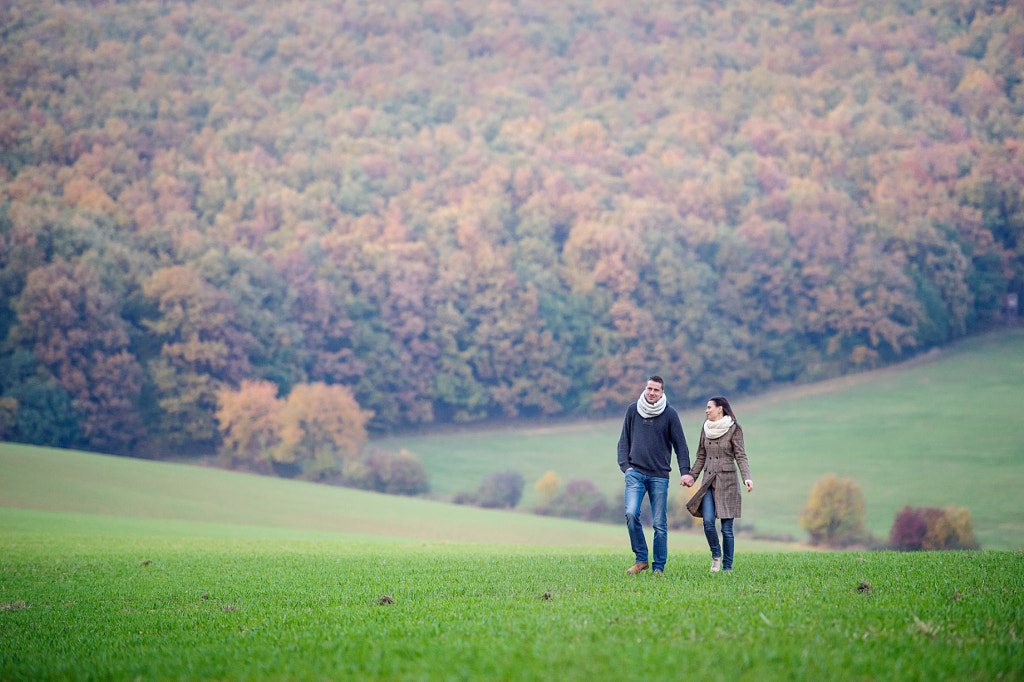
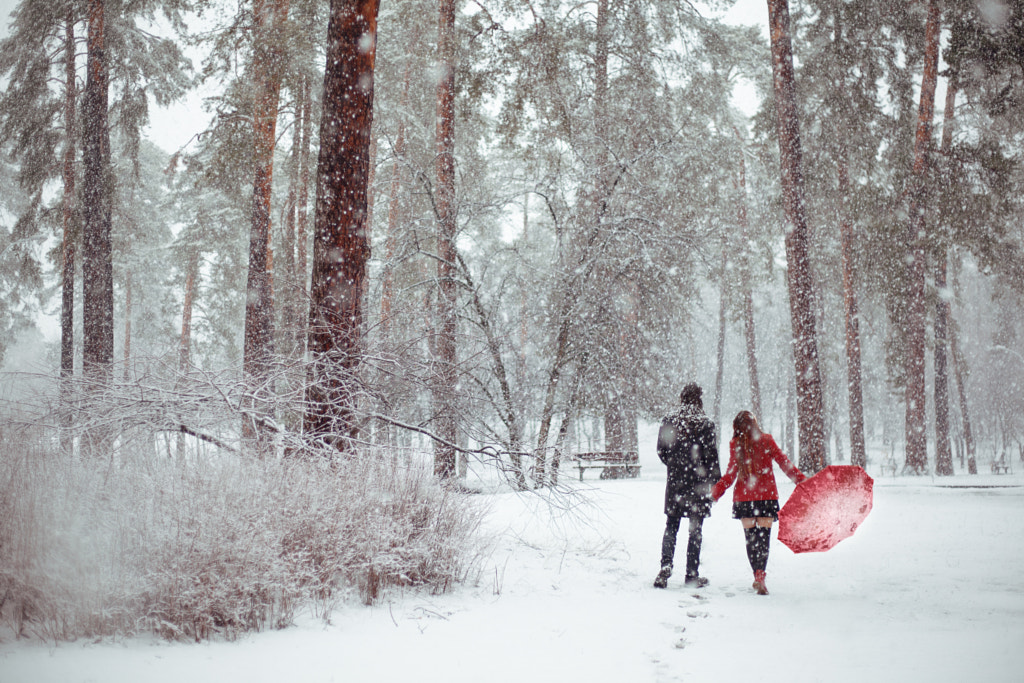
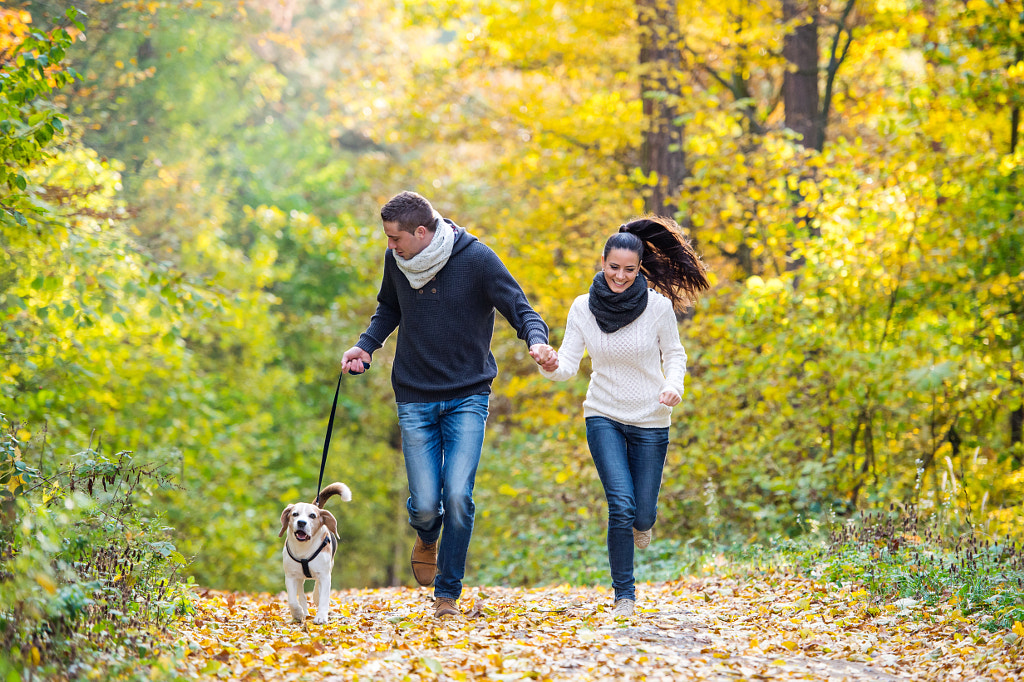
A romantic walk

The changing seasons pose unique opportunities for couples photoshoots, from falling autumn leaves to soft winter snow.

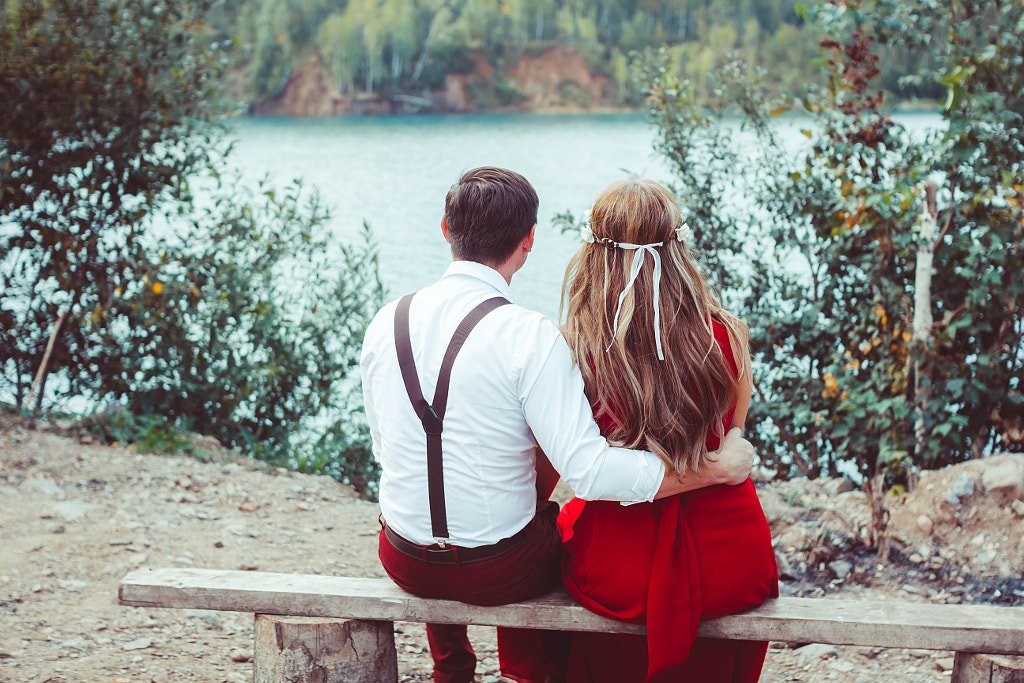
Park bench

While you’re on a romantic walk, give the couple time to rest and relax. They’ll appreciate the break, and you’ll get a chance to capture more candid, spontaneous interactions.

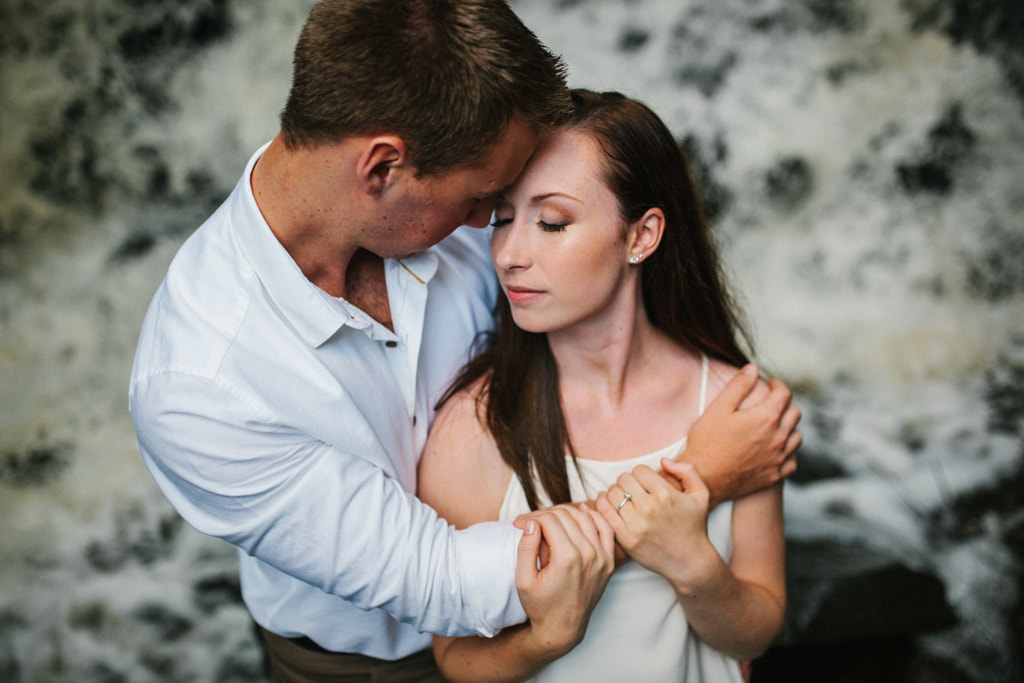
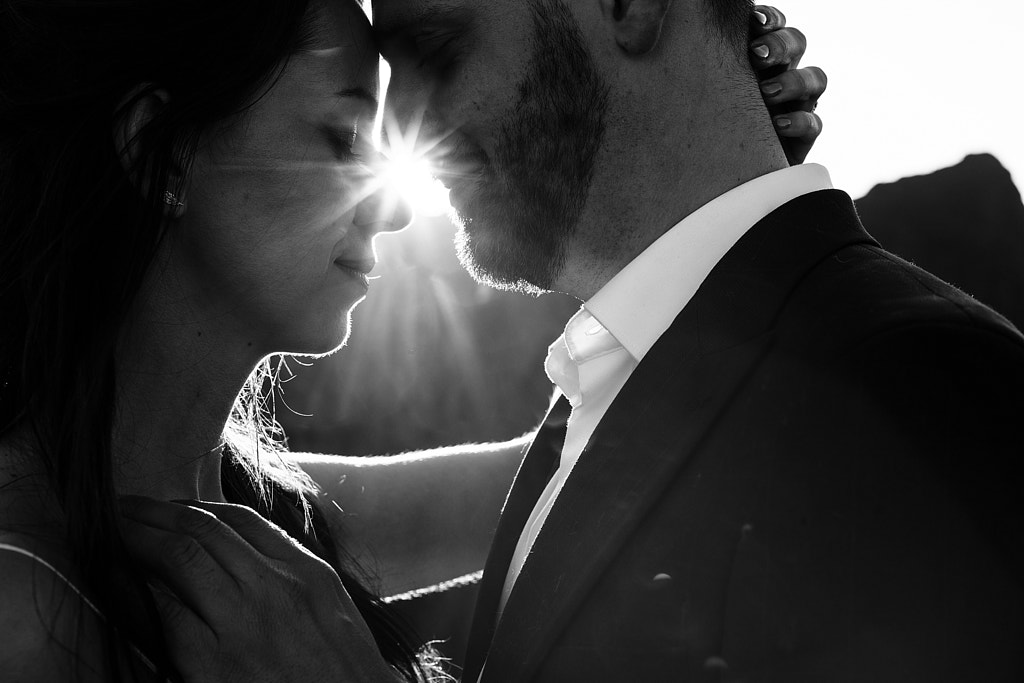
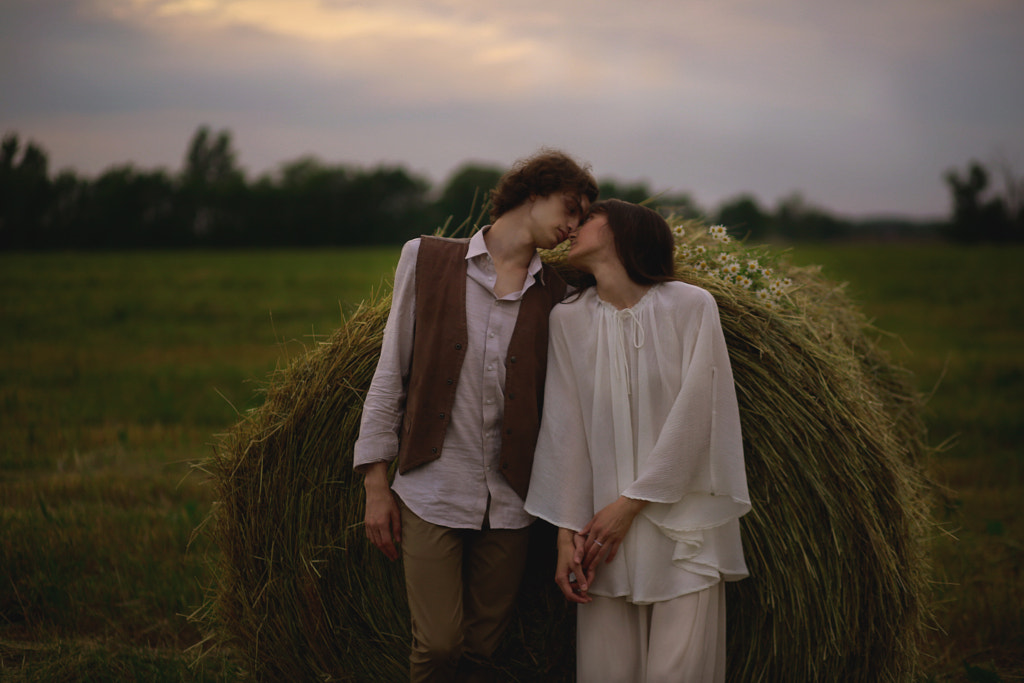
Foreheads together

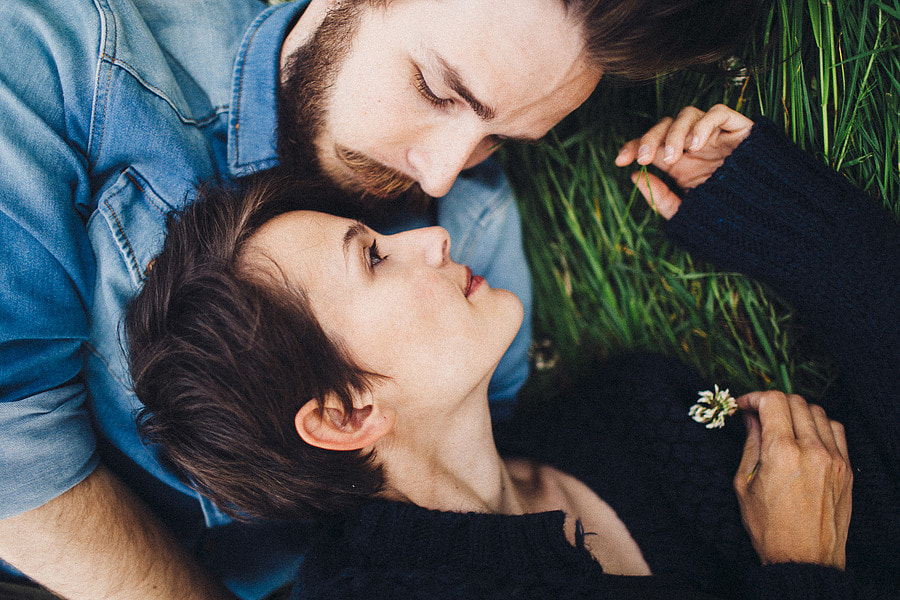
To underscore that sense of intimacy and trust, have the couple press their foreheads together.

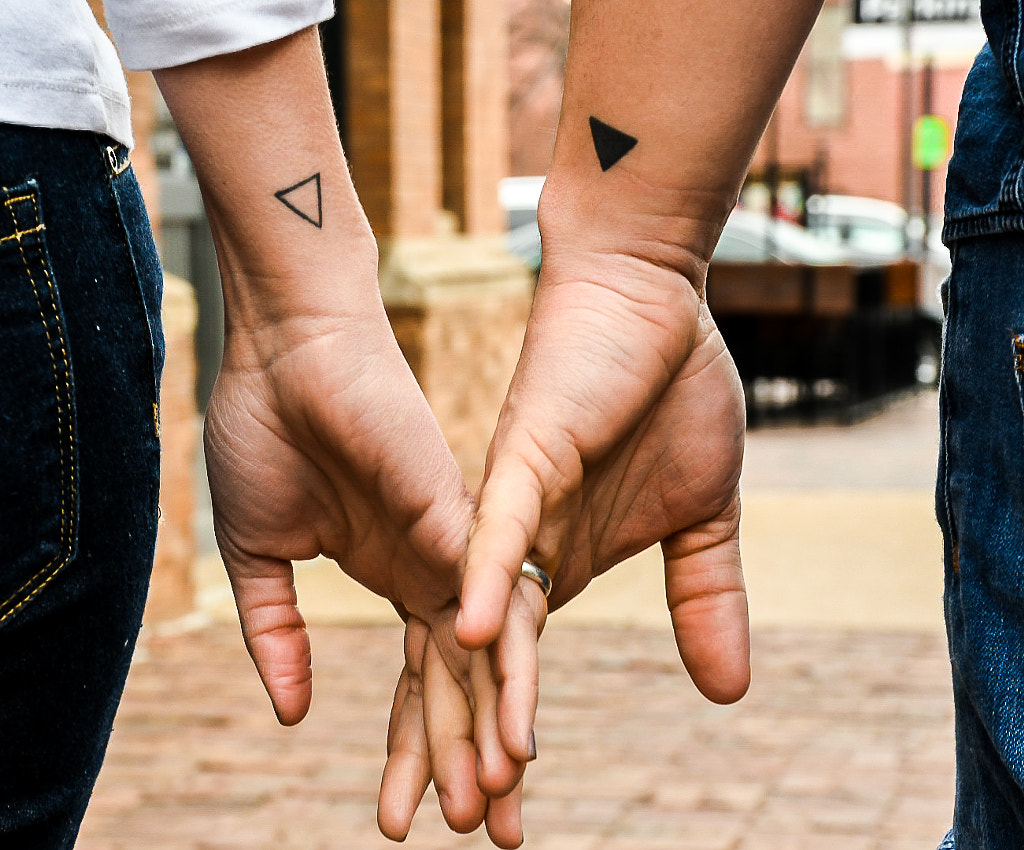
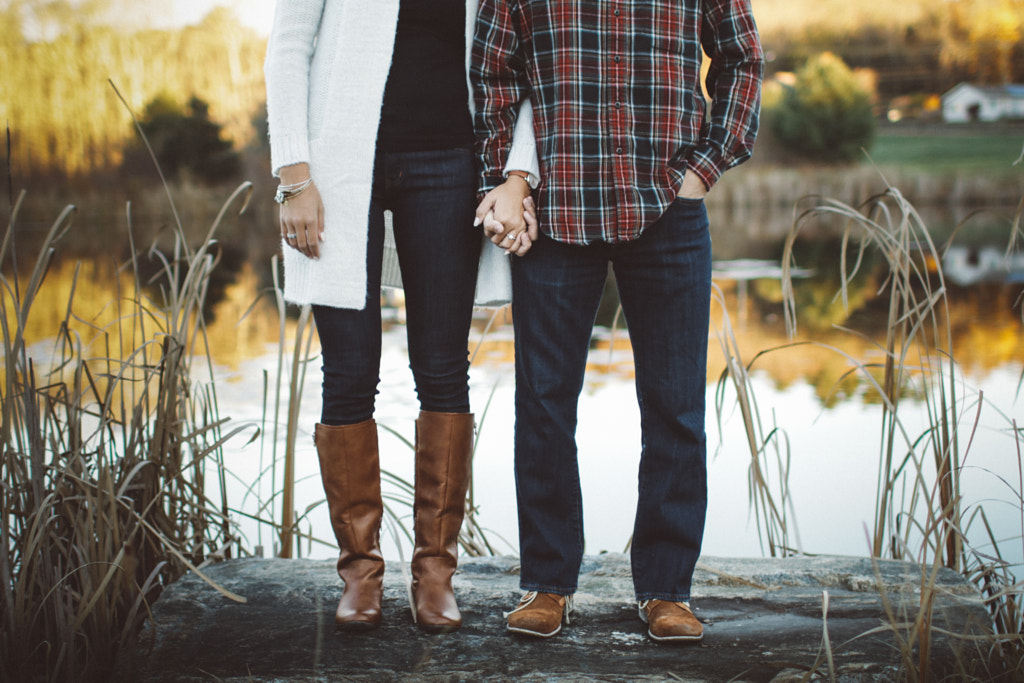
Holding hands

Take wide shots of the couple interacting with the landscape, hand-in-hand, or zoom in on the hands themselves for an intimate yet universal image.

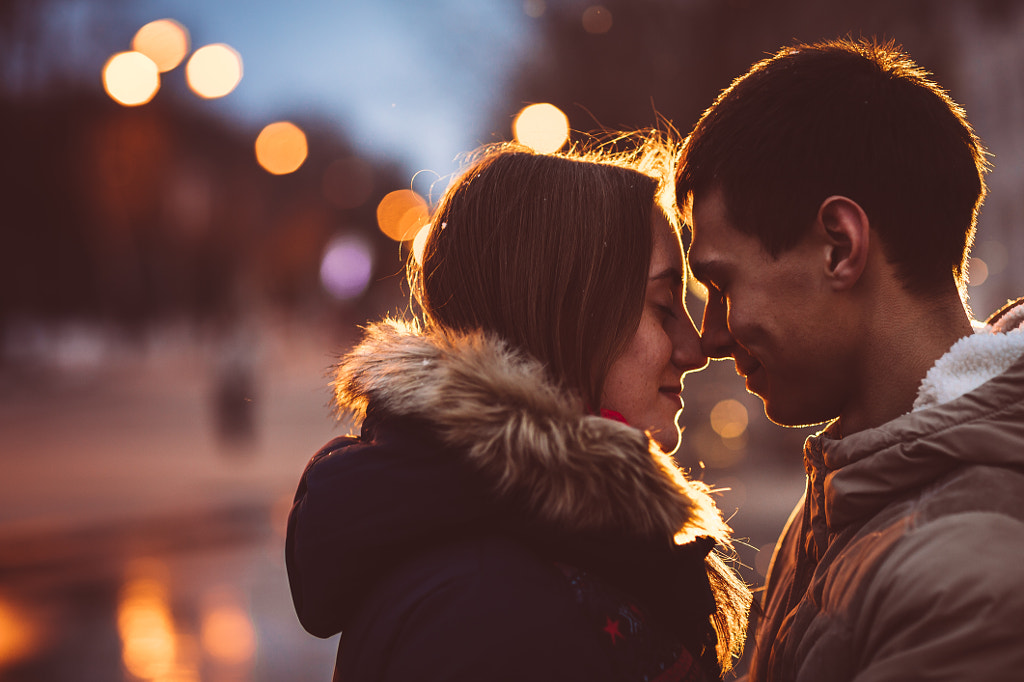
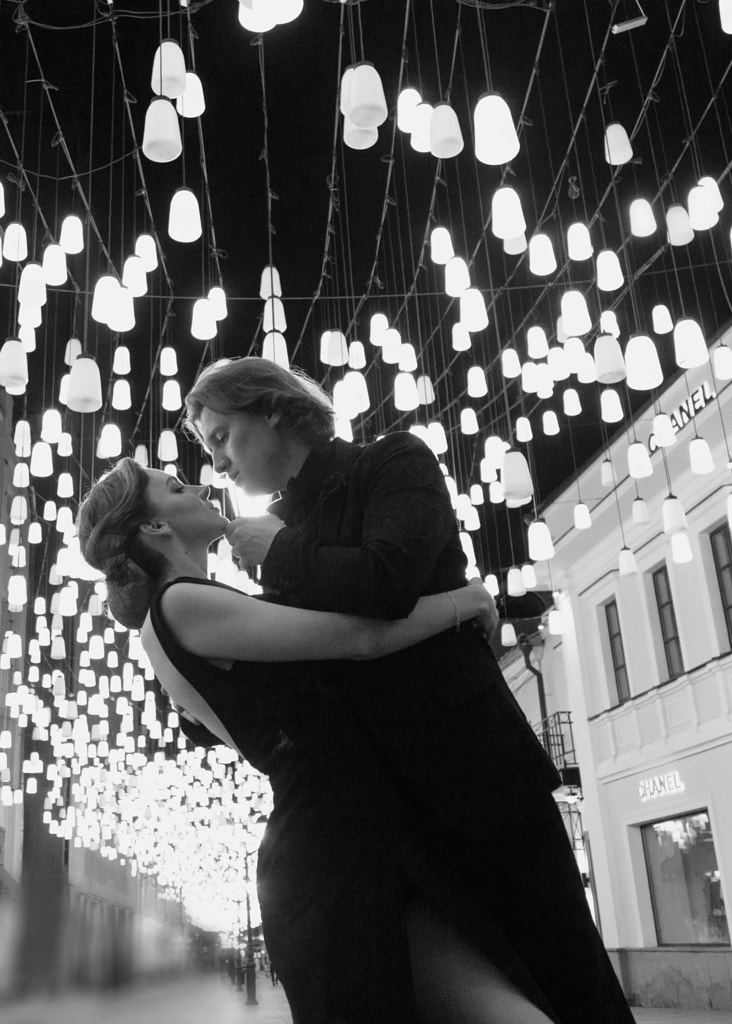
A night on the town

Prior to the shoot, get to know whether they want to do a photoshoot during the day or if they are interested in night photography. If they opt for a night shoot, consider making a “date” of it. Organize an activity the couple enjoys, and capitalize on some of those beautiful artificial lights you’ll have at your disposal.

Stylish details

Your models will have put a lot of thought into what they wear, and hopefully, you will have discussed clothing in advance of the shoot. Take advantage of pretty details like jewelry, hairstyle, shoes, and outfits by honing in on these elements —you’ll capture the couple’s personal aesthetic and vibe.

Whispering

Asking a couple to whisper things in each other’s ears is a great way to break the ice. Depending on their personalities, they can say anything they’d like, from the romantic to the humorous.

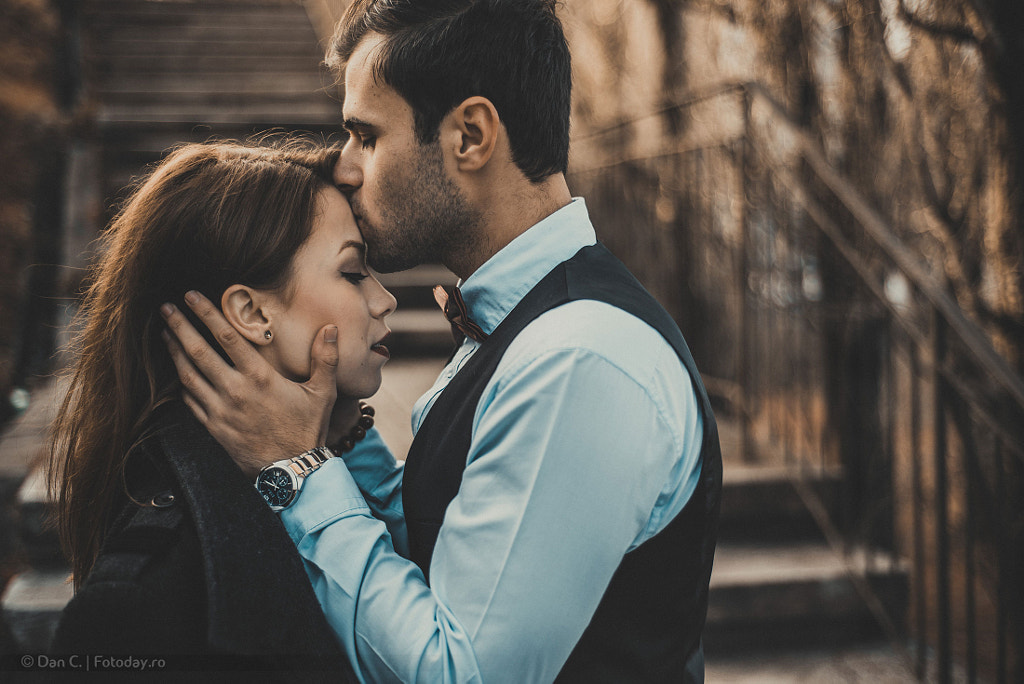
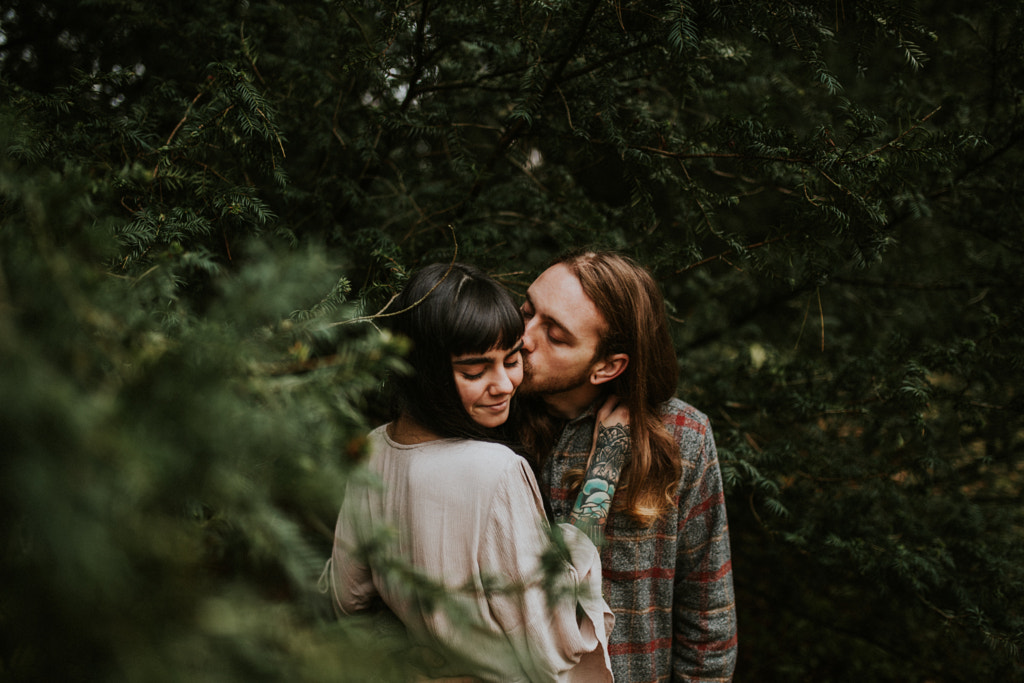
A forehead kiss

This sweet kiss helps set a more serious, romantic mood and works well in the middle of a shoot when you’re all comfortable with each other.

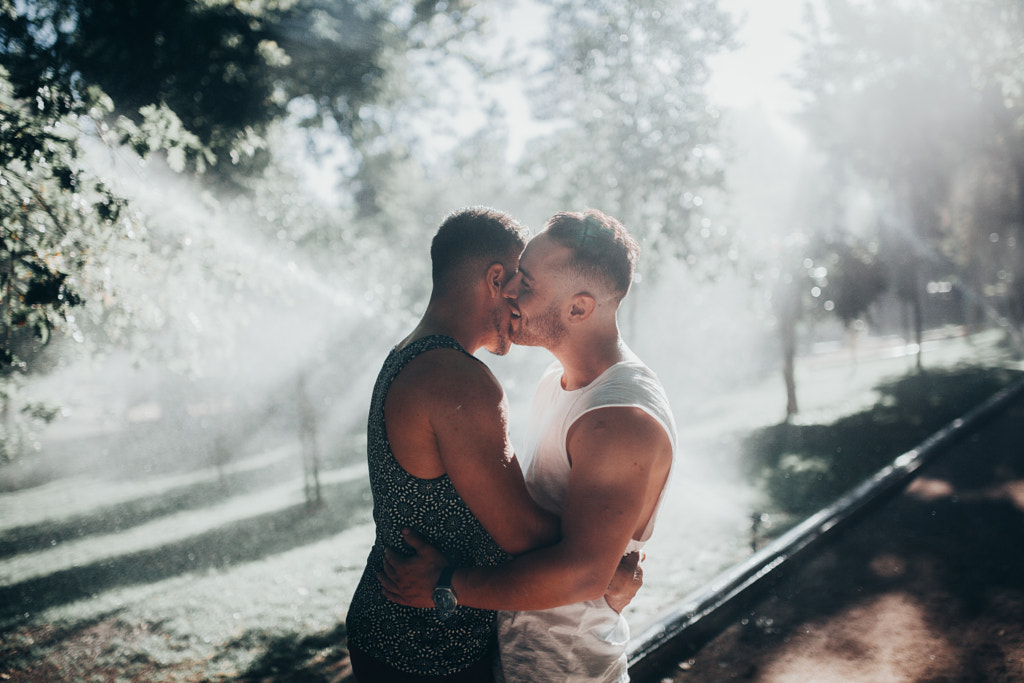
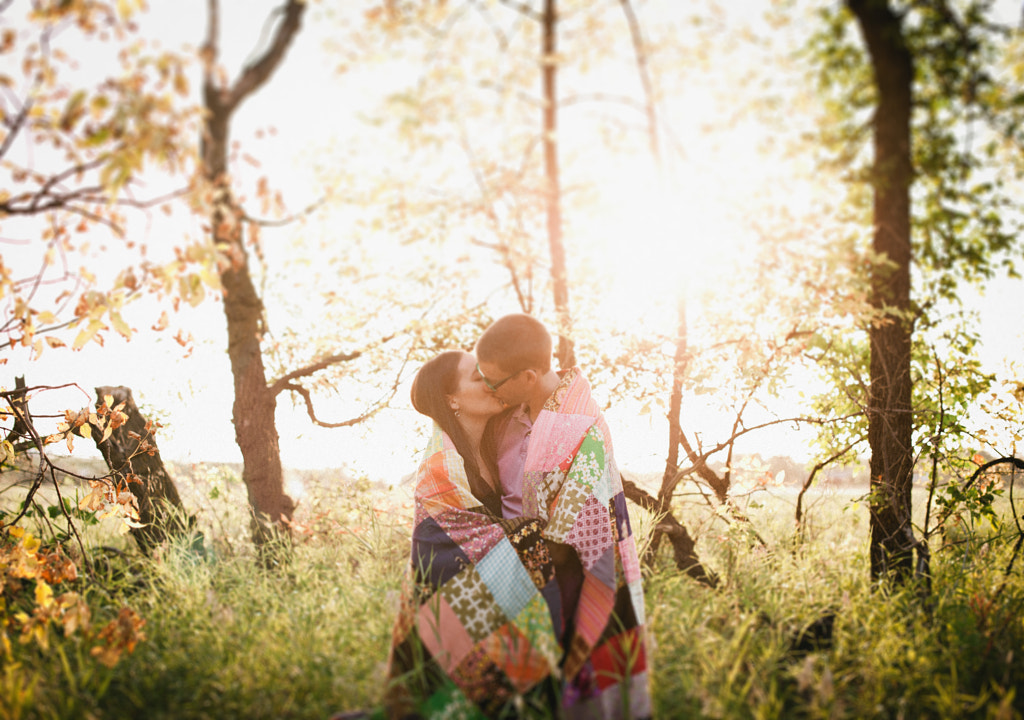
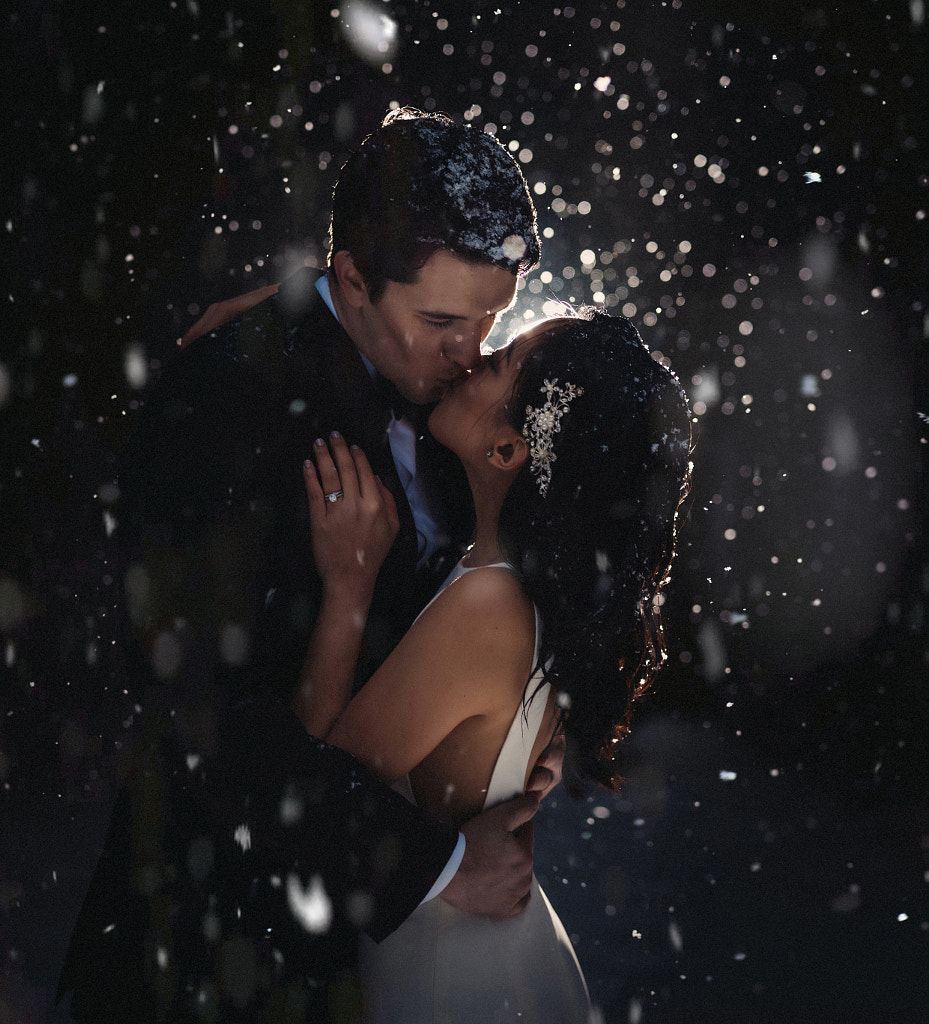
A kiss

Kissing is personal and intimate, so whenever possible, let the couple know in advance that you want to include some in your shoot. Don’t fret if the first few kisses are awkward; give your models time to get comfortable in front of the camera, and remember to provide a casual, encouraging environment.

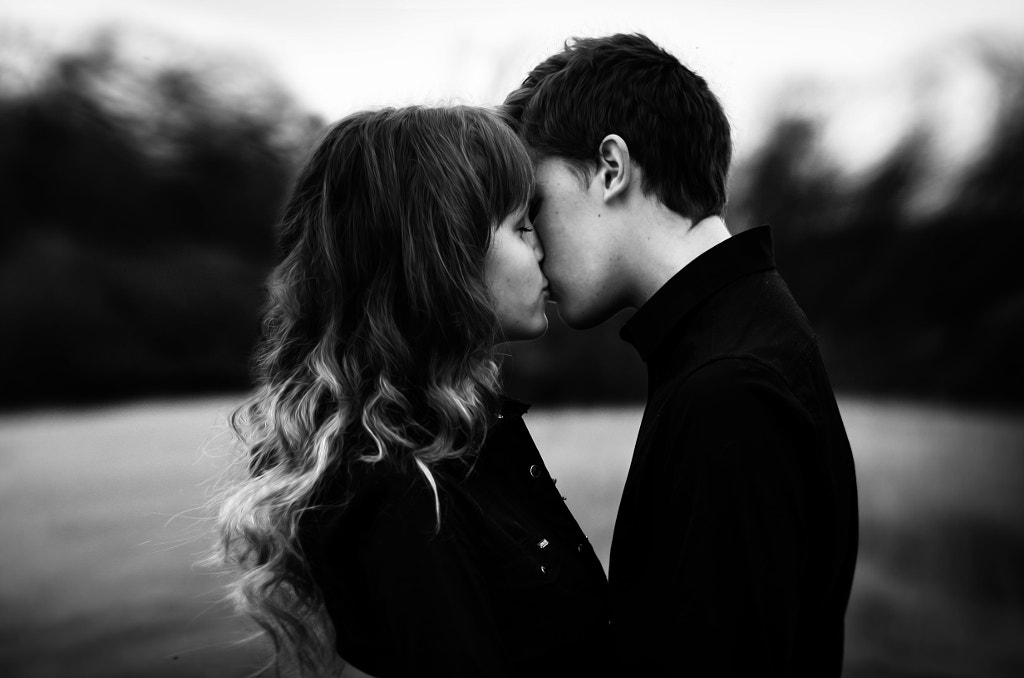
An almost-kiss

Often, the moment just before a kiss makes for an even better photo op than the kiss itself. You can even ask the couple to pause for a second and look at each other before (or after) each kiss.

A ‘secret’ kiss


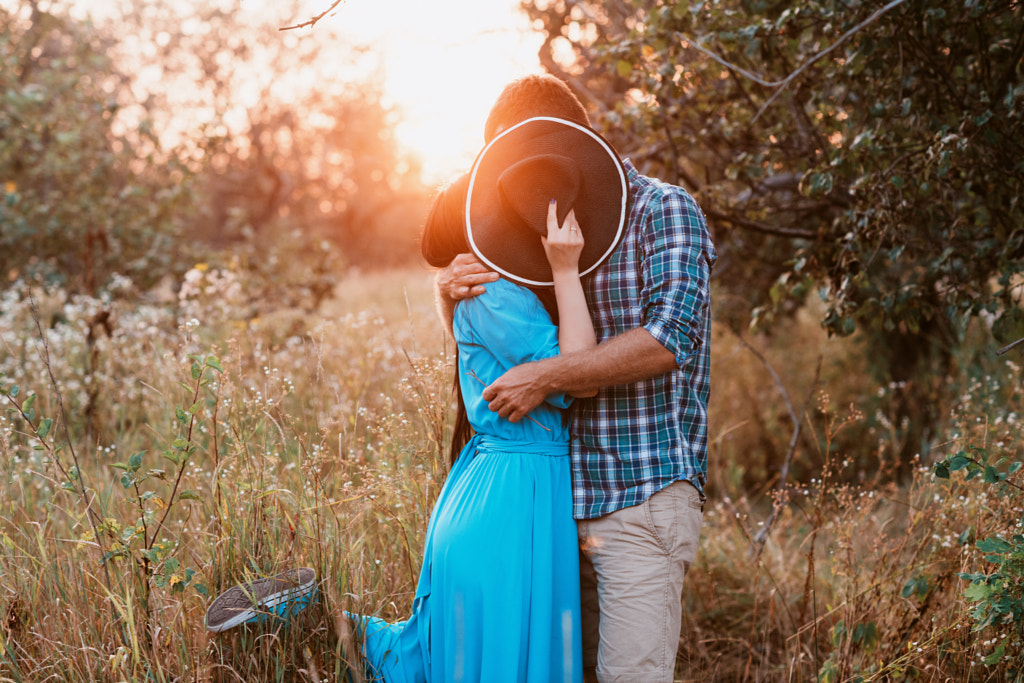
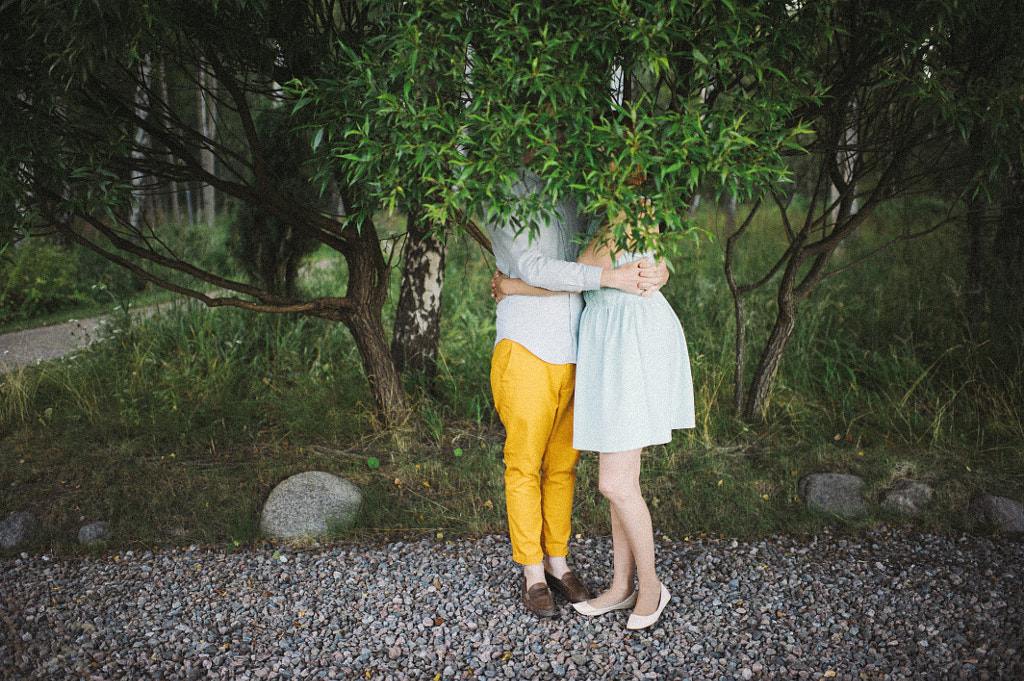
You don’t have to see the kiss for it to be effective. Use a cute prop like a hat or balloon to hide the couple’s faces while they enjoy a kiss in private.

Cuddling

While moving from one pose to the next, the couple might naturally fall into poses of their own. Take advantage of these organic moments. During breaks in the photoshoot, look out for instances when they’re resting or bonding without worrying about the camera.

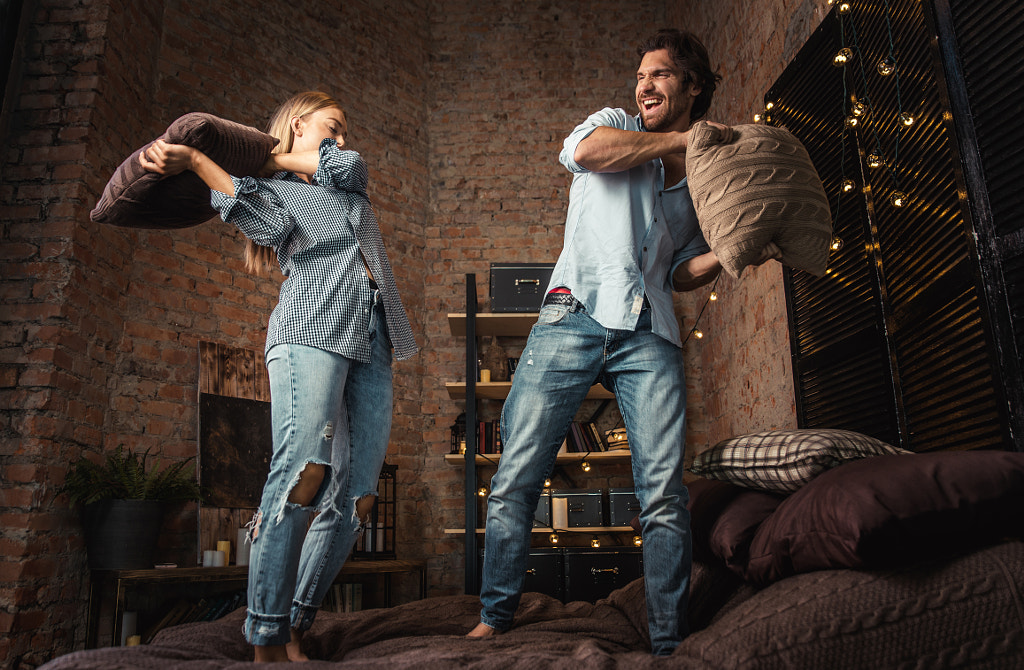
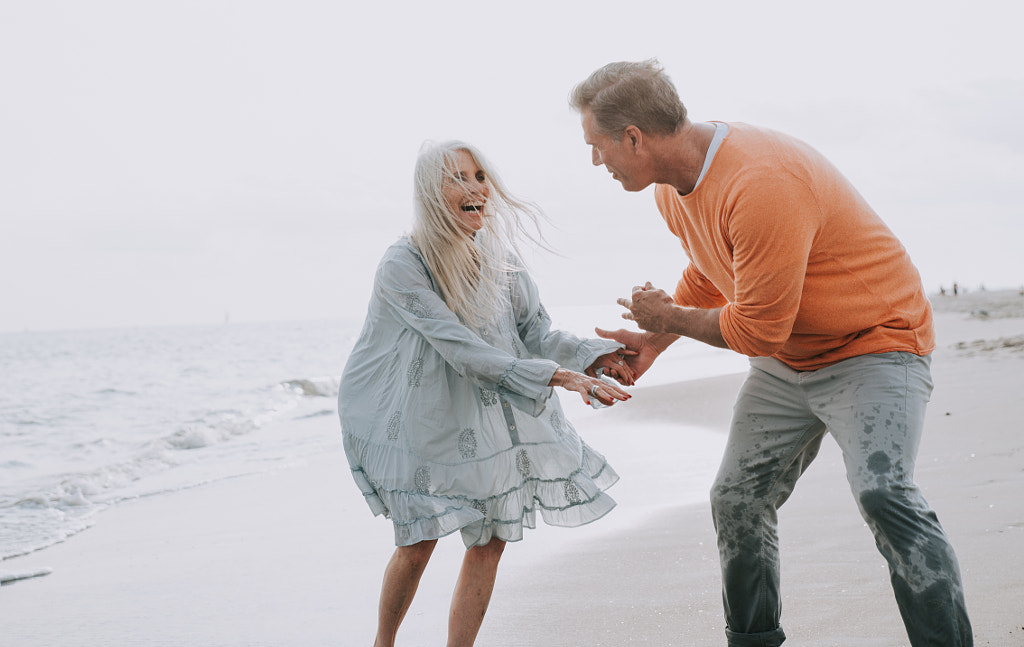
Goofing around

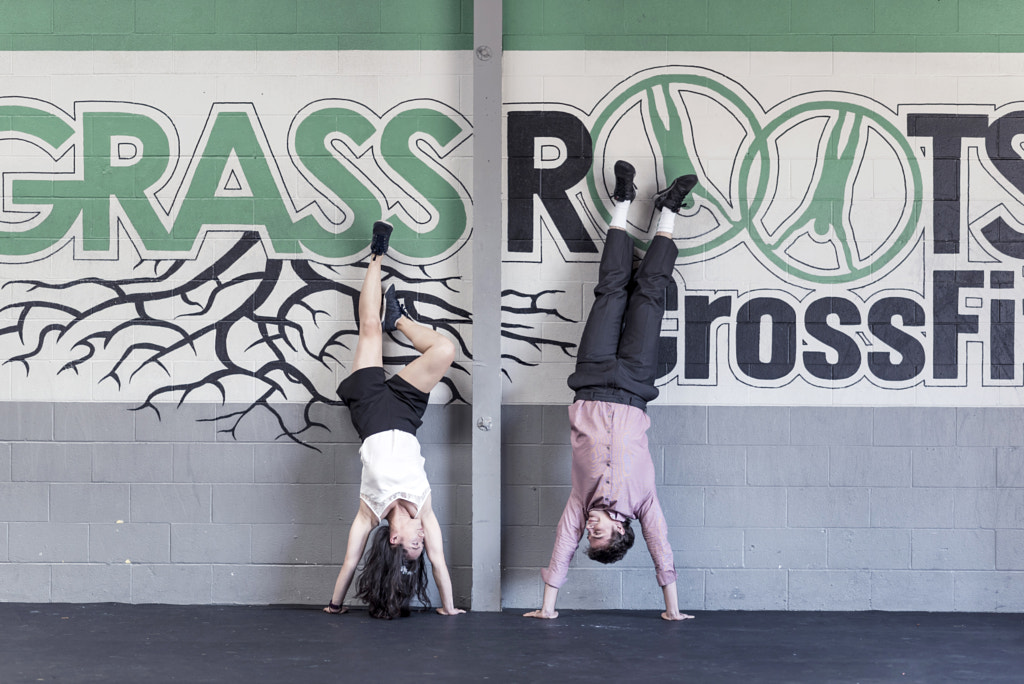
Couple photography poses don’t have to be serious to be romantic. Give your models the freedom to move around, make funny faces, and express their playful side on set.

Shallow depth of field

Focus all your attention on the couple by blurring and abstracting the background using a wider aperture.

Framed

Add depth to your images by including details in the foreground. A tree branch, flower blossoms, or architectural detail can serve as a “frame” around your couple, highlighting their connection while also creating visual interest.

Candid moments at home

Beyond a formal portrait session, consider setting up a lifestyle shoot where you can document the couple during their ordinary, everyday routine. For these photos, it’s important to fade into the background and allow the couple to fall into their normal rhythms and patterns, whether they’re joking around or making coffee together.

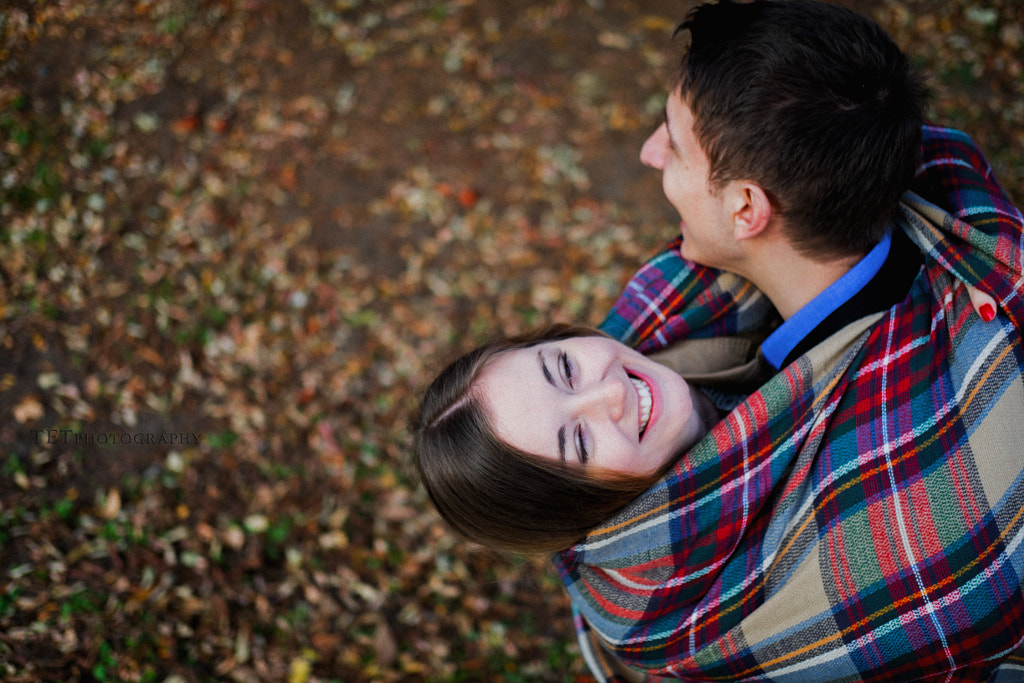
Blankets

A blanket is a simple but timeless prop, perfect for cozy couple poses in autumn and winter. Because they’re so adaptable and practical, blankets can also help you generate more pose ideas throughout the shoot, whether the couple is snuggled up by the fire or enjoying a picnic outdoors.

A gorgeous view

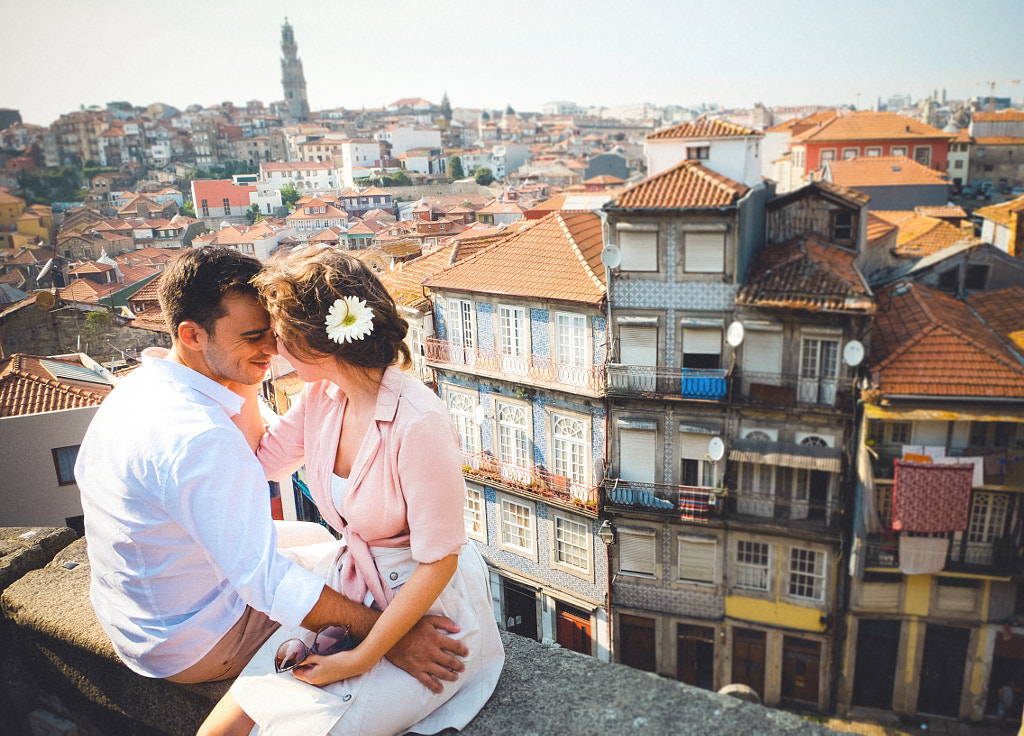
If you’re shooting at a location that’s meaningful and important to the couple—or if you’ve traveled a long way to find a stunning vista—remember to highlight it in some of your shots.

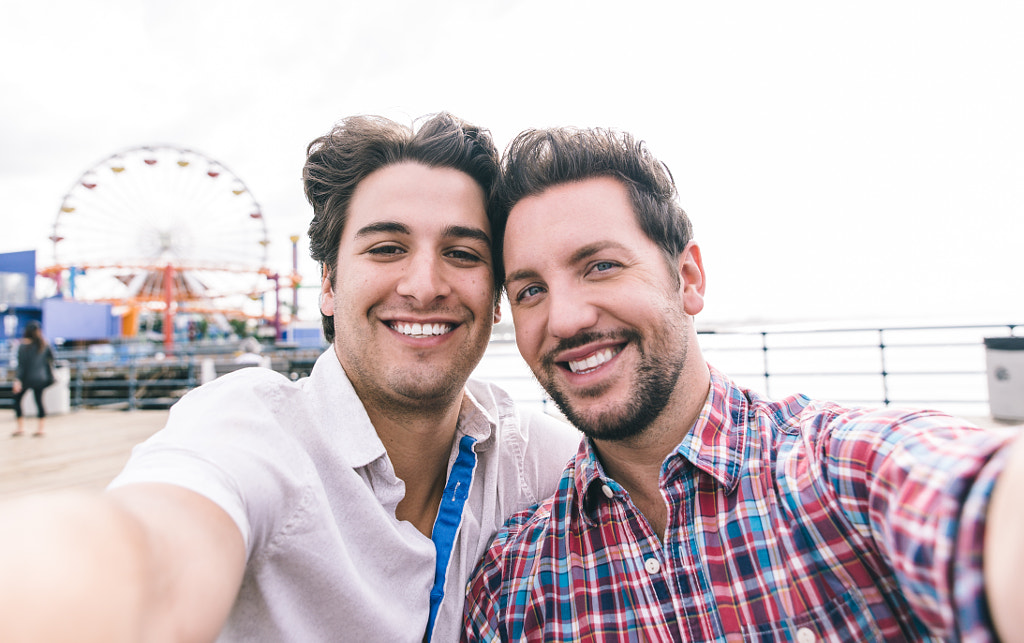
The ‘selfie’

This isn’t an actual self-portrait since you’ll be taking the photo, but by setting up a fake “selfie,” you’ll give the couple a chance to express themselves and have fun with the process.

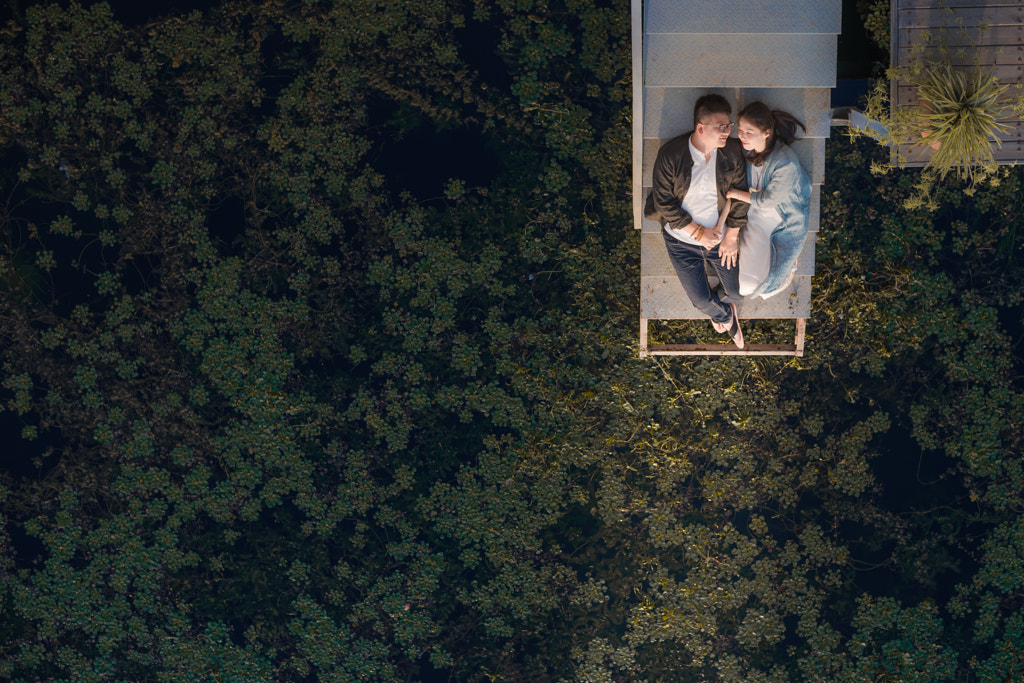
Aerial shots

According to a survey from The Knot, 10% of couples married in 2017 opted to have drone photos taken at their weddings, so consider going the extra mile and capturing your traditional poses from an aerial perspective.

Laughing

The best kind of laughter is organic, so keep an eye out for it in between other poses. Sometimes, after kissing, a couple will naturally start cracking up, giving you the perfect chance to seize the moment.

Look down

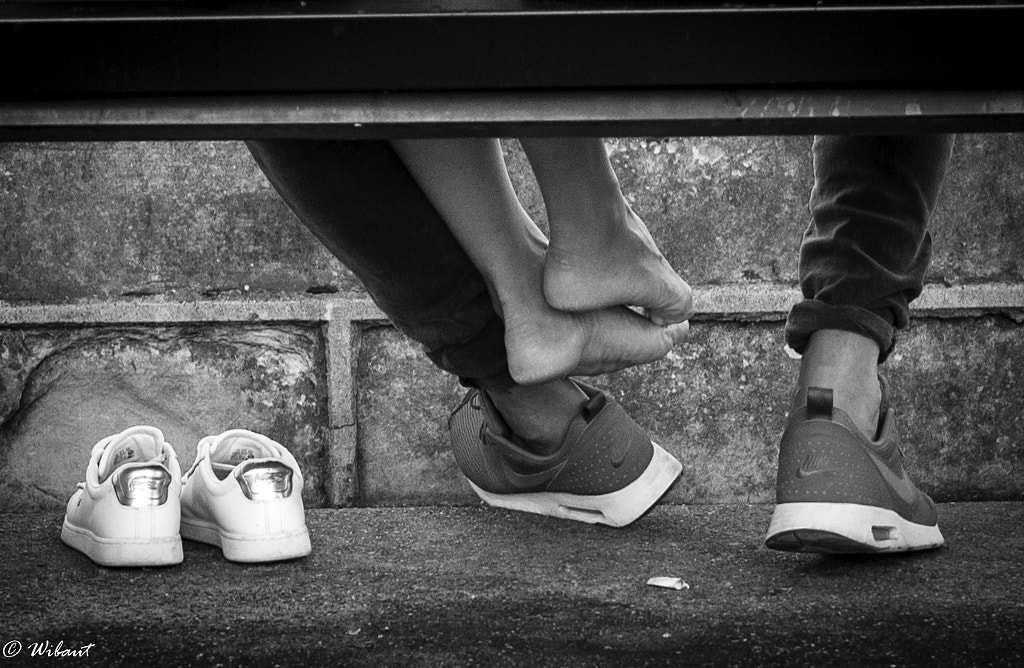
A soldier’s goodbye, with Bobby the cat, captured by Sam Hood the 1940s, is known as one of the most romantic photos in history—and it doesn’t even show the couple’s faces. By turning your attention to the feet, you can capture gestures and details that you might otherwise miss.

With the family

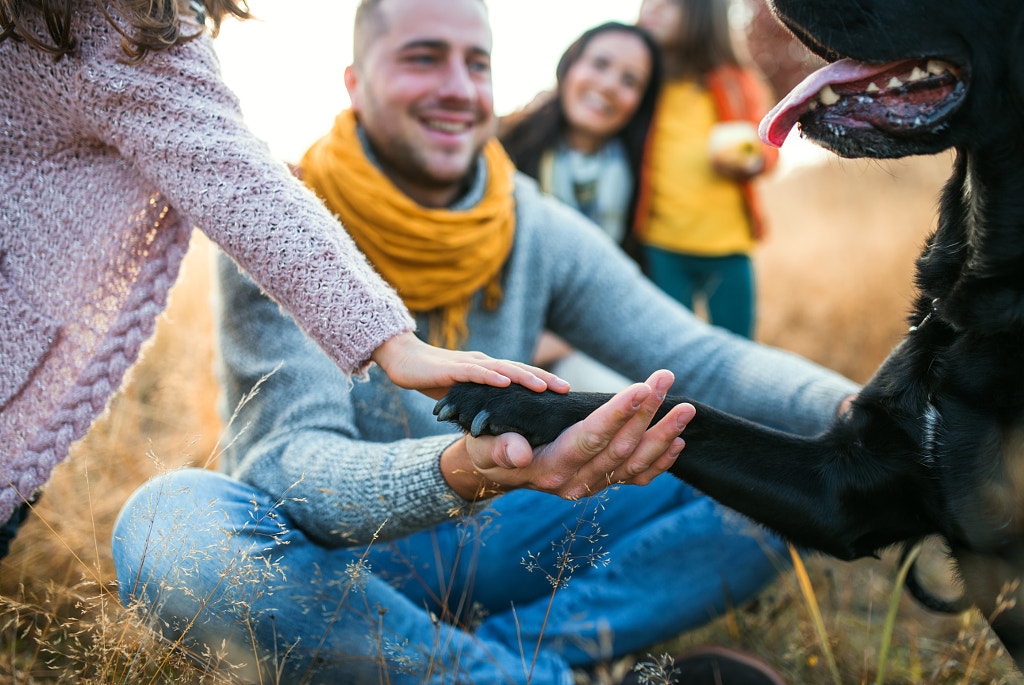
In between formal couple portraits, invite the rest of the family to join—kids and pets included. They’ll appreciate having these photos with loved ones for years to come.

Something in common

This is where a pre-shoot interview with the couple comes in handy. In addition to relying on the tried-and-true poses and settings you’ve used for other couples, photograph the couple in their element. Focus on interests they have in common. If they’re the outdoorsy type, head to a hiking trail. If they like cooking, organize a food-themed shoot.

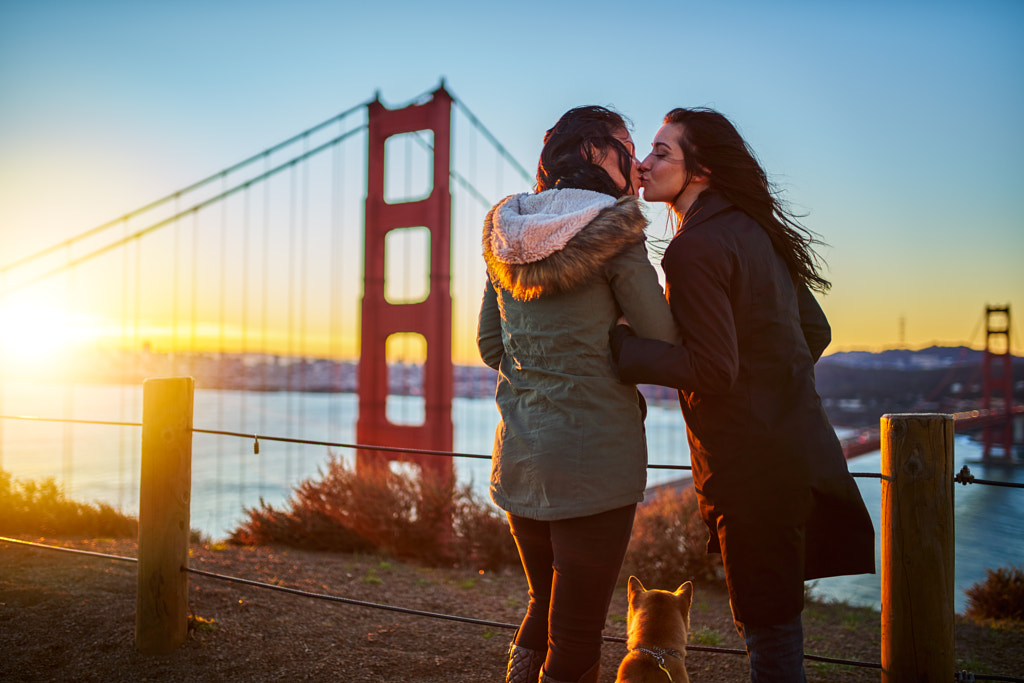
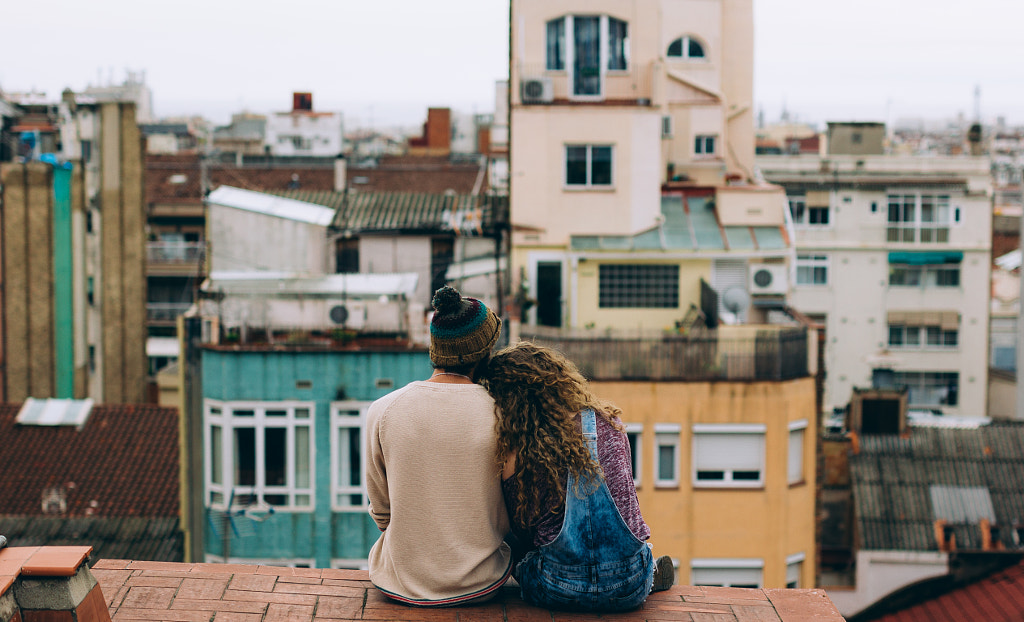
Cityscapes

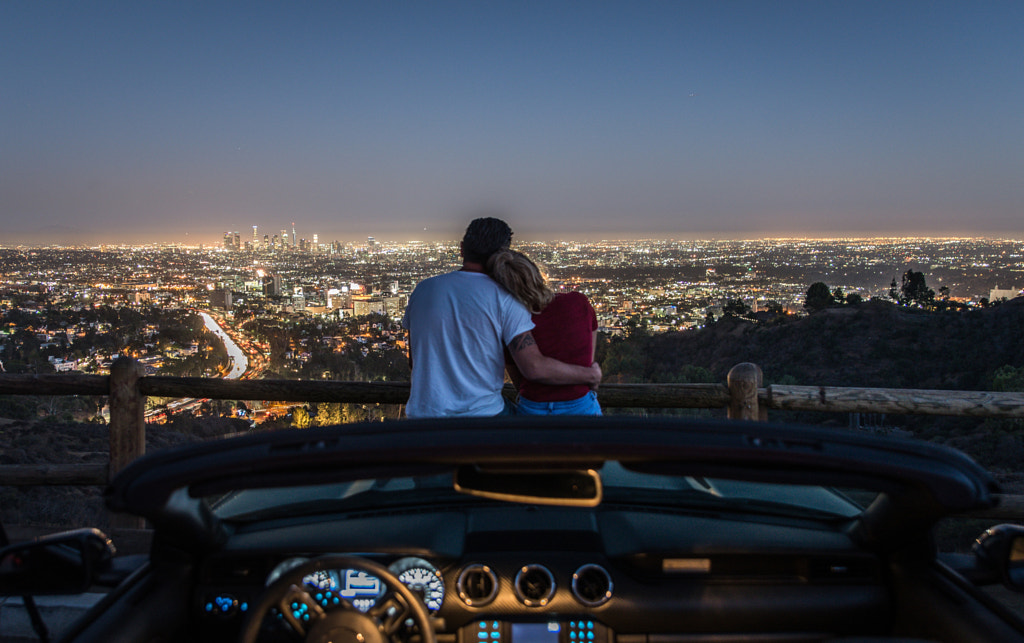
If you’re based in a city, find a hill or rooftop for the couple to explore. Schedule your shoot for the golden hour or blue hour, and photograph them taking in the sights.

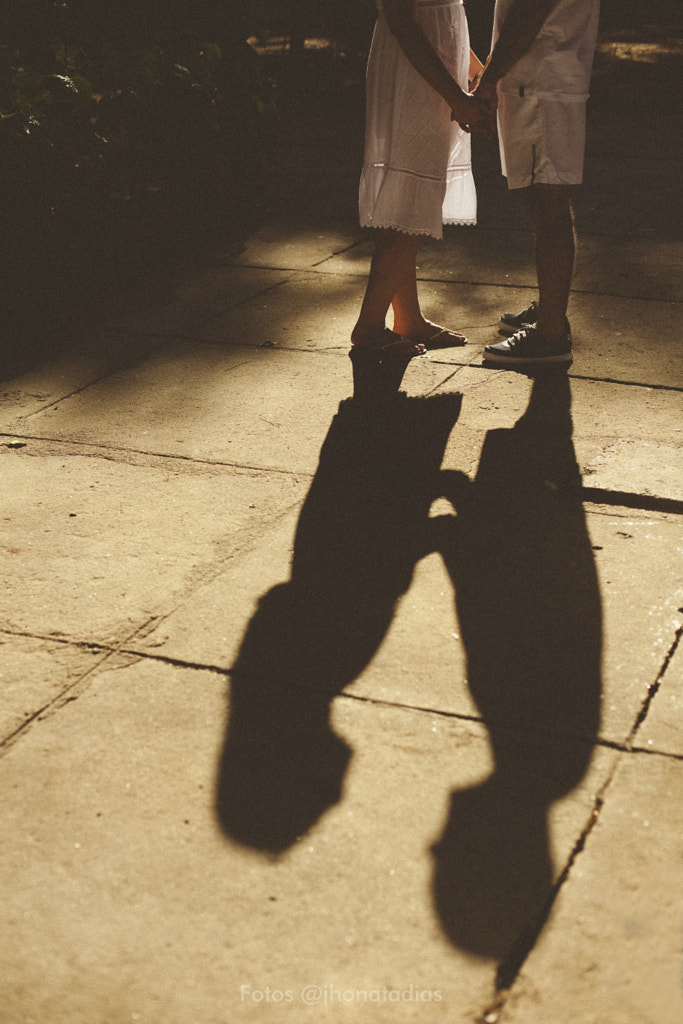
Shadows

For a more anonymous (but relatable) photo, turn your attention away from the couple and onto their shadows. When working with shadows, remember to exaggerate and accentuate gestures and poses. During the golden hour, people will cast particularly long, beautiful shadows, so it’s worth taking that into account when planning your shoot.

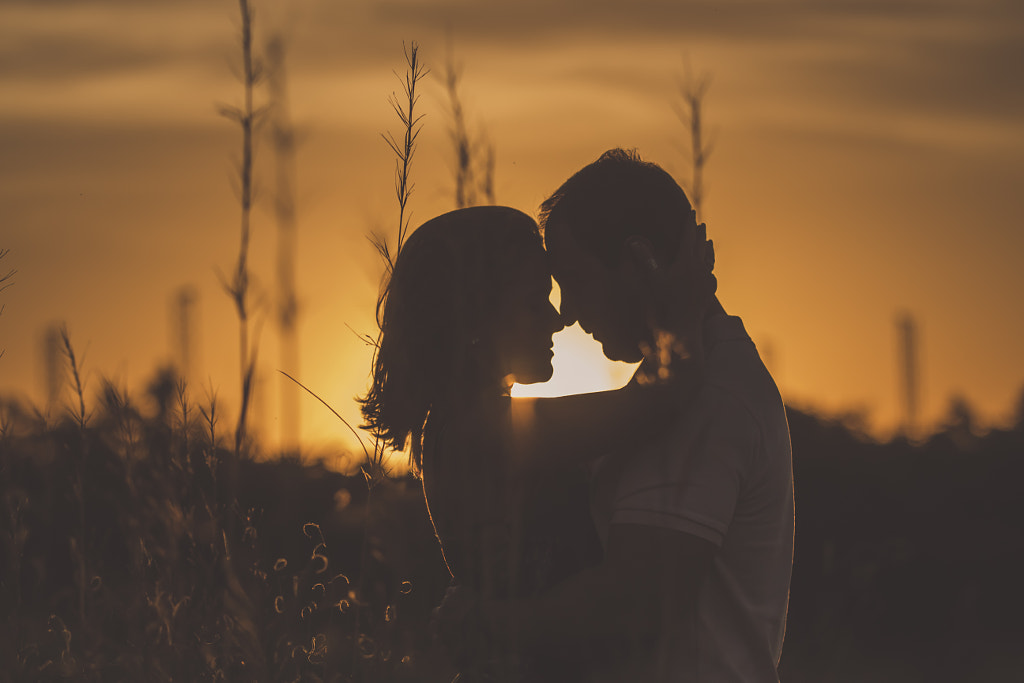
Golden hour silhouettes

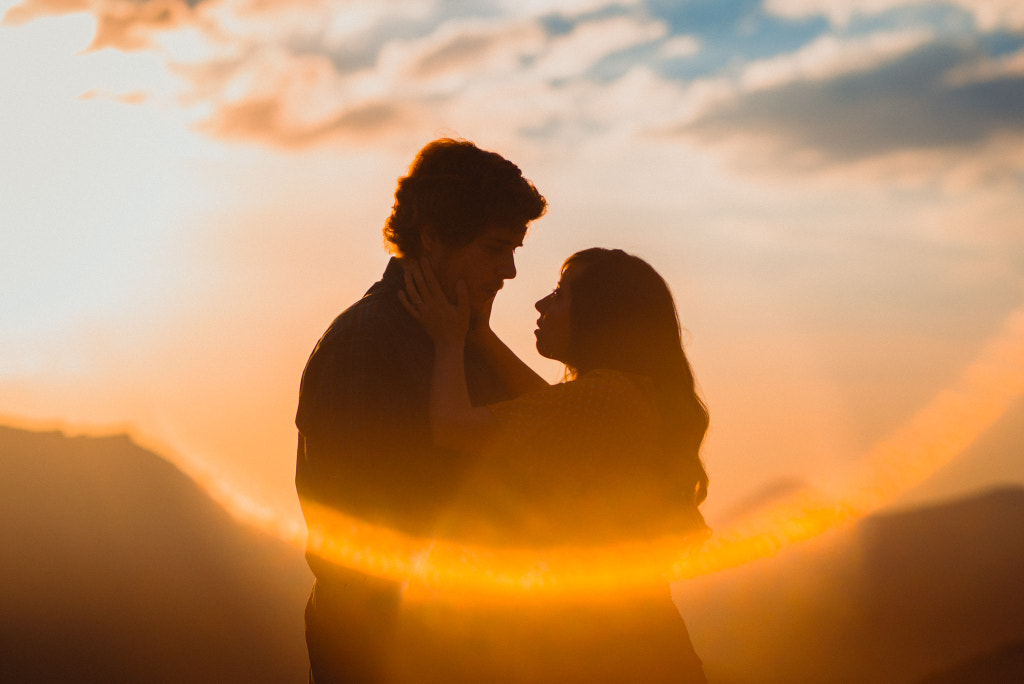
Speaking of the golden hour, sunset is an ideal time to get dramatic, backlit silhouettes.

Leaning

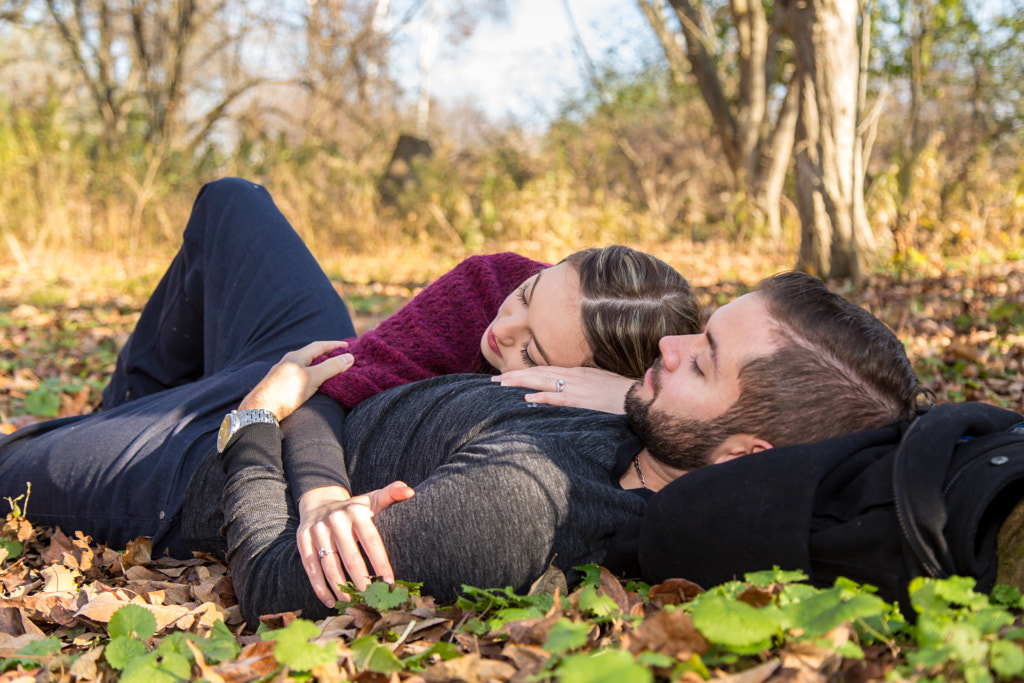
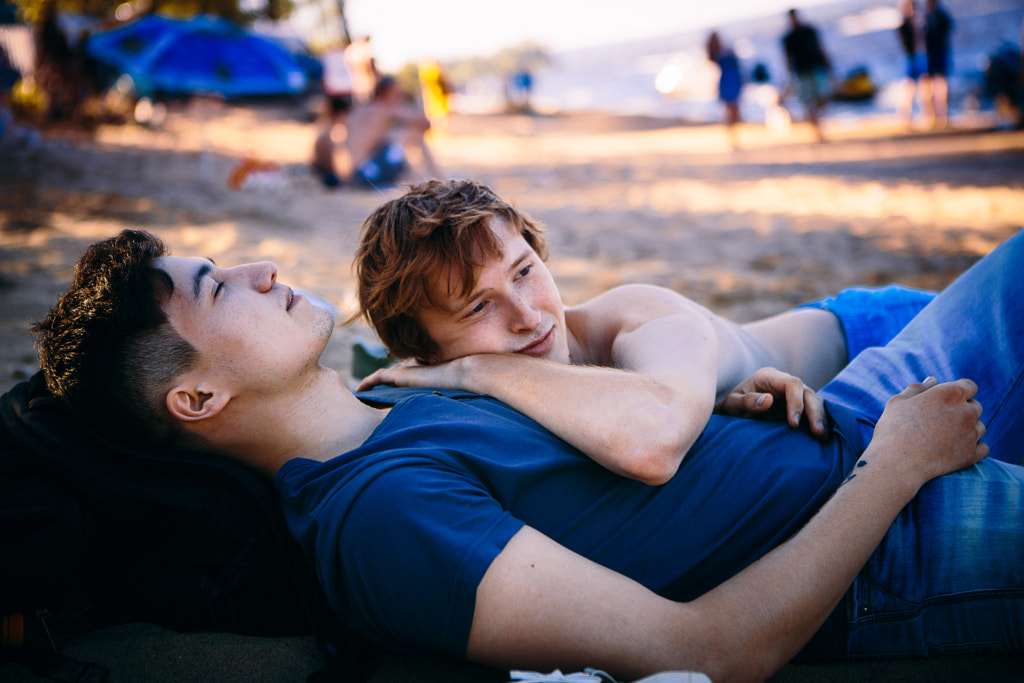
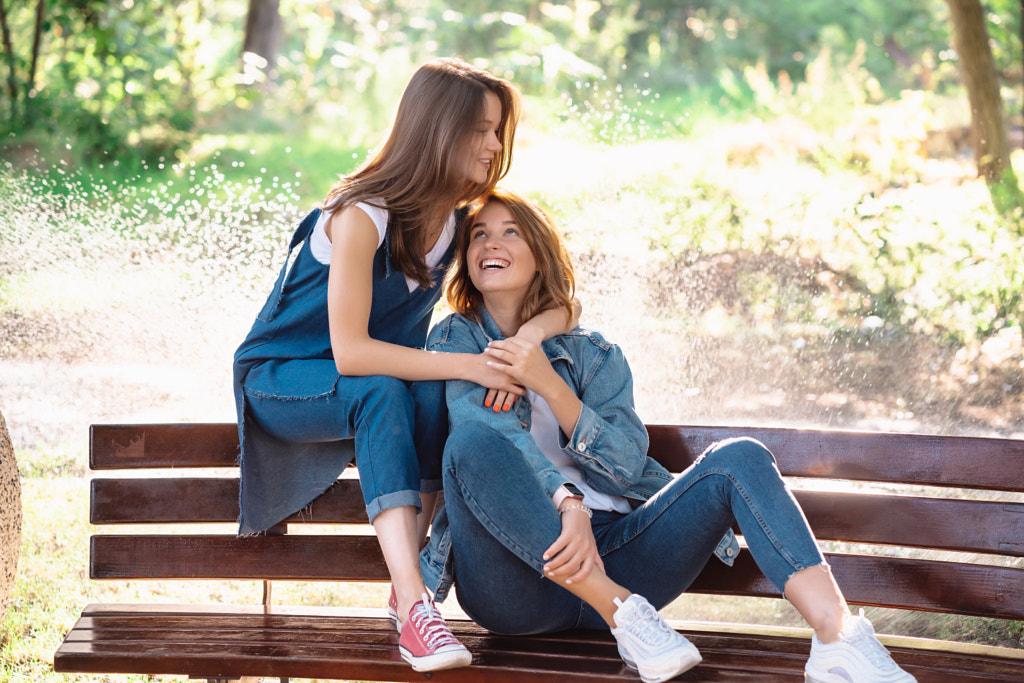
Ask one person to lean their head on their partner’s shoulder or lap. In addition to leaning against each other, your models can lean against something else once they’re on location—like a giant rock or beautiful building—for a casual, laid-back pose.

Dancing

Keep things moving by asking the couple to stay in motion. Whether it’s walking or a simple caress, avoid stiff poses by encouraging your couple to interact with each other and their environment.

Dancing is an easy, straightforward way to get your models moving. Ask about their favorite music before the shoot, and have it on hand on the day-of.

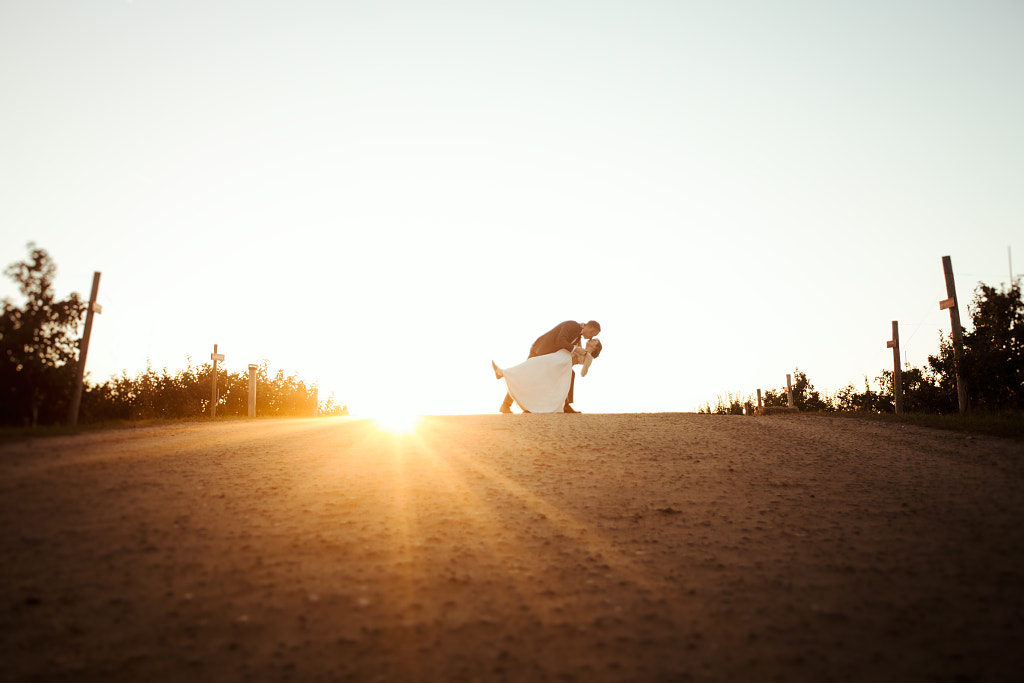
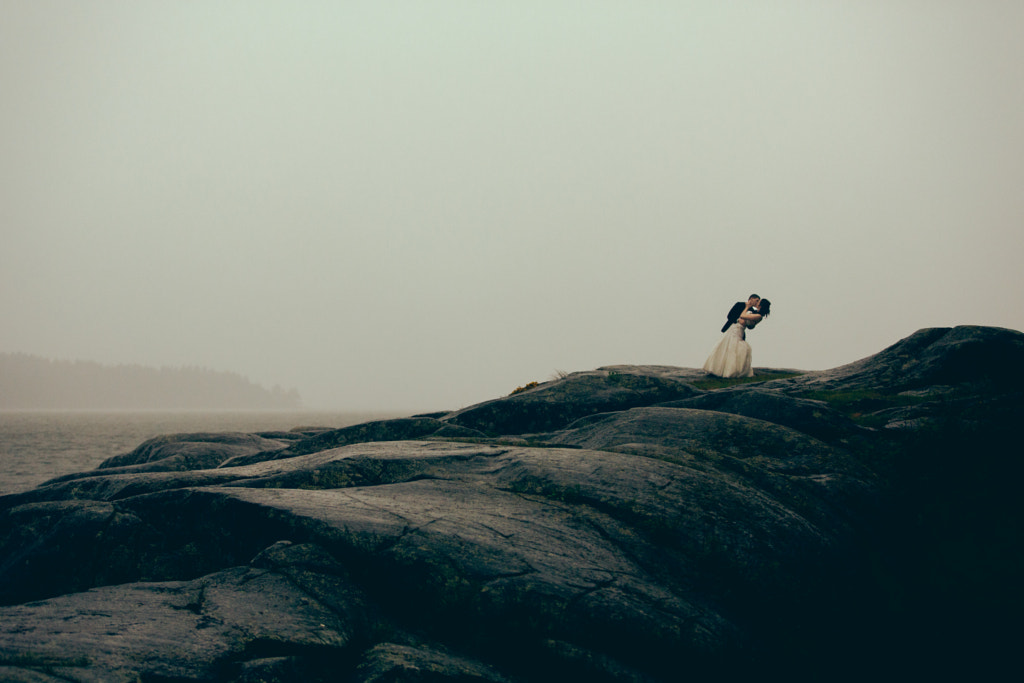
The ‘dip’

A few years ago, a couple made international headlines for recreating that Time’s Square kiss photographed by Alfred Eisenstaedt in 1945, complete with the signature “dip,” in locations around the world. All these years later, it’s still a go-to pose for couples.

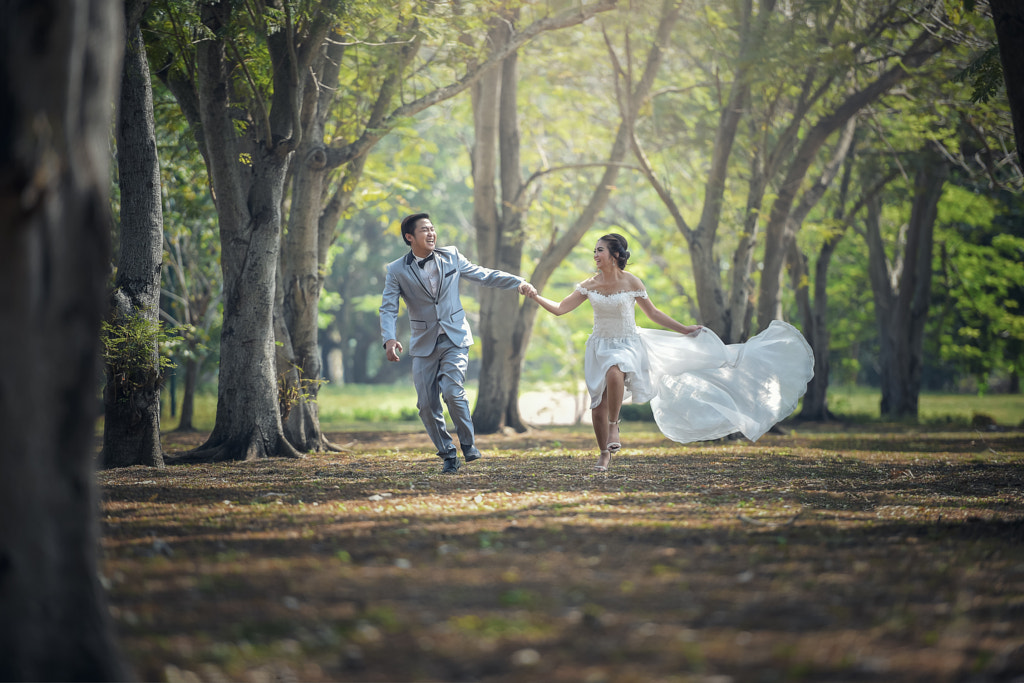
Running

Stand apart from the couple, and then have them run towards you. Stay open to surprises; flying hair and unexpected giggles will bring your photos to life. Remember to turn on burst mode to freeze the movement and gestures you might miss otherwise.

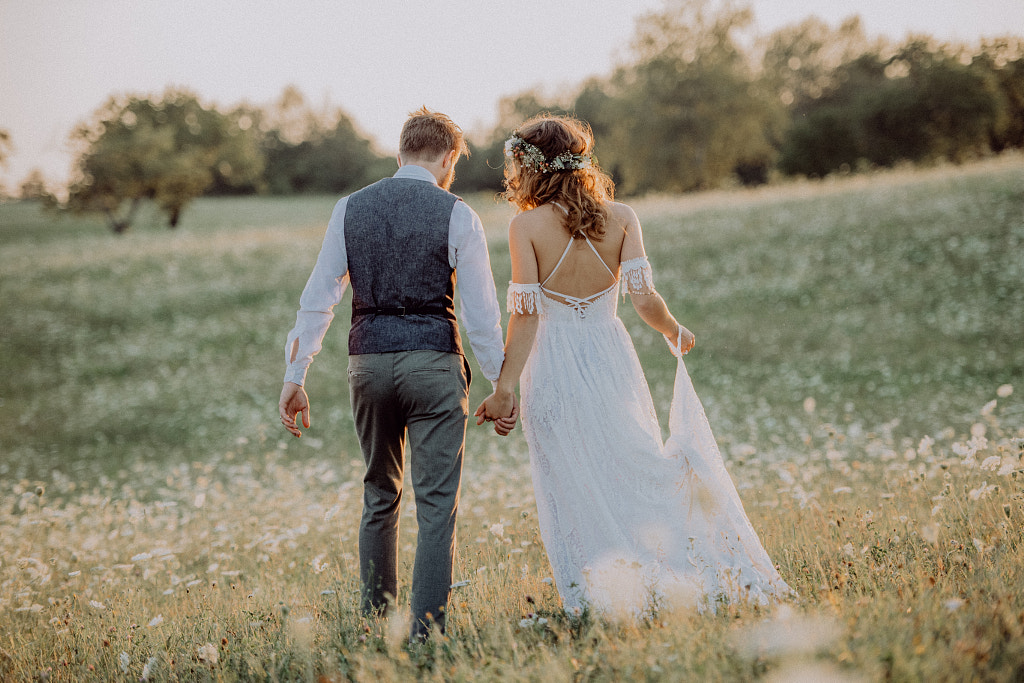
Walking away

After the couple moves towards you, capture them walking away from you, backs turned, for a nostalgic, mysterious vibe. You can also ask them to peek back at you for variety.

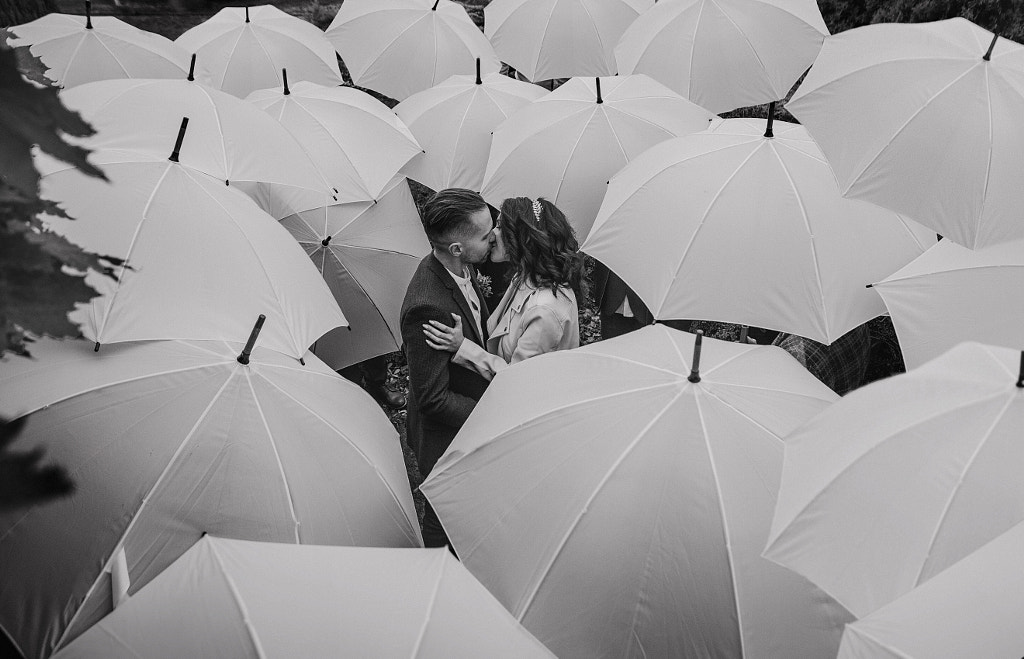
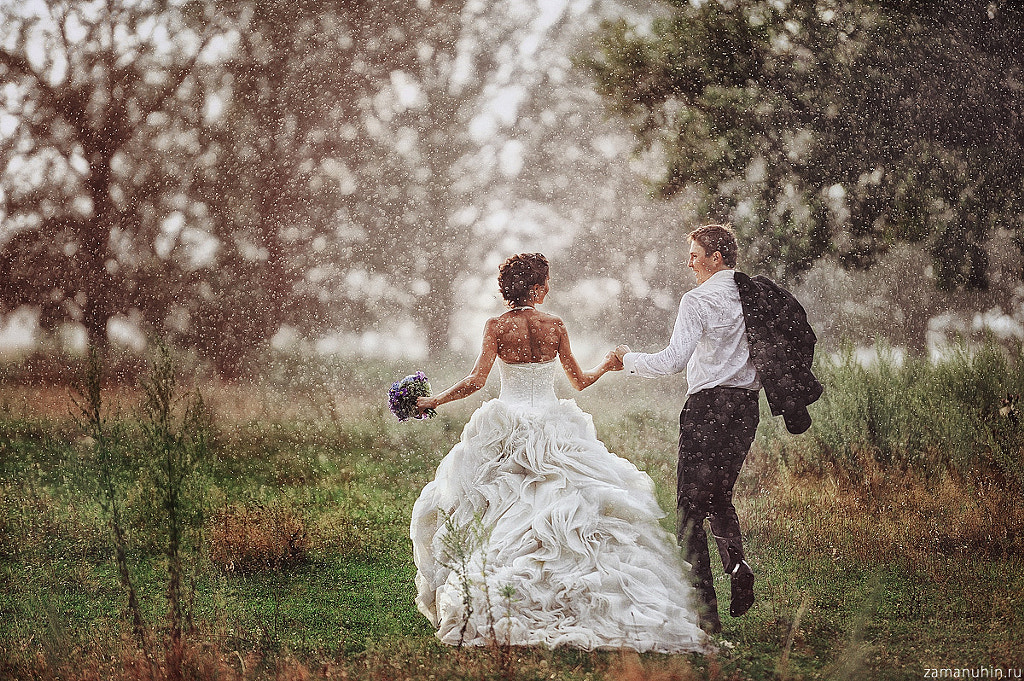
In the rain

Don’t be afraid to shoot in bad weather. A rainy, gray day can be great for capturing moody, cinematic couple shots. Remember to bring some umbrellas to add pops of color to your photos.

In the Snow

Reflections

Employed by the legendary photographer Elliot Erwitt in the 1950s, this pose has been around for decades, and it never goes out of style. Simply set up a mirror (Erwitt used a car window) or take advantage of reflections in windows and puddles for a unique perspective.

Tattoos


Okay, this one isn’t a “pose” per se, but tattoos are meaningful, so if the couple has them, include some detail shots. This one is especially important if they have matching tattoos or even wedding ring tattoos.

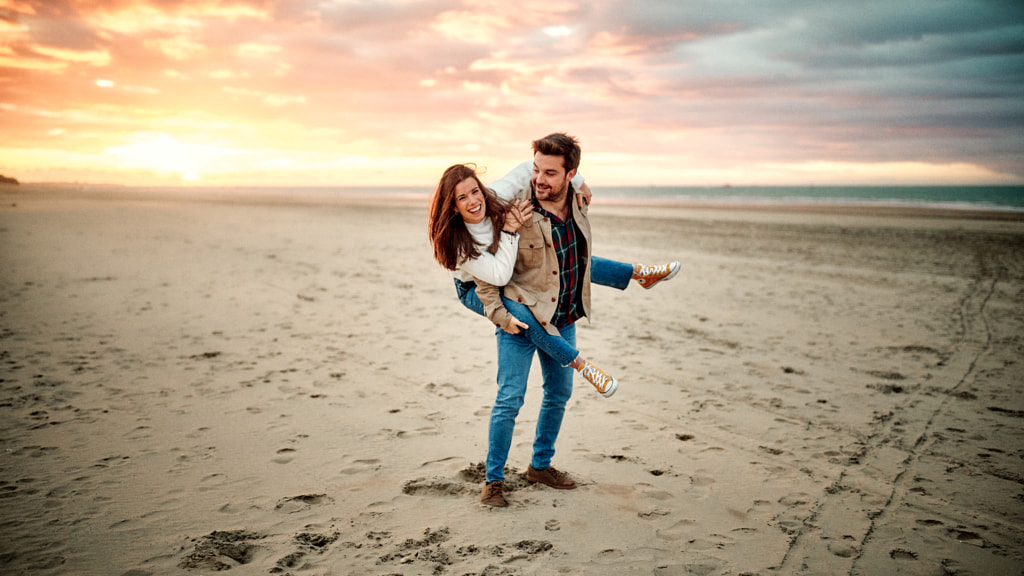
Piggyback

This pose is perfect for getting a couple to relax and have fun with each other. Giving them something to do takes some of the pressure off and often results in genuine laughter.

One person looking at the camera

Used to great effect in the paintings of impressionist Pierre-Auguste Renoir, this pose features one person looking over the shoulder of another.

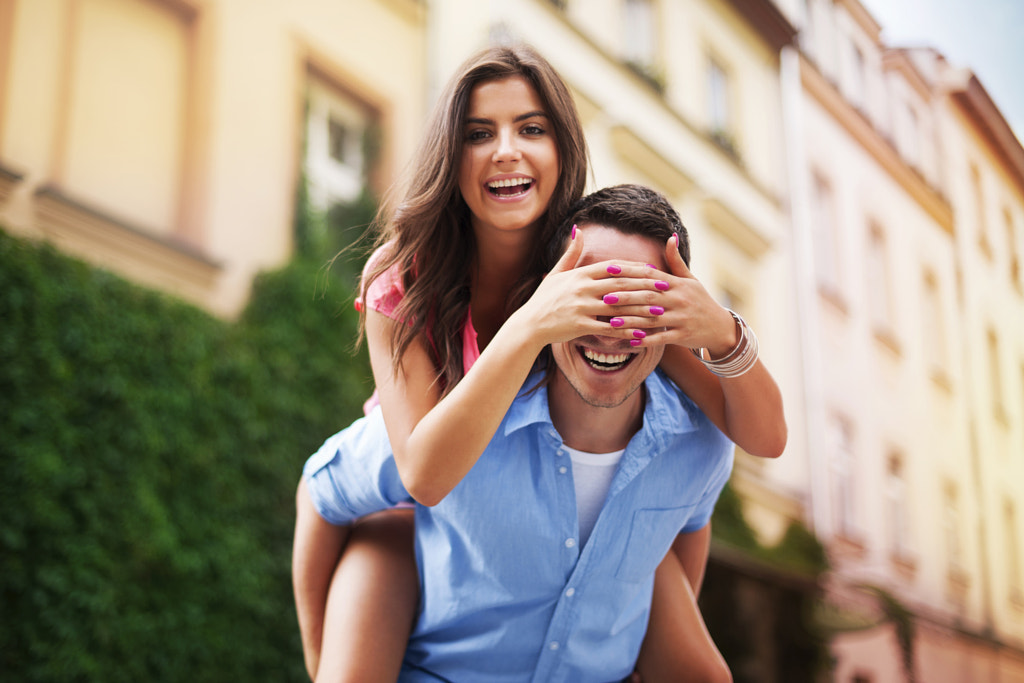
The ‘blindfold’

Couple poses - Nice couple by Andrew Koran on 500px.com

Ask one person to sneak up behind their partner and cup her hands over his eyes for a playful, whimsical photo.

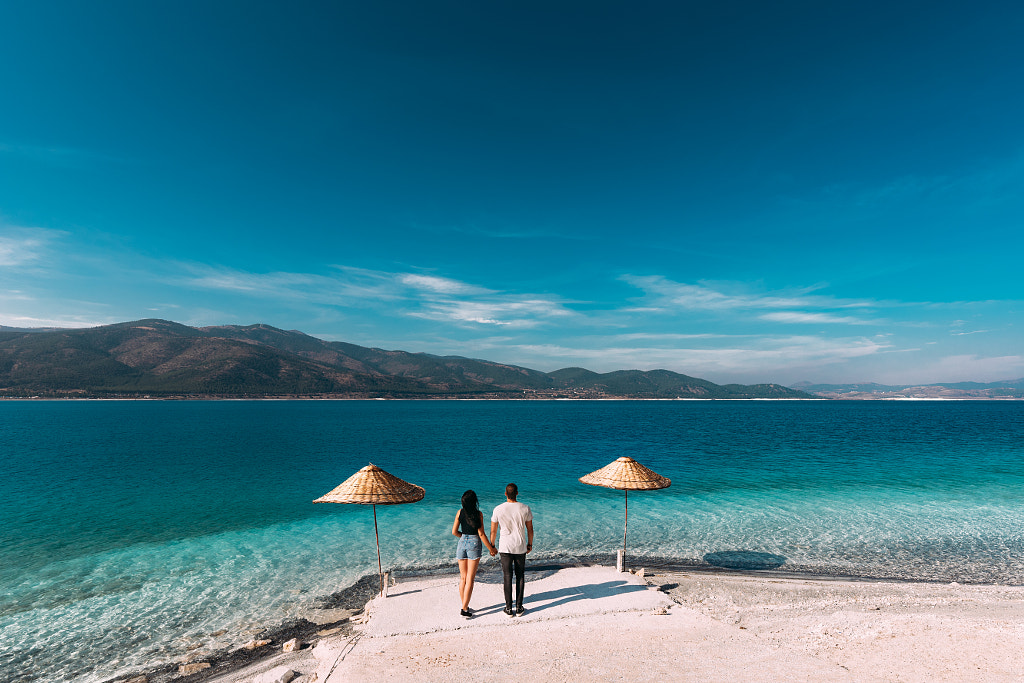
Ocean view

Couple poses - A couple in love looks at the blue lagoon. Couple in love on the beach. Honeymoon lovers. Man and... by MISHA SOTNIKOV on 500px.com

There’s a reason so many couple shoots take place on the beach. Take advantage of the rolling waves and azure sky when you compose your images.

These 50 ideas are just the tip of the iceberg when it comes to couple photography poses, so feel free to get creative and add your own. You can also develop several different shot lists for various occasions—couple poses for weddings, engagements, honeymoons, etc.

While the poses are always important, the key ingredient to any photoshoot is the rapport between artist and subject. Create a fun, casual atmosphere on set, and encourage the couple to be themselves. During the shoot, interact with the couple by asking them to recount their first date or how they met. This will give them a chance to connect with each other and take their minds off of the shoot.

LOH

You Might Also Like These Articles:

  • A Beginners Guide to Photography | The Essential Guide
  • 50 Creative Self-Portrait Ideas To Trump All Selfies
  • 21 Poses To Try When Photographing Men
  • 16 Classic and Unique Poses for Photographing Women
  • 35 Mobile Photography Tips For Taking Better Smartphone Shots

The post 50+ Adorable Couple Poses for Beautiful Portrait Photography appeared first on 500px.

[NDN/ccn/comedia Links]