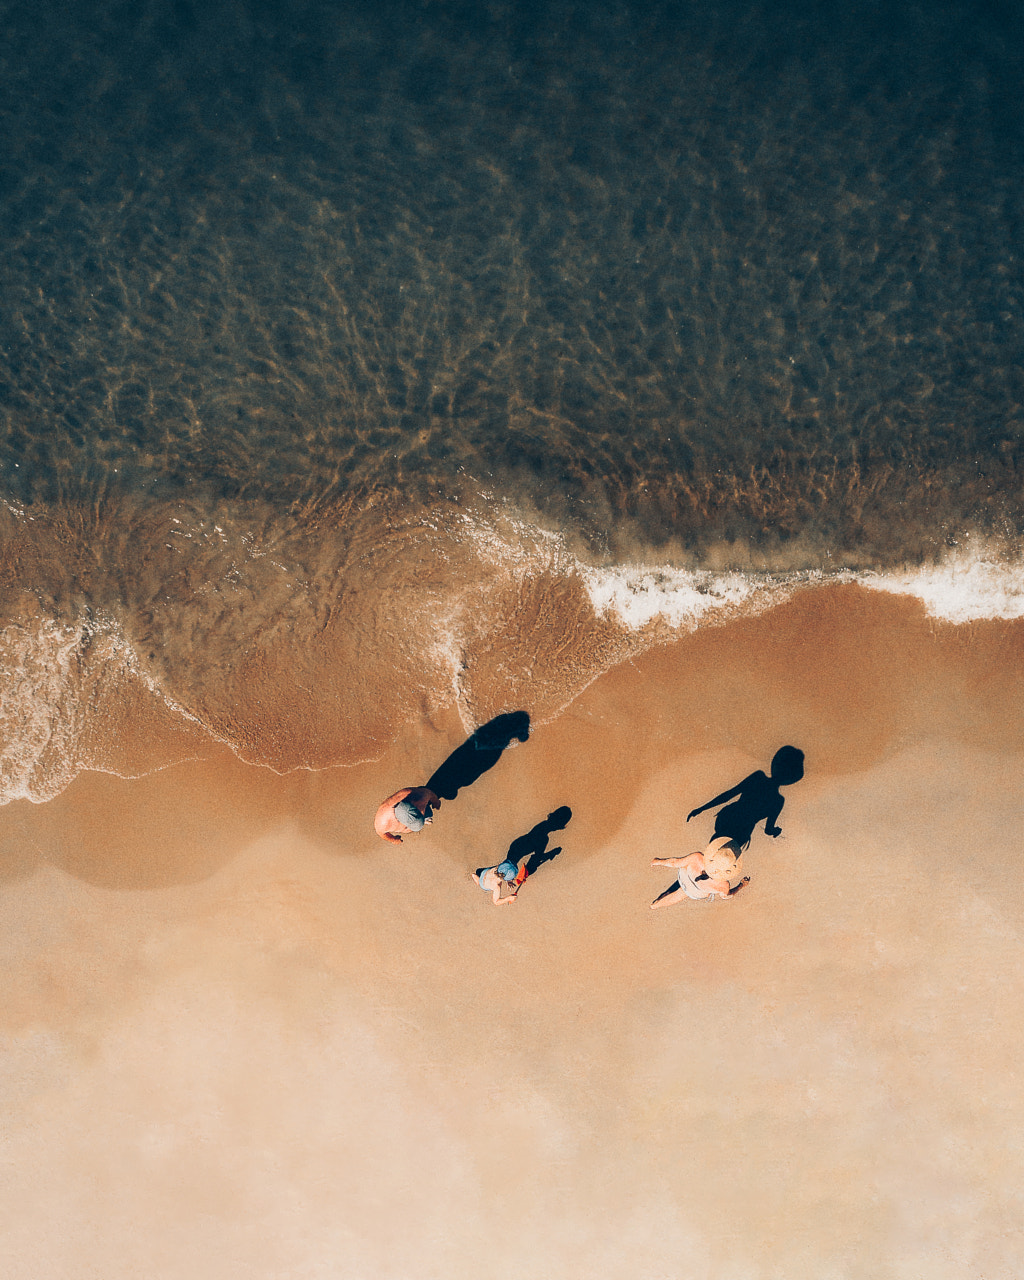
In the grand tradition of iconic photographers like Fan Ho, Fred Herzog, and Ray Metzker, dramatic shadows are trending, with hashtags like #IHaveaThingforShadows, #ShadowsPoetry, and #ShadowontheWall taking over our social media feeds. Today’s photographers are using shadows in bold and unexpected ways, whether during the magic light of golden hour or harsh sunlight of afternoon. Julia Wimmerlin created self-portraits with her cat’s shadow, while Grzegorz Tatar captured the shadows cast by beachgoers in summer along the Baltic Sea.
When we talk about using shadows in photography, we’re talking about controlling light. As in painting, areas of shading can be used in creative photography to sculpt light. Slow gradations in light and dark can create the illusion of three-dimensionality, while intense contrasts can create a sense of drama and mystery. Shadows can make or break a picture, distracting from your message or enhancing it. Here are our tips for making them work for you.
Timing is everything
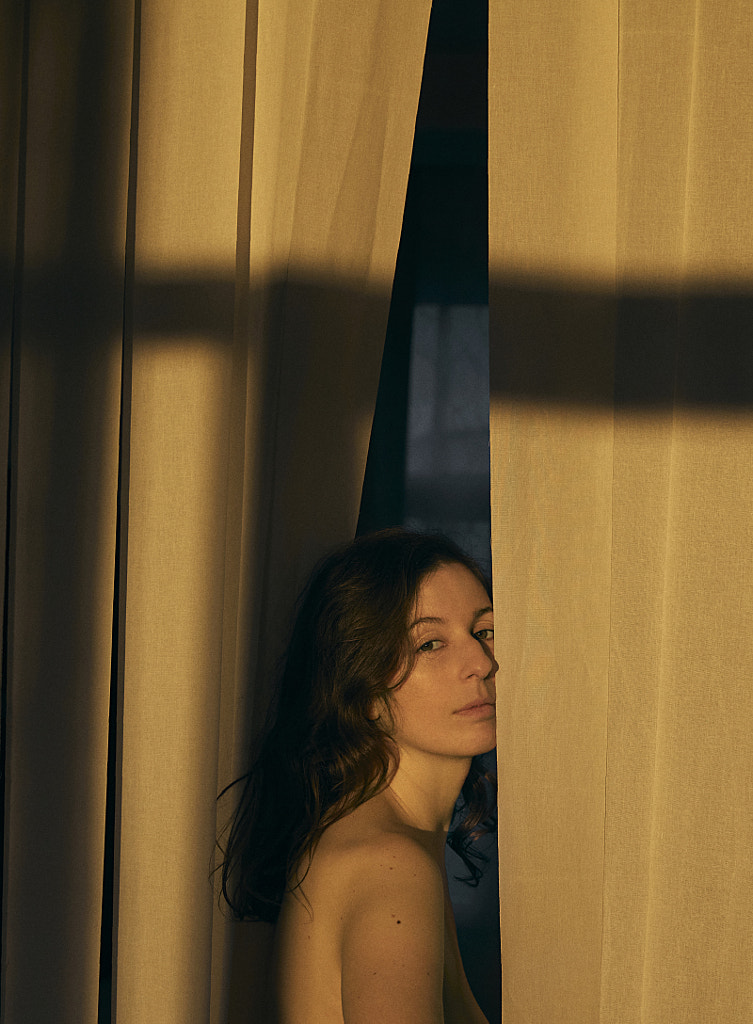
Shadows change dramatically throughout the day, so schedule your shoot depending on the look you want. While the golden hour around sunrise and sunset will create elongated shadows, shooting at midday will deliver more contrast between light and dark. Similarly, the hard light of midday* will create shadows with crisp, clean lines, while golden hour light will give you softer shadows.
The weather will also affect your shadows, with clearer days creating cleaner shadows and overcast days resulting in diffused shadows. Directional light coming from one side at a low angle can bring out the textures of a landscape, while backlighting will cast shadows in the foreground. Study how the light changes throughout the day, and tailor your schedule to your aesthetic.
*Your shadows will be quite short at noon, so when we say midday, we generally mean mid-morning or afternoon—a few hours before or after 12:00 pm.
Set your exposure manually
With contrasty scenes, remember to work in manual mode and keep an eye on your histogram to monitor your highlights and shadows. In some cases, you’ll want to maintain the details in the shadows, while in others, you might prefer to expose for the highlights and let the shadow areas fall away into darkness. (When playing with light, exposing for the highlights will give you those moody shadows and a low-key aesthetic.) Both styles can work, but they’ll produce different histograms and require different settings.
Consider using spot metering to expose for a specific area in your frame. To keep your shadows sharp and crisp, you might have to close down your aperture a bit. You’ll also want to set your ISO as low as possible to avoid noise in the shadows.
Look for clean outlines
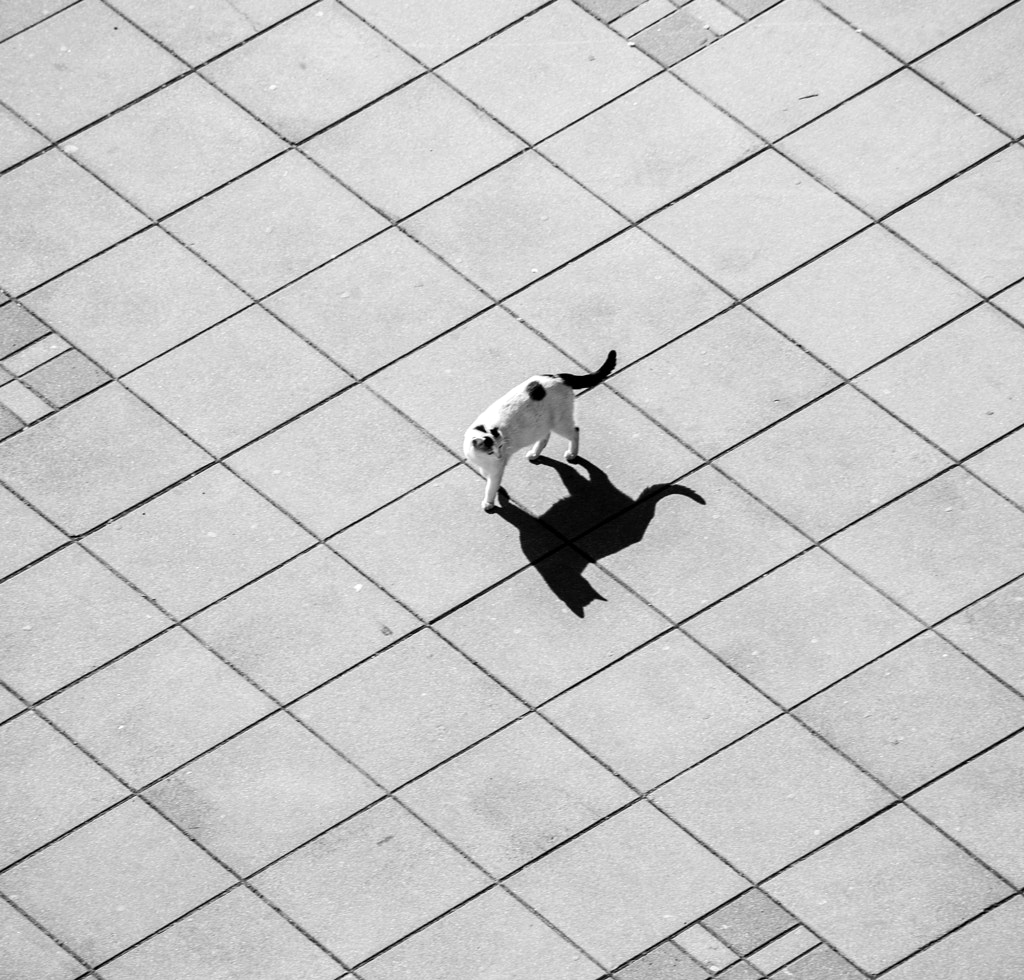
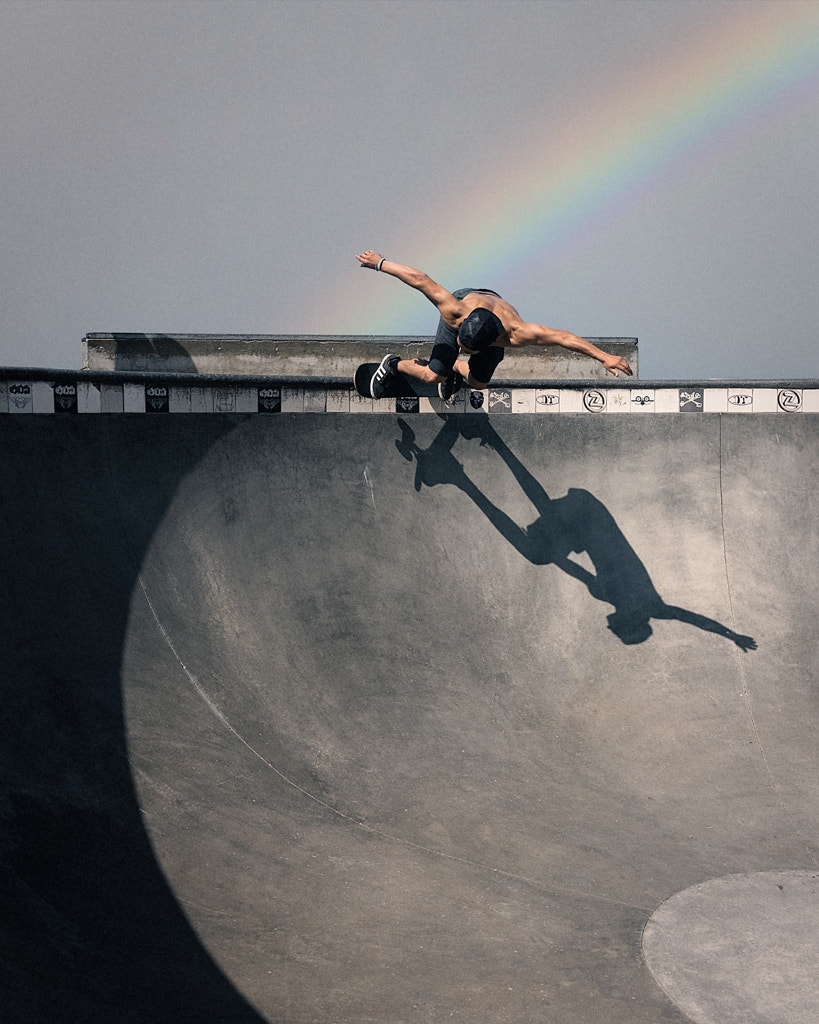
While shadows can play a supporting role in photography, some pictures make the shadow the main focal point. That is, instead of a dog, you photograph his shadow, or during the golden hour, you photograph the long shadow of a commuter instead of the commuter herself. Recognizable figures with clean lines or angles tend to cast the most appealing shadows, so look for subjects with clearly defined shapes. Even just a small movement, like a pedestrian extending one foot in front of the other, can create that kind of separation needed to make a dynamic shadow.
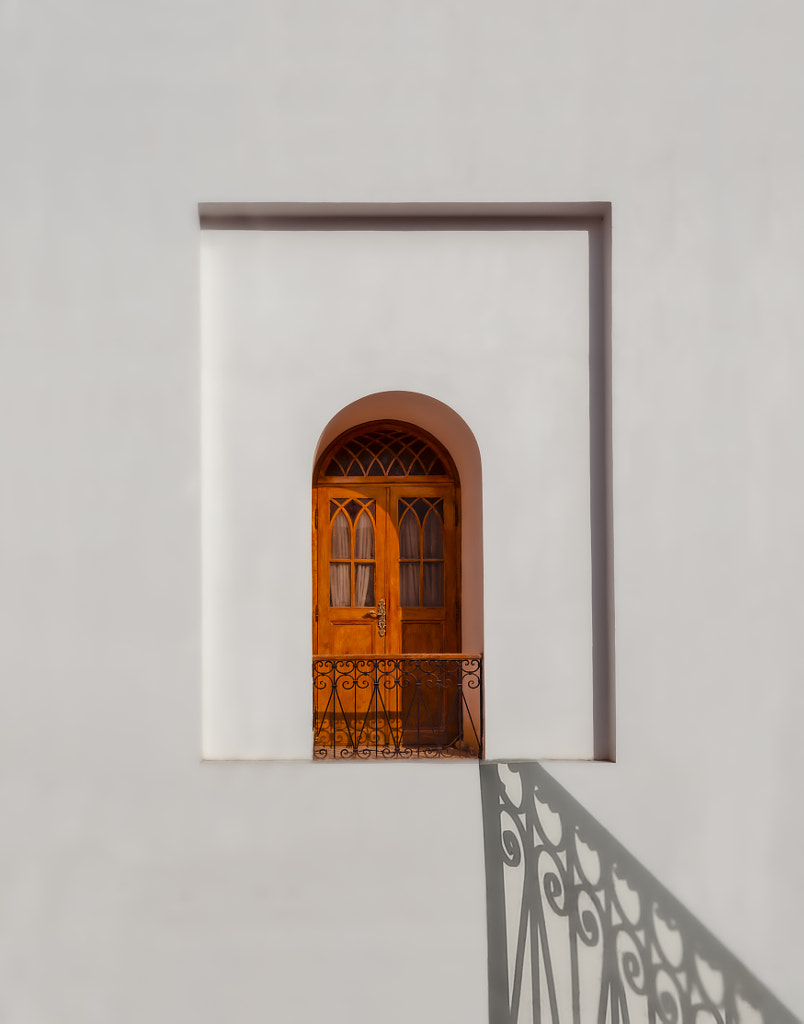
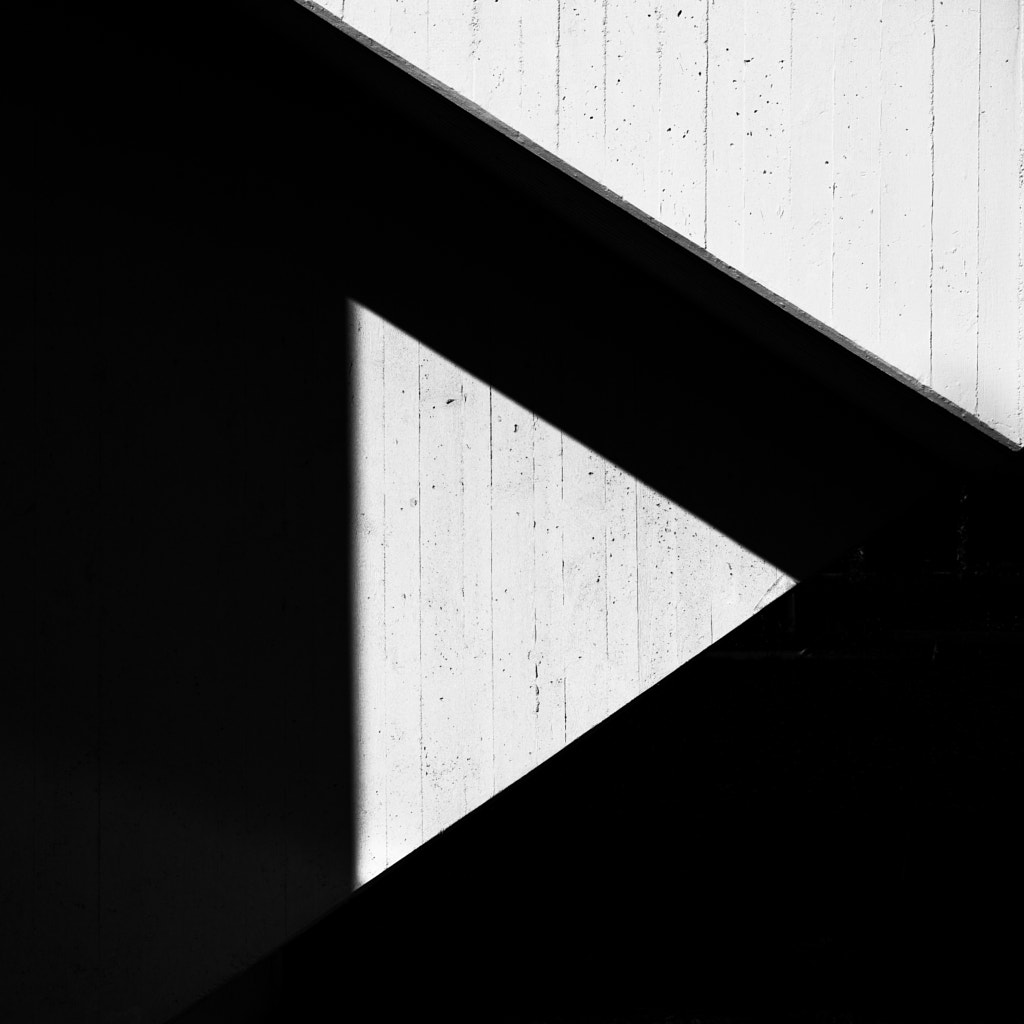
In addition to a clean outline, you’ll need a clean background. A blank wall, sand on the beach, or even a sidewalk can work, or you can set up a purpose-built background at home or in the studio specifically for casting shadows. With that being said, we’ve also seen creative uses of uneven surfaces (a staircase, for instance) to distort shadows, making them abstract and surreal.
Create “shadow frames”
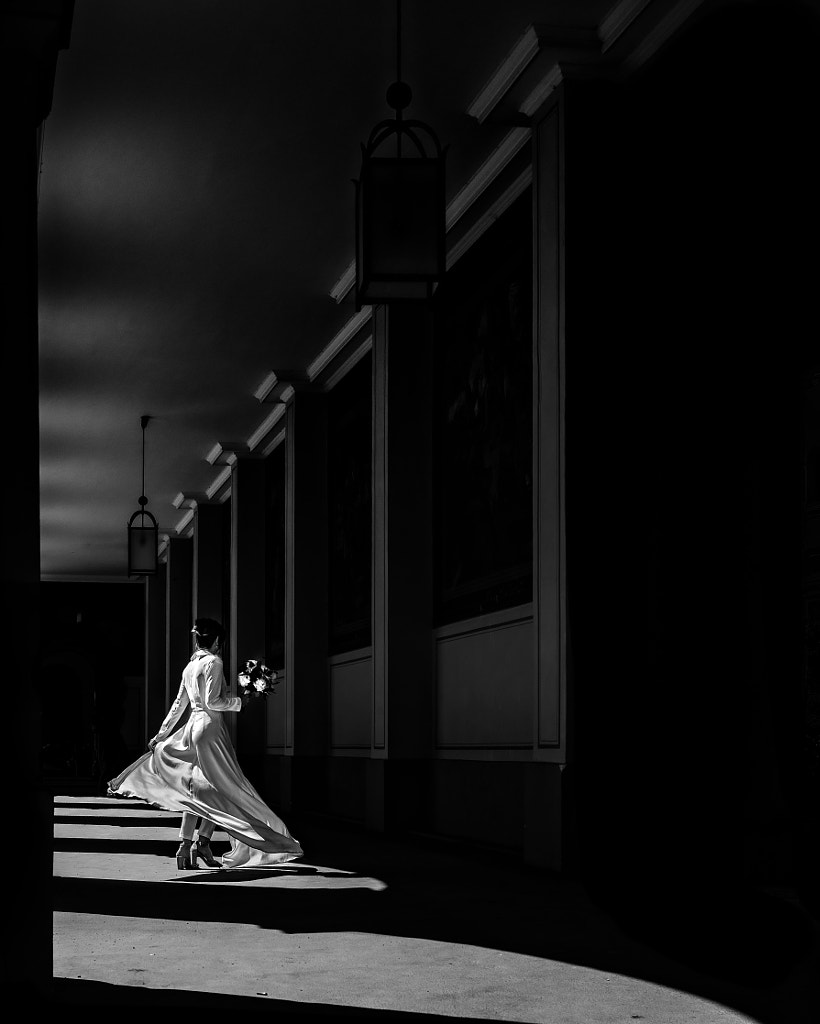
In cases where the shadow itself is not your subject, shadows can still be used to guide the eye throughout an image. One example is the classic “frame within a frame” trick, where you use the shadows cast by your surroundings (say, an archway or window) to frame your subject. Another idea would be to use shadows as leading lines, drawing our attention toward a subject in the distance. If you’re a portrait photographer, you might look for natural “light pockets” or spotlights where you can place your subject.
Note: Crisp shadows with straight, clean lines work especially well in conjunction with minimalism, so consider simplifying and decluttering your frame. When working with contrast, you don’t need a lot; a few key elements go a long way.
Cast your own shadows
While sunlight can create magical shadows, artificial light will give you more control and precision, so don’t be afraid to experiment with light manipulation and different light sources at home or in the studio. You can achieve a lot with just one key light, including many of the classic lighting patterns used in portrait photography. You’ll find that the appearance and intensity of the shadows change based on the light source(s) you use and their distance from your subject, so feel free to move objects around to get the look you want.
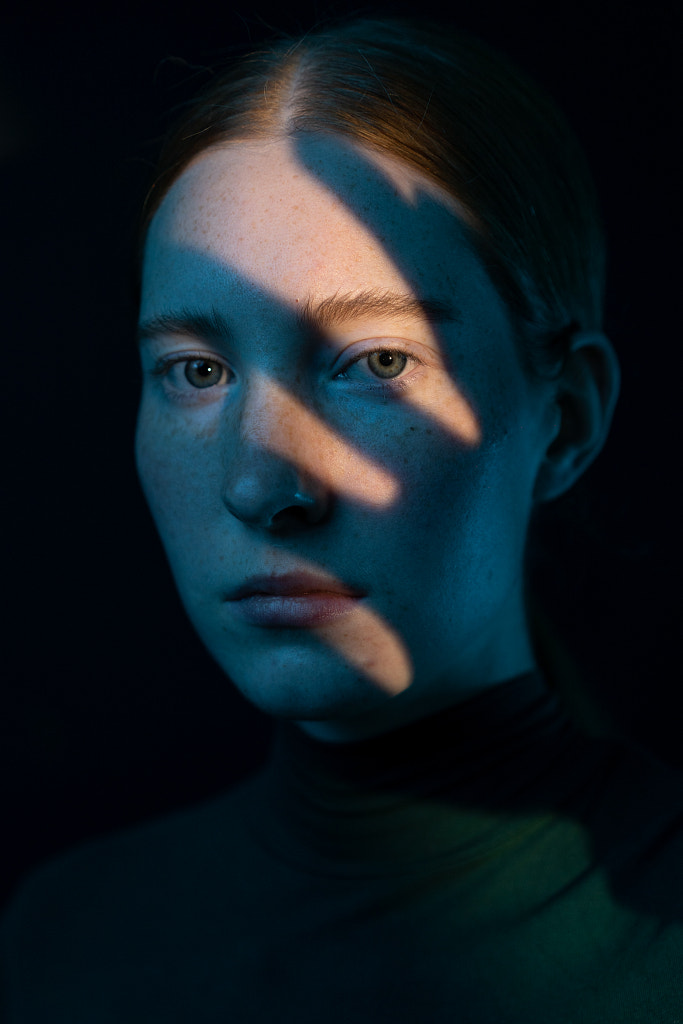
Light it from the side, and then light it from the back. Change up the angles. Try studio lights, or use a candle or window light like Carravagio. You can also use your own “filters” in front of your light to form unique shadows; in portraits, for example, we’ve seen photographers use everything from lace to colanders to create patterns across their subjects’ faces to dramatic effect.
Play with color
Translucent objects can cast colorful shadows, so keep an eye out for those. If you’re a still-life photographer, you might use glasses with complementary colors. Street photographers can use the light passing through a stained glass window or the shadows cast by balloons carried by a pedestrian on a sunny day.
Get creative in post
Shoot in RAW to give yourself as much creative freedom as possible, and then feel free to add contrast to bring out your shadows. You can try dodging and burning to make certain areas darker or lighter, or you could go into your shadows and blacks and adjust them to taste. While editing, remember to keep an eye on your histogram so you can see if you’re losing any details. With that being said, losing details in the shadows isn’t always a bad thing, especially if you want that moody, cinematic look. It can be helpful to view your photos in black and white from time to time to see the contrasts more clearly and tweak them as you see fit.
Not on 500px yet? Sign up here to explore more impactful photography.
The post Seven tips for using shadows to elevate your photography appeared first on 500px.
[NDN/ccn/comedia Links]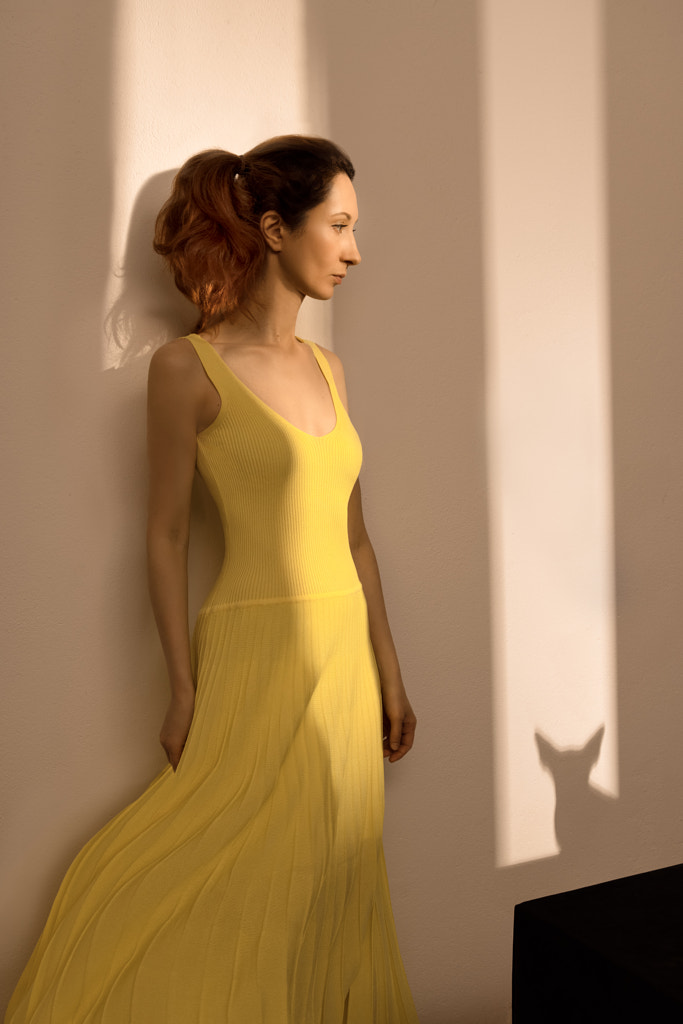


No comments:
Post a Comment